File Handling: Writing and Saving a Text File
Submitted by joken on Monday, December 2, 2013 - 18:41.

This tutorial is a continuation of our previous tutorial called “File Handling: How to Open a Text File in Visual Basic”. But this time we’re going to focus on how to create and save a text file. To start in this lesson, open our previous project named “FileHandling”.
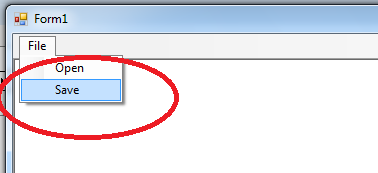
Then, we’re going to add another sub menu called “save” and we need also to add another control named SaveFileDialog from the toolbox.
This will look like as shown below:
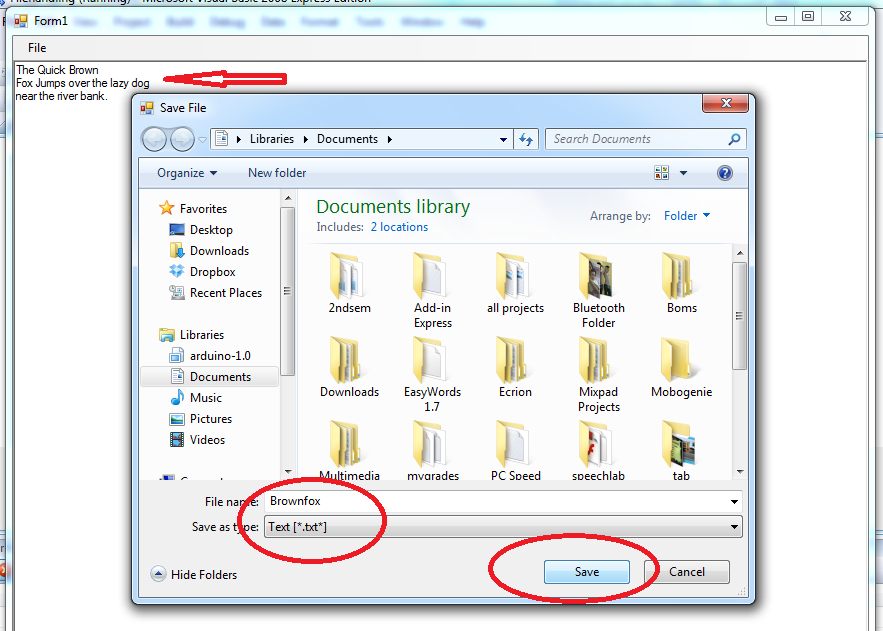
 At this time, double click the save sub menu and add the following code:
In this code we use a StreamWriter class that inherits from the abstract class TextWriter that represents a writer, meaning it is able to write a series of character.
When you execute the code above, it will look like as shown below.
At this time, double click the save sub menu and add the following code:
In this code we use a StreamWriter class that inherits from the abstract class TextWriter that represents a writer, meaning it is able to write a series of character.
- 'call the savefiledialog
- SaveFileDialog1.ShowDialog()
- 'we use StreamWriter for writing characters to a stream
- Dim myStreamWriter As System.IO.StreamWriter
- 'we set default for savefiledialog filter
- SaveFileDialog1.Filter = "Text [*.txt*]|*.txt|All Files [*.*]|*.*"
- 'set the checkpath to true
- SaveFileDialog1.CheckPathExists = True
- 'set the Savefiledialog title
- SaveFileDialog1.Title = "Save File"
- Try
- 'gets a string containing the filename selected in the dialog box
- myStreamWriter = System.IO.File.AppendText(SaveFileDialog1.FileName)
- 'it writes the string to stream
- myStreamWriter.Write(RichTextBox1.Text)
- 'clears all buffers for the current writer and causes any
- 'buffered data to be written to the underlying stream
- myStreamWriter.Flush()
- Catch ex As Exception
- 'catch unnecesary errors
- End Try