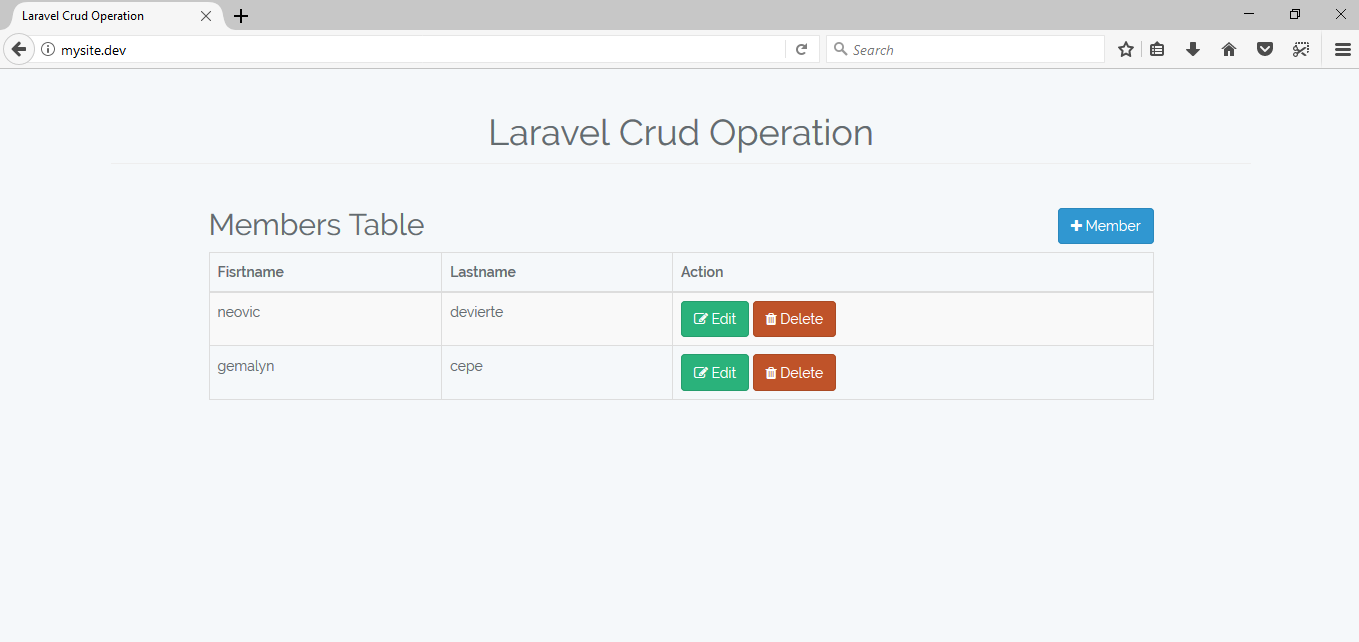
Laravel CRUD Series: Editing and Deleting using AJAX
Submitted by nurhodelta_17 on Monday, November 13, 2017 - 16:54.
Getting Started
For the last part of this CRUD series, we're going to continue our work in the previous tutorial Laravel CRUD Series: Inserting Data using AJAX.Creating our Edit and Delete Modal
In our modal.blade.php, add the ff codes to create our edit and delete modal.- <!-- Edit Modal -->
- <div class="modal fade" id="editmodal" tabindex="-1" role="dialog" aria-labelledby="myModalLabel">
- <div class="modal-dialog" role="document">
- <div class="modal-content">
- <div class="modal-header">
- </div>
- <div class="modal-body">
- <form action="{{ URL::to('update') }}" id="editForm">
- <input type="hidden" id="memid" name="id">
- <div class="form-group">
- <div class="row">
- <div class="col-md-2" style="margin-top:7px;">
- </div>
- <div class="col-md-10">
- <input type="text" name="firstname" id="firstname" class="form-control">
- </div>
- </div>
- </div>
- <div class="form-group">
- <div class="row">
- <div class="col-md-2" style="margin-top:7px;">
- </div>
- <div class="col-md-10">
- <input type="text" name="lastname" id="lastname" class="form-control">
- </div>
- </div>
- </div>
- </div>
- <div class="modal-footer">
- </form>
- </div>
- </div>
- </div>
- </div>
- <!-- Delete Modal -->
- <div class="modal fade" id="deletemodal" tabindex="-1" role="dialog" aria-labelledby="myModalLabel">
- <div class="modal-dialog" role="document">
- <div class="modal-content">
- <div class="modal-header">
- </div>
- <div class="modal-body">
- </div>
- <div class="modal-footer">
- </div>
- </div>
- </div>
- </div>
Adding our Edit and Delete Scripts
Next, update our script in show.blade.php with the ff codes:- <script type="text/javascript">
- $(document).ready(function(){
- $.ajaxSetup({
- headers: {
- 'X-CSRF-TOKEN': $('meta[name="csrf-token"]').attr('content')
- }
- });
- showMember();
- $('#add').click(function(){
- $('#addnew').modal('show');
- $('#addForm')[0].reset();
- });
- $('#addForm').on('submit', function(e){
- e.preventDefault();
- var form = $(this).serialize();
- var url = $(this).attr('action');
- $.ajax({
- type: 'POST',
- url: url,
- data: form,
- dataType: 'json',
- success: function(){
- $('#addnew').modal('hide');
- showMember();
- }
- });
- });
- $(document).on('click', '.delete', function(){
- var id = $(this).data('id');
- $('#deletemodal').modal('show');
- $('#deletemember').val(id);
- });
- $('#deletemember').click(function(){
- var id = $(this).val();
- $.post("{{ URL::to('delete') }}",{id:id}, function(){
- $('#deletemodal').modal('hide');
- showMember();
- })
- });
- $(document).on('click', '.edit', function(){
- var id = $(this).data('id');
- var firstname = $(this).data('first');
- var lastname = $(this).data('last');
- $('#editmodal').modal('show');
- $('#firstname').val(firstname);
- $('#lastname').val(lastname);
- $('#memid').val(id);
- });
- $('#editForm').on('submit', function(e){
- e.preventDefault();
- var form = $(this).serialize();
- var url = $(this).attr('action');
- $.post(url,form,function(data){
- $('#editmodal').modal('hide');
- showMember();
- })
- });
- });
- function showMember(){
- $.get("{{ URL::to('show') }}", function(data){
- $('#memberBody').empty().html(data);
- })
- }
- </script>
Updating our MemberController
Next, open our MemberController and add the ff codes for our edit and delete.- public function delete(Request $request){
- if ($request->ajax()){
- Member::destroy($request->id);
- }
- }
- public function update(Request $request){
- if ($request->ajax()){
- $member = Member::find($request->id);
- $member->firstname = $request->input('firstname');
- $member->lastname = $request->input('lastname');
- $member->update();
- return response($member);
- }
- }
Creating our Route
Next, we add the routes of our edit and delete. You can do so by opening web.php located in routes folder.
Route::post('/delete', 'MemberController@delete');

Route::post('/update', 'MemberController@update');

