PHP - Simple User Login Using AngularJS
Submitted by razormist on Sunday, July 21, 2019 - 21:56.
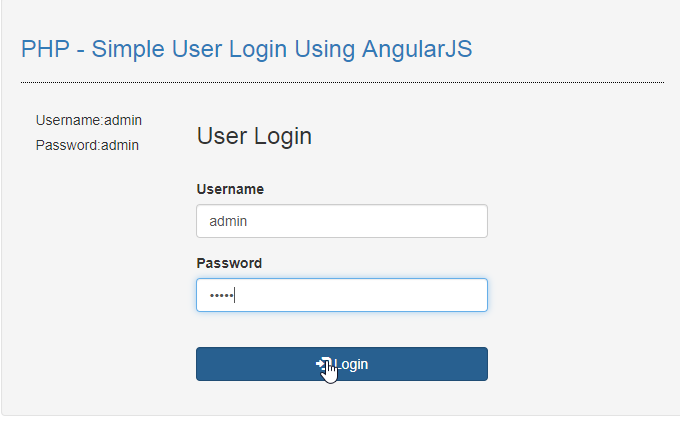
In this tutorial we will create a Simple User Login Using AngularJS. This code will submit the MySQLi POST data to enable the user to login. The code use angular directives to submit the form data and login the data if the user account is valid by sending POST request to the MySQLi server. This a user-friendly program feel free to modify and use it to your system.
We will be using AngularJS as a framework which has additional custom HTML attributes embedded into it. It can interprets those attributes as directives to bind inputted parts of the page to a model that represent as a standard JavaScript variables.
 home.php
logout.php
script.js
Note: Make sure you save this file inside the js directory in order the script works.
There you have it we successfully created a Simple User Login using AngularJS. I hope that this simple tutorial help you to what you are looking for. For more updates and tutorials just kindly visit this site. Enjoy Coding!!
home.php
logout.php
script.js
Note: Make sure you save this file inside the js directory in order the script works.
There you have it we successfully created a Simple User Login using AngularJS. I hope that this simple tutorial help you to what you are looking for. For more updates and tutorials just kindly visit this site. Enjoy Coding!!
Getting Started:
First you have to download & install XAMPP or any local server that run PHP scripts. Here's the link for XAMPP server https://www.apachefriends.org/index.html. And this is the link for the bootstrap that i used for the layout design https://getbootstrap.com/. Lastly, this is the link for the AngularJS https://angularjs.org/.Creating Database
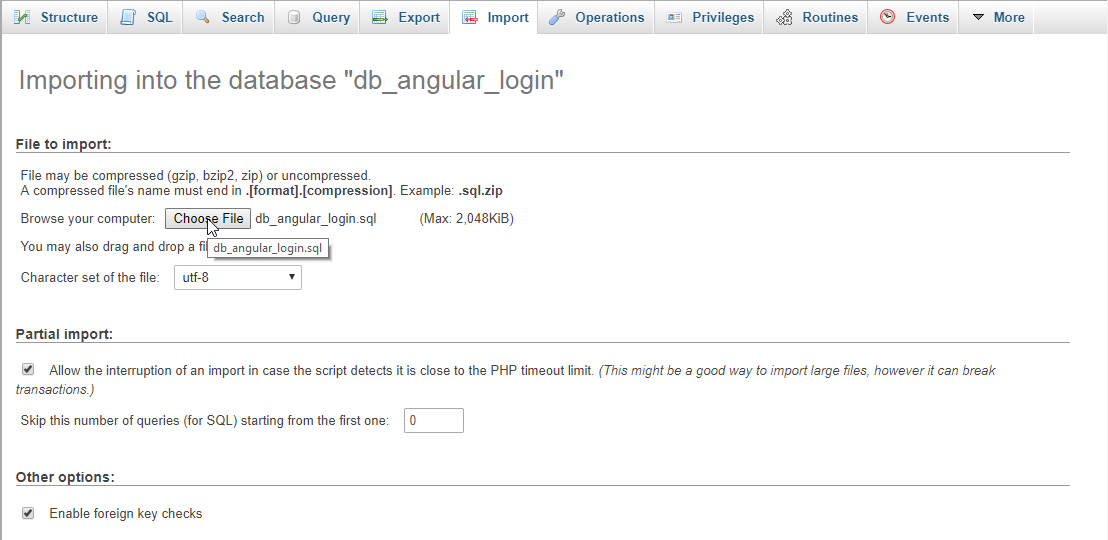
Open your database web server then create a database name in it db_angular_login, after that click Import then locate the database file inside the folder of the application then click ok.
Creating the database connection
Open your any kind of text editor(notepad++, etc..). Then just copy/paste the code below then name it conn.php.- <?php
- if(!$conn){
- }
- ?>
Creating The Interface
This is where we will create a simple form for our application. To create the forms simply copy and write it into you text editor, then save it as show below. index.php- <!DOCTYPE html>
- <html lang="en" ng-app = "myModule">
- <head>
- <meta charset="UTF-8" name="viewport" content="width=device-width, initial-scale=1" />
- </head>
- <body ng-controller="myController">
- <nav class="navbar navbar-default">
- <div class="container-fluid">
- <a class="navbar-brand" href="https://www.sourcecodester.com">Sourcecodester</a>
- </div>
- </nav>
- <div class="col-md-3"></div>
- <div class="col-md-6 well">
- <h3 class ="text-primary">PHP - Simple User Login Using AngularJS</h3>
- <hr style = "border-top:1px dotted #000;"/>
- <div class="col-md-3">
- <h5>Username:admin</h5>
- <h5>Password:admin</h5>
- </div>
- <div class="col-md-6">
- <h3>User Login</h3>
- <br />
- <form ng-submit="userLogin()">
- <div class="form-group">
- <label>Username</label>
- <input type="text" class="form-control" ng-model="username" ng-required="true"/>
- </div>
- <div class="form-group">
- <label>Password</label>
- <input type="password" class="form-control" ng-model="password" ng-required="true"/>
- </div>
- <center><div class="text-danger" ng-model="result">{{result}}</div></center>
- <br />
- <div class="form-group">
- <button class="btn btn-primary form-control"><span class="glyphicon glyphicon-log-in"></span> Login</button>
- </div>
- </form>
- </div>
- </div>
- <script src="js/angular.js"></script>
- <script src="js/script.js"></script>
- </body>
- </html>
- <!DOCTYPE html>
- <?php
- }
- ?>
- <html lang="en">
- <head>
- <link rel="stylesheet" type="text/css" href="css/bootstrap.css" />
- <meta charset="UTF-8" name="viewport" content="width=device-width, initial-scale=1" />
- </head>
- <body>
- <nav class="navbar navbar-default">
- <div class="container-fluid">
- <a class="navbar-brand" href = "https://www.sourcecodester.com">Sourcecodester</a>
- </div>
- </nav>
- <div class="col-md-3"></div>
- <div class="col-md-6 well">
- <h3 class = "text-primary">PHP - Simple User Login Using AngularJS</h3>
- <hr style = "border-top:1px dotted #000;"/>
- <center><h3>WELCOME</h3></center>
- <a class = "btn btn-danger" href = "logout.php"><span class = "glyphicon glyphicon-log-out"></span> Logout</a>
- </div>
- </body>
- </html>
Creating the Main Function
This code contains the main function of the application. This code will login a user account when the button is clicked. To do this just copy and write these block of codes as shown below inside the text editor and save it as shown below. login_query.php- <?php
- require_once'conn.php';
- $username = $json->username;
- $password = $json->password;
- $query=mysqli_query($conn, "SELECT * FROM `user` WHERE `username`='$username' && `password`='$password'") or die(mysqli_error());
- if($row > 0){
- $_SESSION['user_id'] = $fetch['user_id'];
- echo "true";
- }else{
- echo "false";
- }
- ?>
- <?php
- ?>
- 'use strict';
- var app = angular.module("myModule", [])
- .controller("myController", function($scope, $http){
- $scope.userLogin = function(){
- $scope.result = "";
- var request = $http({
- method: "POST",
- url: "login_query.php",
- data: {
- username : $scope.username,
- password: $scope.password
- },
- headers: { 'Content-Type': 'application/x-www-form-urlencoded' }
- });
- request.then(function(response){
- if(response.data=="true"){
- $scope.username = "";
- $scope.password = "";
- window.location = "home.php";
- }else{
- $scope.result="Invalid username or Password";
- }
- });
- };
- });