PHP - Simple Image Upload
Submitted by razormist on Wednesday, May 23, 2018 - 19:37.
In this tutorial we will create a Simple Image Upload using PHP. PHP is a server-side scripting language designed primarily for web development. It is a lean and consistent way to access databases. This means developers can write portable code much easier. It is mostly used by a newly coders for its user friendly environment. So Let's do the coding.
 There you have it we successfully created a Simple Image Upload using PHP. I hope that this simple tutorial help you to what you are looking for. For more updates and tutorials just kindly visit this site. Enjoy Coding!!!
Before we started:
First you have to download & install XAMPP or any local server that run PHP scripts. Here's the link for XAMPP server https://www.apachefriends.org/index.html. And this is the link for the jquery that i used in this tutorial https://jquery.com/Creating Database
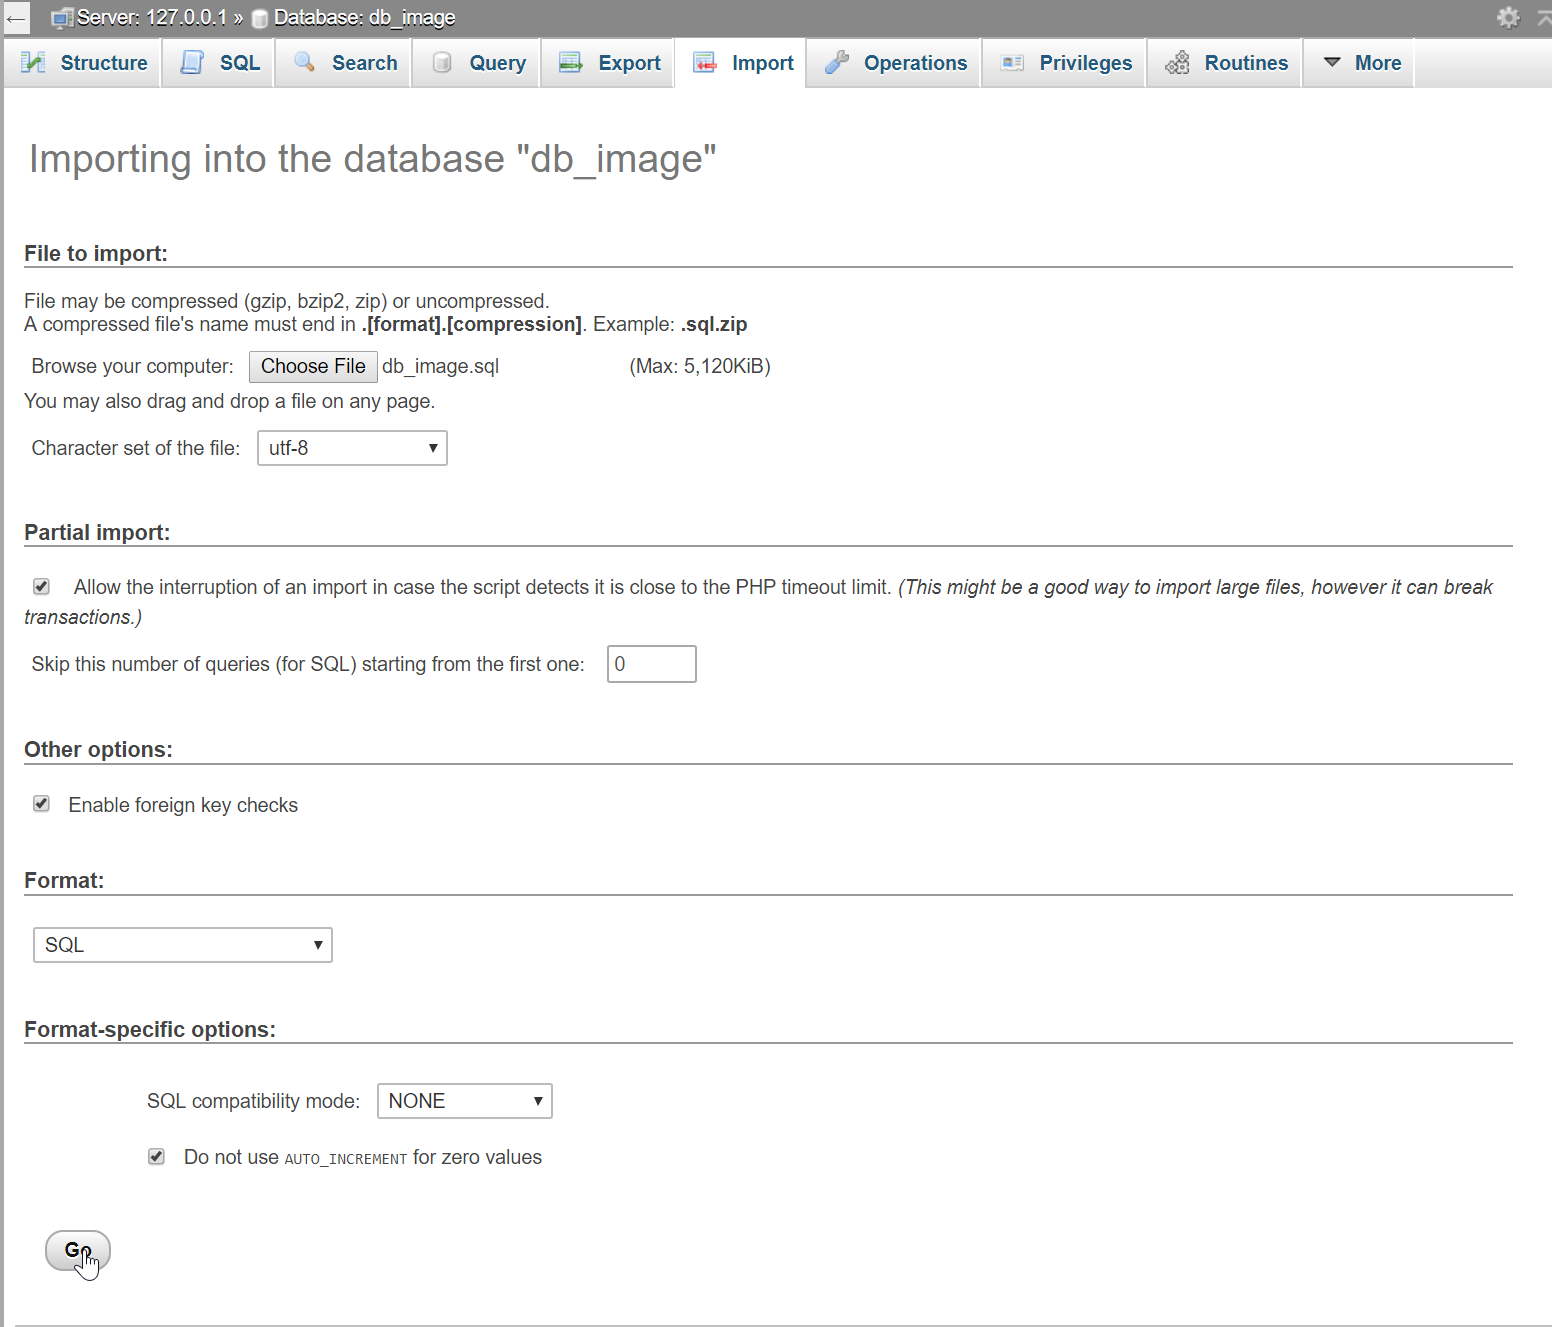
Open your database web server then create a database name in it db_image, after that click Import then locate the database file inside the folder of the application then click ok.
Creating the database connection
Open your any kind of text editor(notepadd++, etc..). Then just copy/paste the code below then name it conn.php.- <?php
- $conn = new mysqli('localhost', 'root', '', 'db_image');
- if(!$conn){
- }
- ?>
Creating The Interface
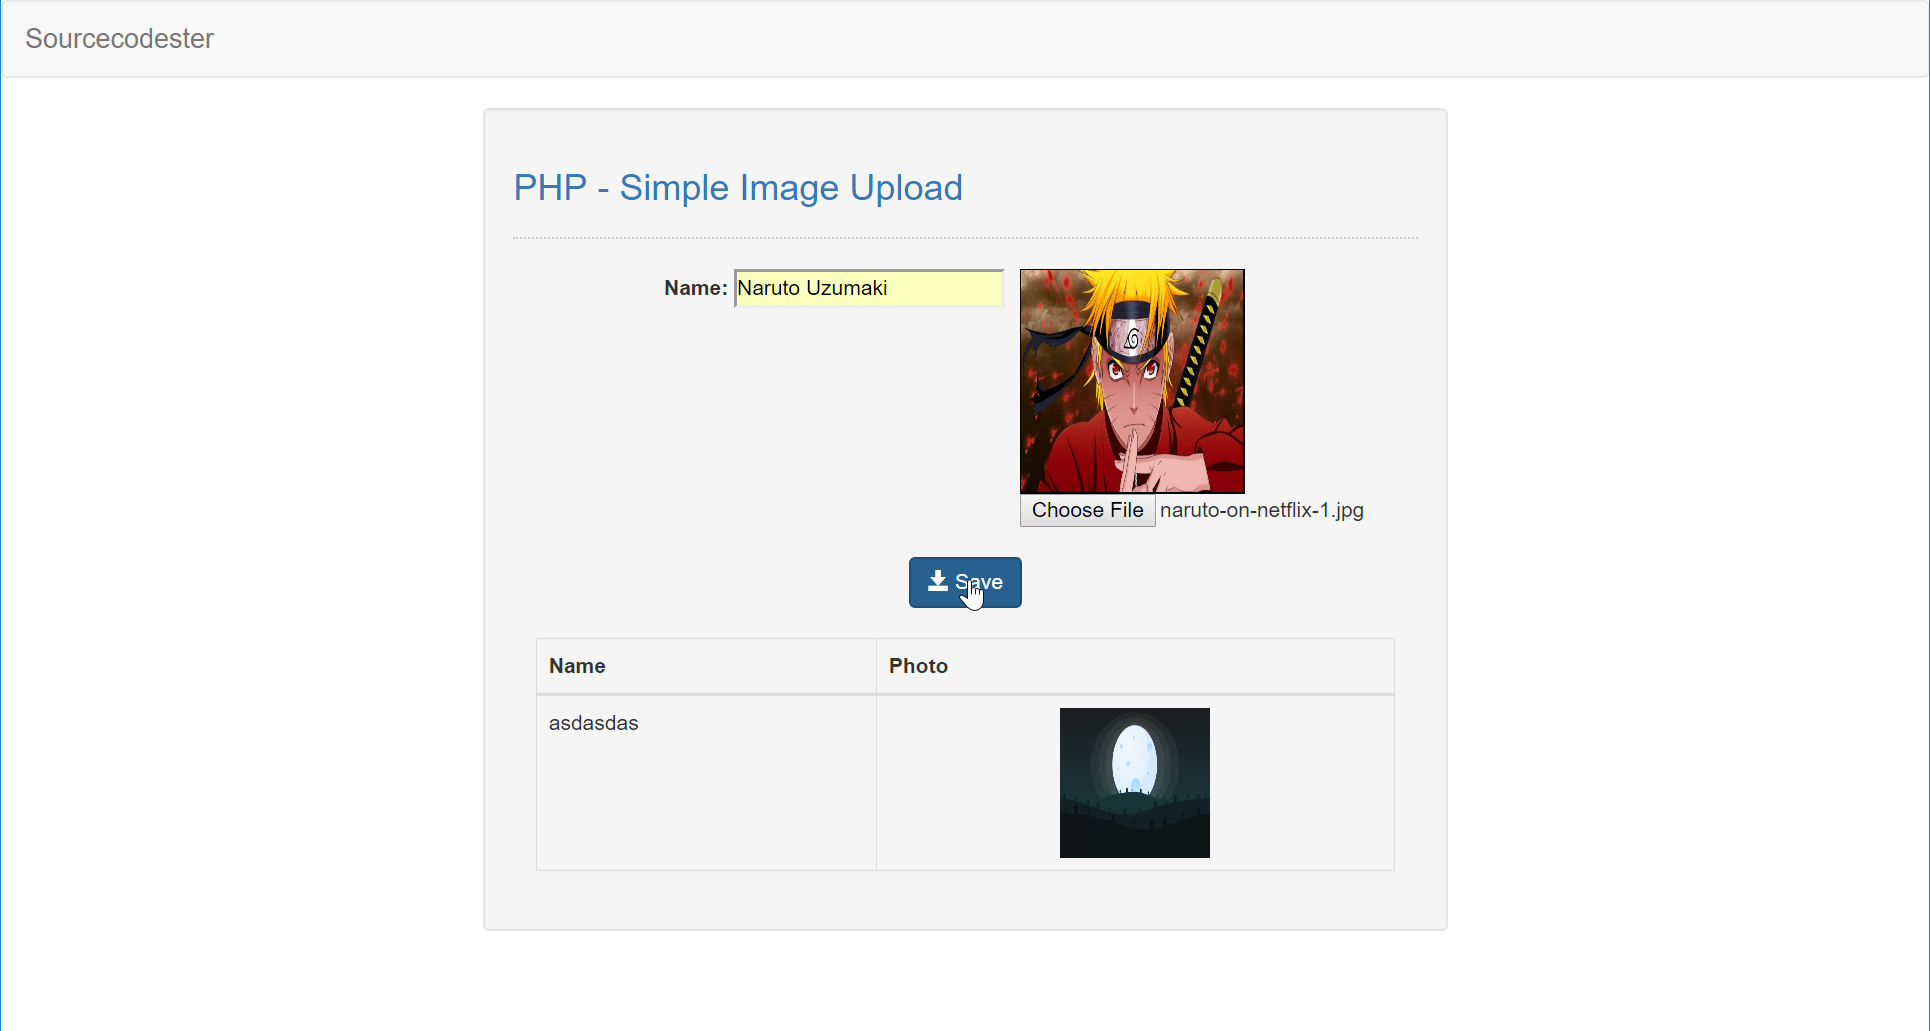
This is where we will create a simple form for our application. To create the forms simply copy and write it into you text editor, then save it as shown below. index.php.- <!DOCTYPE html>
- <html lang="en">
- <head>
- <link rel="stylesheet" type="text/css" href="css/bootstrap.css">
- <meta charset="UTF-8" name="viewport" content="width=device-width, initial-scale=1"/>
- </head>
- <body>
- <nav class="navbar navbar-default">
- <div class="container-fluid">
- <a class="navbar-brand" href="https://sourcecodester.com">Sourcecodester</a>
- </div>
- </nav>
- <div class="col-md-3"></div>
- <div class="col-md-6 well">
- <h3 class="text-primary">PHP - Simple Image Upload</h3>
- <hr style="border-top:1px dotted #ccc;"/>
- <div class="col-md-2"></div>
- <div>
- <form method="POST" action="save_query.php" enctype="multipart/form-data">
- <label>Name:</label>
- <input type="text" name="name"/>
- <div style="float:right;">
- <div id = "preview" style = "width:150px; height :150px; border:1px solid #000;">
- <center id = "lbl">[Photo]</center>
- </div>
- <input type = "file" id = "photo" name = "photo" />
- </div>
- <div style="clear:both;"></div>
- <br/>
- <center><button class="btn btn-primary" name="submit"><span class="glyphicon glyphicon-save"></span> Save</button></center>
- </form>
- </div>
- <br />
- <div class="col-md-12">
- <table class="table table-bordered">
- <thead>
- <tr>
- <th>Name</th>
- <th>Photo</th>
- </tr>
- </thead>
- <tbody>
- <?php
- require 'conn.php';
- while($fetch = $query->fetch_array()){
- ?>
- <tr>
- <td><?php echo $fetch['name']?></td>
- <td><center><img src="<?php echo "upload/".$fetch['photo']?>" width="100px" height="100px"></center></td>
- </tr>
- <?php
- }
- ?>
- </tbody>
- </table>
- </div>
- </div>
- </body>
- <script src="js/jquery-3.2.1.min.js"></script>
- <script type = "text/javascript">
- $(document).ready(function(){
- $pic = $('<img id = "image" width = "100%" height = "100%"/>');
- $lbl = $('<center id = "lbl">[Photo]</center>');
- $("#photo").change(function(){
- $("#lbl").remove();
- var files = !!this.files ? this.files : [];
- if(!files.length || !window.FileReader){
- $("#image").remove();
- $lbl.appendTo("#preview");
- }
- if(/^image/.test(files[0].type)){
- var reader = new FileReader();
- reader.readAsDataURL(files[0]);
- reader.onloadend = function(){
- $pic.appendTo("#preview");
- $("#image").attr("src", this.result);
- }
- }
- });
- });
- </script>
- </html>
Creating the Main Function
This code contains the specific script for the upload. This will process the image file that have been upload then will save it to a designated directory. To do that write these block of codes inside the Text editor and call it as save_query.php.- <?php
- require_once 'conn.php';
- if($_FILES['photo']['name'] != "" && $_POST['name'] != ""){
- $name = $_POST['name'];
- $image_name = $_FILES['photo']['name'];
- $image_temp = $_FILES['photo']['tmp_name'];
- }
- }
- ?>

