Simple Image Upload Using AngularJS/PHP
Submitted by razormist on Tuesday, February 21, 2017 - 17:45.
In this tutorial we will create a Simple Image Upload Using AngularJs/PHP. AngularJS is a structural framework for dynamic web apps. It is a kind of template that extends HTML to a new level of coding techniques. By using angularjs will try also to save the image through PHP server. So Let start coding!!
Creating Database
To create database open your local server(wamp, xamp, etc...). Then create a database and name it "db_image". After that click SQL then copy/paste the code below
Creating AngularJs Directives
This where the angularjs directive will be coded. Copy/paste the code below and name it "app.js"
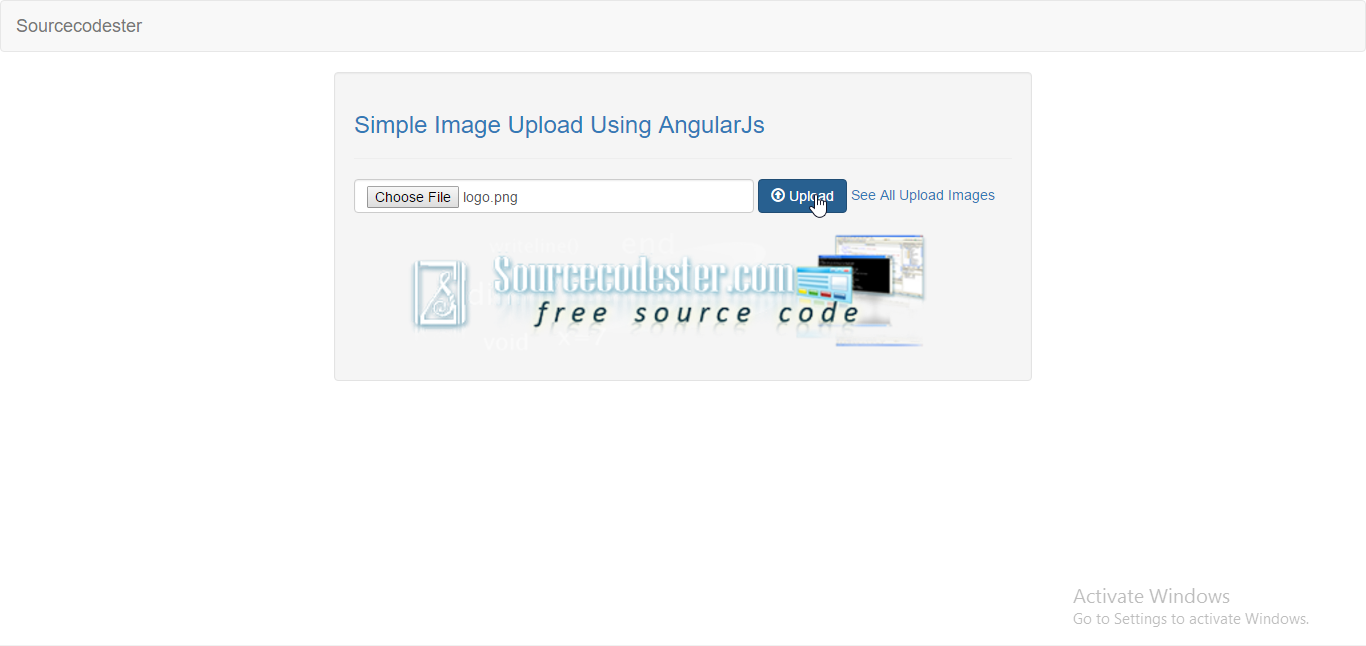
The code above processed the image data. The $scope.uploadedFile will display the image after the user selected the image to be upload.The $scope.submit function will submit the stored image selected by a user to the database server.
Creating The Upload Query
This where the file will be stored after getting the value from the input file type. To create this copy/paste the code then name it "upload.php"
The code above will now sending the image to the database server after storing the value within the input file type.
Displaying All The Stored Images
This is where images will be displayed. Copy/paste the code below and name it "result.php"
There you have we created a simple image upload using AngularJs/PHP. I hope that this tutorial help you to your project. For more updates and tutorials just visit this site, and don't forget to LIKE & SHARE. Enjoy Coding!!
Creating The Mark Up Form
This where the file type will be shown. To do that copy/paste the code below then name it "index.php"
- <!DOCTYPE html>
- <html>
- <head>
- <meta charset = "UTF-8" name = "viewport" content = "width=device-width, initial-scale=1"/>
- <title>Image Upload Using AngularJs</title>
- <script src="js/angular.js"></script>
- </head>
- <body ng-app="myModule" ng-controller="myController">
- <nav class = "navbar navbar-default">
- <div class = "container-fluid">
- <a class = "navbar-brand" href = "https://sourcecodester.com">Sourcecodester</a>
- </div>
- </nav>
- <div class = "row">
- <div class = "col-md-3"></div>
- <div class = "col-md-6 well">
- <h3 class = "text-primary">Simple Image Upload Using AngularJs</h3>
- <hr style = "boreder-top:1px dotted #000;"/>
- <form ng-submit="submit()" name="form" role="form">
- <div class = "form-inline">
- <input ng-model="form.image" class = "form-control" type="file" accept="image/*" onchange="angular.element(this).scope().uploadedFile(this)" style="width:400px" >
- <button class = "btn btn-primary"><span class = "glyphicon glyphicon-upload"></span> Upload</button>
- <a href = "result.php" >See All Upload Images</a>
- </div>
- <br/>
- <center><img ng-src="{{image_source}}" style="width:600px;"></center>
- </form>
- </div>
- </div>
- </body>
- <script src = "js/app.js"></script>
- </html>
- var app = angular.module('myModule',[]);
- app.controller('myController', function($scope, $http) {
- $scope.form = [];
- $scope.files = [];
- $scope.submit = function() {
- $scope.form.image = $scope.files[0];
- $http({
- method : 'POST',
- url : 'upload.php',
- processData: false,
- transformRequest: function (data) {
- var formData = new FormData();
- formData.append("image", $scope.form.image);
- return formData;
- },
- data : $scope.form,
- headers: {
- 'Content-Type': undefined
- }
- }).then(function(data){
- alert("Successfully Upload An Image!");
- window.location = "index.php";
- });
- };
- $scope.uploadedFile = function(element) {
- $scope.currentFile = element.files[0];
- var reader = new FileReader();
- reader.onload = function(event) {
- $scope.image_source = event.target.result
- $scope.$apply(function($scope) {
- $scope.files = element.files;
- });
- }
- reader.readAsDataURL(element.files[0]);
- }
- });
- <?php
- }else{
- echo "<script>Error!</script>";
- }
- ?>
- <!DOCTYPE html>
- <html>
- <head>
- <meta charset = "UTF-8" name = "viewport" content = "width=device-width, initial-scale=1"/>
- <link rel = "stylesheet" type = "text/css" href = "css/bootstrap.css" />
- </head>
- <body>
- <nav class = "navbar navbar-default">
- <div class = "container-fluid">
- <a class = "navbar-brand" href = "https://sourcecodester.com">Sourcecodester</a>
- </div>
- </nav>
- <div class = "row">
- <div class = "col-md-3"></div>
- <div class = "col-md-6 well">
- <h3 class = "text-primary">Simple Image Upload Using AngularJs</h3>
- <hr style = "boreder-top:1px dotted #000;"/>
- <a class = "btn btn-success" href = "index.php"><span class = "glyphicon glyphicon-hand-right"></span> Back</a>
- <table class = "table table-hover">
- <thead>
- <tr>
- <th>Name<th>
- <th>Image<th>
- </tr>
- </thead>
- <tbody>
- <?php
- while($fetch = $query->fetch_array()){
- ?>
- <tr>
- <td><?php echo $fetch['photo_name']?></td>
- <td colspan = "2"><center><?php echo '<img src = "images/'.$fetch['photo_name'].'" width = "150px" height = "70px"/>'?></center></td>
- </tr>
- <?php
- }
- ?>
- </tbody>
- </table>
- </div>
- </div>
- </body>
- </html>