C# Tutorial

Random Line of Text Selector in C#

Submitted by donbermoy on
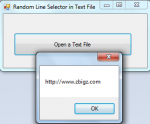
This tutorial will teach you how to create a program that selects a line of text from a text file using C#. So, now let's start this tutorial! 1. Let's start with creating a Windows Form Applicationin C# for this tutorial by following the following steps in Microsoft Visual Studio 2010: Go to File, click New Project, and choose Windows Application. 2. Next, add a button named Button1 to have the random line selector.

Get Name of Multiple TextBoxes Control in C#

Submitted by donbermoy on
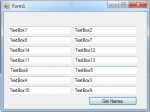
This is a simple tutorial in which we are going to get all the name of multiple textboxes in C# using a loop. So, now let's start this tutorial! 1. Let's start with creating a Windows Form Application in C# for this tutorial by following the following steps in Microsoft Visual Studio 2010: Go to File, click New Project, and choose Windows Application. 2. Drag any textbox that you want and only one Button.

Time Interval in C#

Submitted by donbermoy on
Today in C#, i will teach you to get a time interval in C#. In here, we will use the TimeSpan properties for getting the time interval. It segregates the hours, minutes, seconds, millisecond and even the tick of the clock. So, now let's start this tutorial! 1. Let's start with creating a Windows Form Application for this tutorial by following the following steps in Microsoft Visual Studio 2010: Go to File, click New Project, and choose Windows Application and name it as TimeInterval. 2.

Uploading POST Data to PHP in C#

Submitted by Yorkiebar on
Introduction: This tutorial is on how to create POST data uploader in C#. POST or GET? If you don't know what the difference is between POST and GET, these are the methods used by PHP to gain information from external sources that parse the data to those PHP pages. GET is URL based such as; index.php?id=2 Id is 2. And POST is behind the scenes for sensitive information such as passwords. Project: So first we want to create a basic C# project through the File > New Project wizard.

Proxy Checker using C#

Submitted by donbermoy on
In this tutorial, we will create a proxy checker program which will test a list of proxies and report if they respond within a faster time. Now, let's start this tutorial! 1. Let's start with creating a Windows Form Application in C# for this tutorial by following the following steps in Microsoft Visual Studio 2010: Go to File, click New Project, and choose Windows Application. 2. Next, add three buttons for starting the checker, exporting all the reports and exporting the working reports; add also a ListBox that will contain the reports of each proxy. 3.

ListBox Adding and Removing an Item in C#

Submitted by donbermoy on
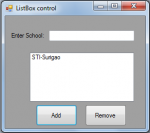
ListBox is a control that displays a collection of items. More than one item in a ListBox is visible at a time. You can either populate the ListBox control directly, or bind it to a collection of items. In this tutorial, i will discuss some events in ListBox such as adding and removing an item in a ListBox. So, now let's start this tutorial! 1.

Exception Handling in C#

Submitted by donbermoy on
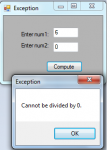
Sometimes, we encounter different errors along the program whenever we executed it. For example, the file does not exist in the given path, network connections are not connected, or any errors that you have experienced when you're learning how to program. This is what we've called Runtime Errors. One way to prevent it is the Structured exception handling. In this tutorial for C#, we will used the Try-Catch-Finally statement.

Bubble Sort in C# Console

Submitted by donbermoy on
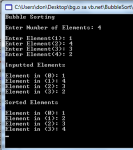
Today in C#, I will teach you how to create a program for bubble sorting using C# console. We all know that bubble sort is a sorting algorithm that is repeatedly searching through lists that need to be sorted, comparing each pair of items and swapping them if they are in the wrong order. Now, let's start this tutorial! 1.

Change Case: Uppercase and Lowercase in C#

Submitted by donbermoy on
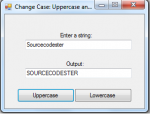
Today in C#, I will teach you how to create a program that changes case either uppercase or lowercase letters using C#. Now, let's start this tutorial! 1. Let's start with creating a Windows Form Application for this tutorial by following the following steps in Microsoft Visual Studio 2010: Go to File, click New Project, and choose Windows Application. 2. Next, add two Buttons named Button1 and labeled it as "Uppercase" and Button2 labeled as "Lowercase".