Creating a Simple Login Using MySQLi Prepared Statement and jQuery
In this tutorial, we will create a Simple Login Using MySQLi Prepared Statement / jQuery. Most of the websites nowadays are required to use MySQLi / PDO statements due to the depreciation of MySQL. This time we will try to work out with MySQLi and Ajax call function to make our simple application more interactive.
Let's start coding!Creating the Database
First, we will create the database
- Open the database web server that is already installed from your computer(WAMP, XAMP, etc...)
- Next, Open the internet browser(Chrome, IE, etc..), and type in the URL address "localhost/PHPMyAdmin"
- Create your database, and name it "sample"
- After creating the database, click SQL and paste the code below
Creating the Database Connection
After we created the database, we will now create the database connection. To do that, first open any kind of text editor(Notepad++, etc...) that your computer already has. Then, just copy the code below, then name it connect.php
- <?php
- $conn = new mysqli('localhost', 'root', '', 'sample');
- if($conn->connect_error){
- }
- ?>
Creating the Login Page
Now that the connection is already created, we will now create the HTML form, The HTML form will display the forms that we will be going to use to log in using the accounts of the user. Just copy the code below, then paste it inside the body tag and name it index.php.
- <!DOCTYPE html>
- <?php
- require 'connect.php';
- ?>
- <html lang = "eng">
- <head>
- <meta charset = "UTF-8" />
- <style>
- #content{
- background-color: #ffeecc;
- width:280px;
- height:110px;
- margin: 100px auto;
- padding:10px;
- border-radius:2px;
- -webkit-box-shadow:0px 0px 30px 3px #000;
- }
- </style>
- </head>
- <body>
- <center><h2>Creating a Simple Login using Ajax/MySQLi Prepared Statement</h2></center>
- <div id = "content">
- <form method = "POST">
- <table>
- <tr>
- <td><label>Username:</label></td>
- <td><input type = "text" id = "username"></td>
- </tr>
- <tr>
- <td><label>Password:</label></td>
- <td><input type = "password" id = "password"></td>
- </tr>
- <tr>
- <td colspan = "2"><br /></td>
- </tr>
- <tr>
- <td colspan = "2"><button type = "button" style = "width:100%;" id = "login">Login</button></td>
- </tr>
- <tr>
- <td colspan = "2"><div id = "result"></div></td>
- </tr>
- </table>
- </form>
- </div>
- </body>
- <script src = "jquery-3.1.1.js"></script>
- <script src = "login.js"></script>
- </html>
jQuery Script
Next, we will now create the jQuery function, just copy the code below and name it "login.js".
- $(document).ready(function(){
- $error = $('<center><label style = "color:#ff0000;">Invalid username or password</label></center>');
- $error2 = $('<center><label style = "color:#ff0000;">User not found!</label></center>');
- $success = $('<center><label style = "color:#00ff00;">Successfully login!</label></center>');
- $loading = $('<center><img src = "loading.gif" height = "5px" width = "100%"/></center>');
- $('#login').on('click', function(){
- $error.remove();
- $error2.remove();
- $username = $('#username').val();
- $password = $('#password').val();
- if($username == "" && $password == ""){
- $error.appendTo('#result');
- }else{
- $loading.appendTo('#result');
- setTimeout(function(){
- $loading.remove();
- $.post('validator.php', {username: $username, password: $password},
- function(result){
- if(result == "Success"){
- $('#username').val('');
- $('#password').val('');
- $success.appendTo('#result');
- setTimeout(function(){
- $success.remove();
- window.location = 'home.php';
- }, 1000);
- }else{
- $('#username').val('');
- $('#password').val('');
- $error2.appendTo('#result');
- }
- }
- )
- }, 3000);
- }
- });
- });
Creating Credentials Validator
After that we will now create the validator, this script will check if the accounts of the user is existing in the database. Save the file as validator.php
- <?php
- require_once 'connect.php';
- $username = $_POST['username'];
- $password = $_POST['password'];
- $stmt = $conn->prepare("SELECT * FROM `user` WHERE username = '$username' && `password` = '$password'") or die(mysqli_error());
- if($stmt->execute()){
- $result = $stmt->get_result();
- $num_rows = $result->num_rows;
- }
- if($num_rows > 0){
- echo "Success";
- }else{
- echo "Error";
- }
- ?>
Creating a Simple Home Page
Next, we will now create the home page, just copy the code below"home.php"
- <!DOCTYPE html>
- <html lang = "eng">
- <head>
- <style>
- #content{
- background-color: #ffeecc;
- width:280px;
- height:110px;
- margin: 100px auto;
- padding:10px;
- border-radius:2px;
- -webkit-box-shadow:0px 0px 30px 3px #000;
- }
- </style>
- </head>
- <body>
- <div id = "content">
- <center><h2>Welcome!</h2></center>
- <center><a href = "index.php" style = "text-decoration:none;">Back</a></center>
- </div>
- </body>
- </html>
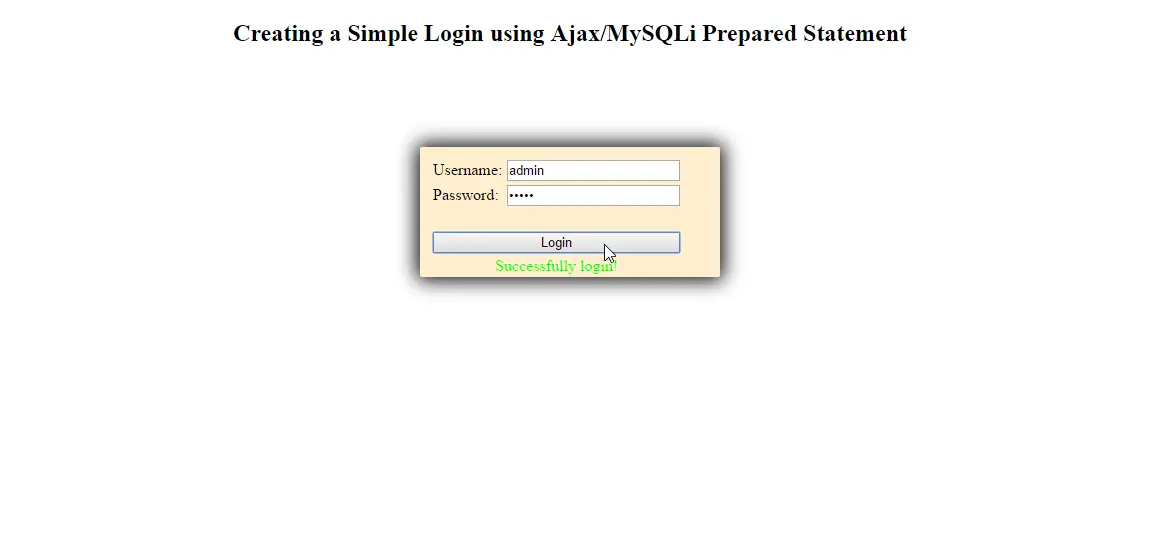
Demo/h3>
There you have it, we created a simple login form. I hope that this tutorial helps you with your projects. For more tutorials and updates, just kindly visit this site.
Enjoy Coding!!!Note: Due to the size or complexity of this submission, the author has submitted it as a .zip file to shorten your download time. After downloading it, you will need a program like Winzip to decompress it.
Virus note: All files are scanned once-a-day by SourceCodester.com for viruses, but new viruses come out every day, so no prevention program can catch 100% of them.
FOR YOUR OWN SAFETY, PLEASE:
1. Re-scan downloaded files using your personal virus checker before using it.
2. NEVER, EVER run compiled files (.exe's, .ocx's, .dll's etc.)--only run source code.