How to Prevent Copy & Paste Text Content in PHP
Learn how to create a Prevent Copy & Paste Text Content using PHP. A simple tool for preventing foreign invaders from copying your blog content. This stops the viewer to be able to do highlighting of text and copying.
In this tutorial we will create a Prevent Copy & Paste Text Content using PHP. PHP is a server-side scripting language designed primarily for web development. Using PHP, you can let your user directly interact with the script and easily to learned its syntax. It is mostly used by newly coders for its user-friendly environment.
So Let's do the coding...Before we get started:
First you have to download & install XAMPP or any local server that run PHP scripts. Here's the link for XAMPP server https://www.apachefriends.org/index.html.
And this is the link for the jquery that i used in this tutorial https://jquery.com/.
Lastly, this is the link for the bootstrap that i used for the layout design https://getbootstrap.com/.
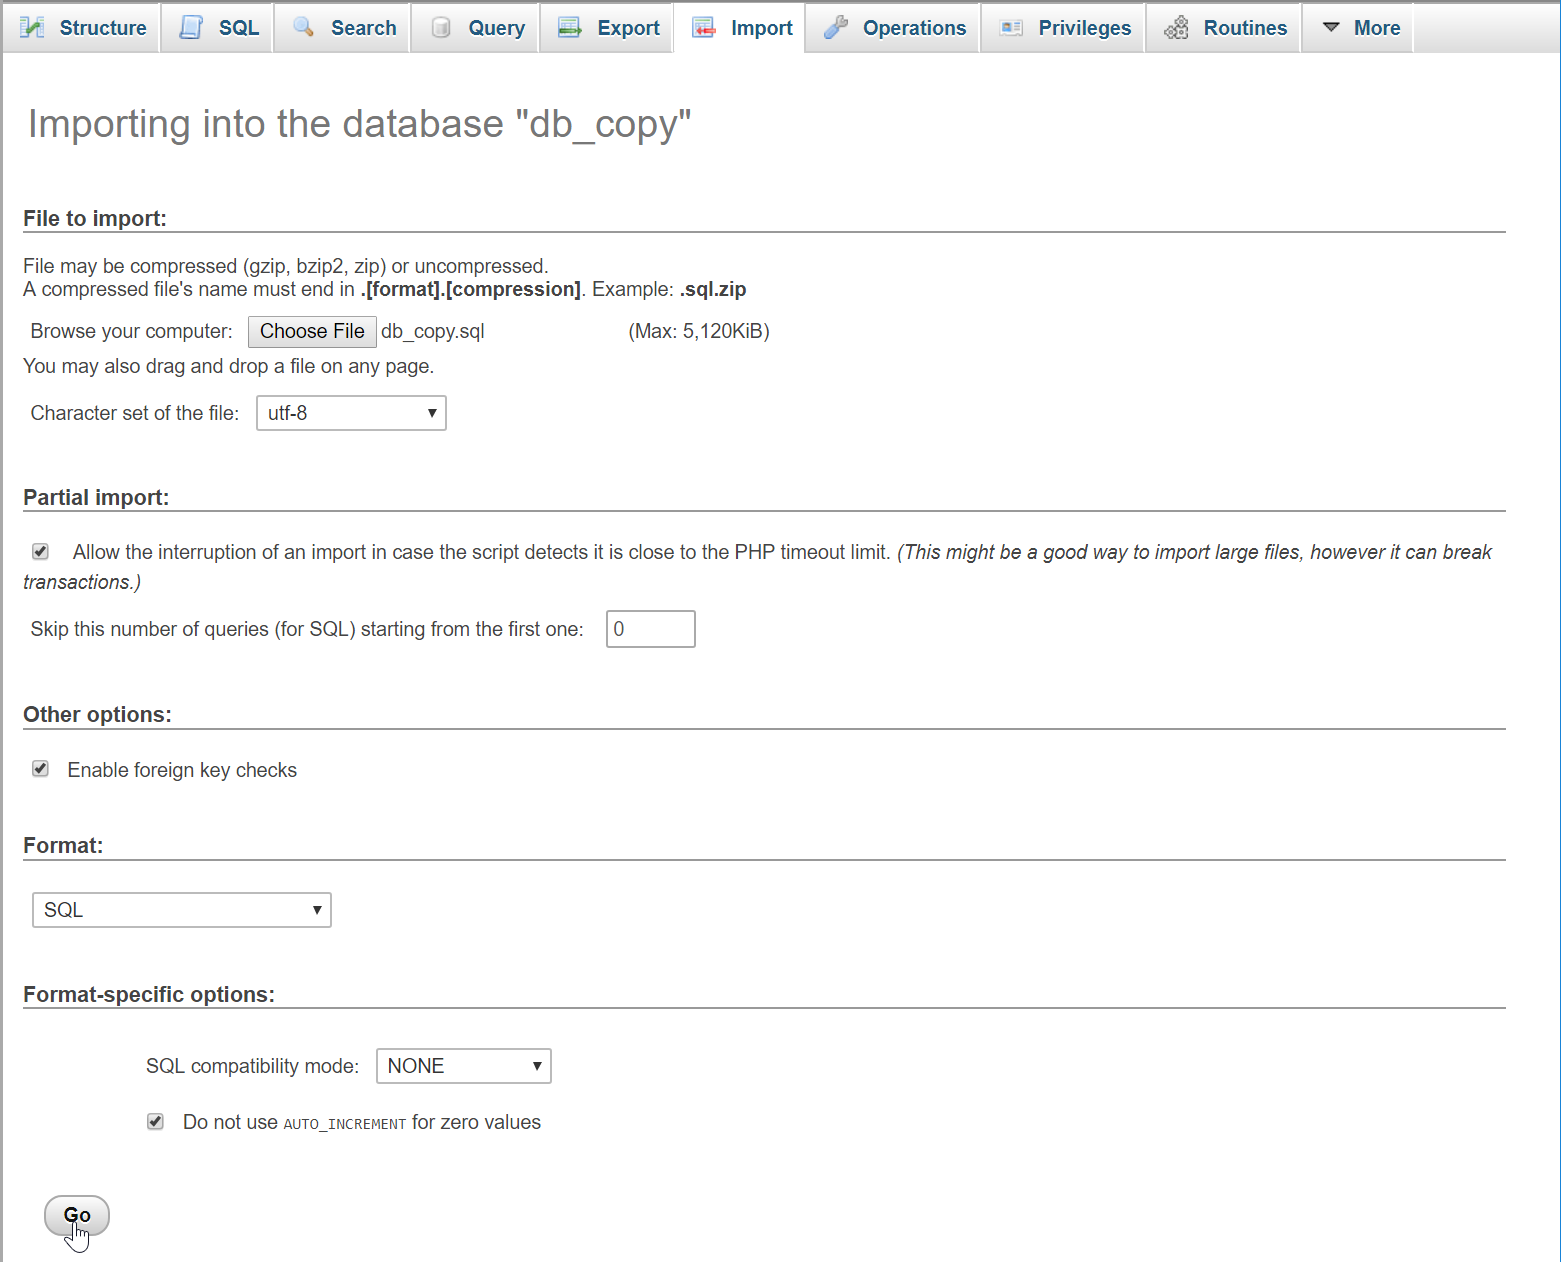
Creating Database
Open your local database web server then create a database name in it db_copy. After that, click Import then locate the database file inside the folder of the application then click ok.
To create the sample table and data in the database copy the code below and paste it in the database SQL tab in PHPMyAdmin.
- (1, 'Far Away River', 'Far far away, behind the word mountains, far from the countries Vokalia and Consonantia, there live the blind texts. Separated they live in Bookmarksgrove right at the coast of the Semantics, a large language ocean. A small river named Duden flows by their place and supplies it with the necessary regelialia. It is a paradisematic country, in which roasted parts of sentences fly into your mouth. Even the all-powerful Pointing has no control about the blind texts it is an almost unorthographic life One day however a small line of blind text by the name of Lorem Ipsum decided to leave for the far World of Grammar. The Big Oxmox advised her not to do so, because there were thousands of bad Commas, wild Question Marks and devious Semikoli, but the Little Blind Text didn’t listen. She packed her seven versalia, put her initial into the belt and made herself on the way. When she reached the first hills of the Italic Mountains, she had a last view back on the skyline of her hometown Bookmarksgrove, the headline of Alphabet Village and the subline of her own road, the Line Lane.'),
- (2, 'Wether', 'A wonderful serenity has taken possession of my entire soul, like these sweet mornings of spring which I enjoy with my whole heart. I am alone, and feel the charm of existence in this spot, which was created for the bliss of souls like mine. I am so happy, my dear friend, so absorbed in the exquisite sense of mere tranquil existence, that I neglect my talents. I should be incapable of drawing a single stroke at the present moment; and yet I feel that I never was a greater artist than now. When, while the lovely valley teems with vapour around me, and the meridian sun strikes the upper surface of the impenetrable foliage of my trees, and but a few stray gleams steal into the inner sanctuary, I throw myself down among the tall grass by the trickling stream; and, as I lie close to the earth, a thousand unknown plants are noticed by me: when I hear the buzz of the little world among the stalks, and grow familiar with the countless indescribable forms of the insects and flies, then I feel the presence of the Almighty, who formed us in his own image, and the breath');
Creating the database connection
Open your any kind of text editor(notepad++, etc..). Then just copy/paste the code below then name it conn.php.
- <?php
- $conn = new mysqli('localhost', 'root', '', 'db_copy');
- if(!$conn){
- }
- ?>
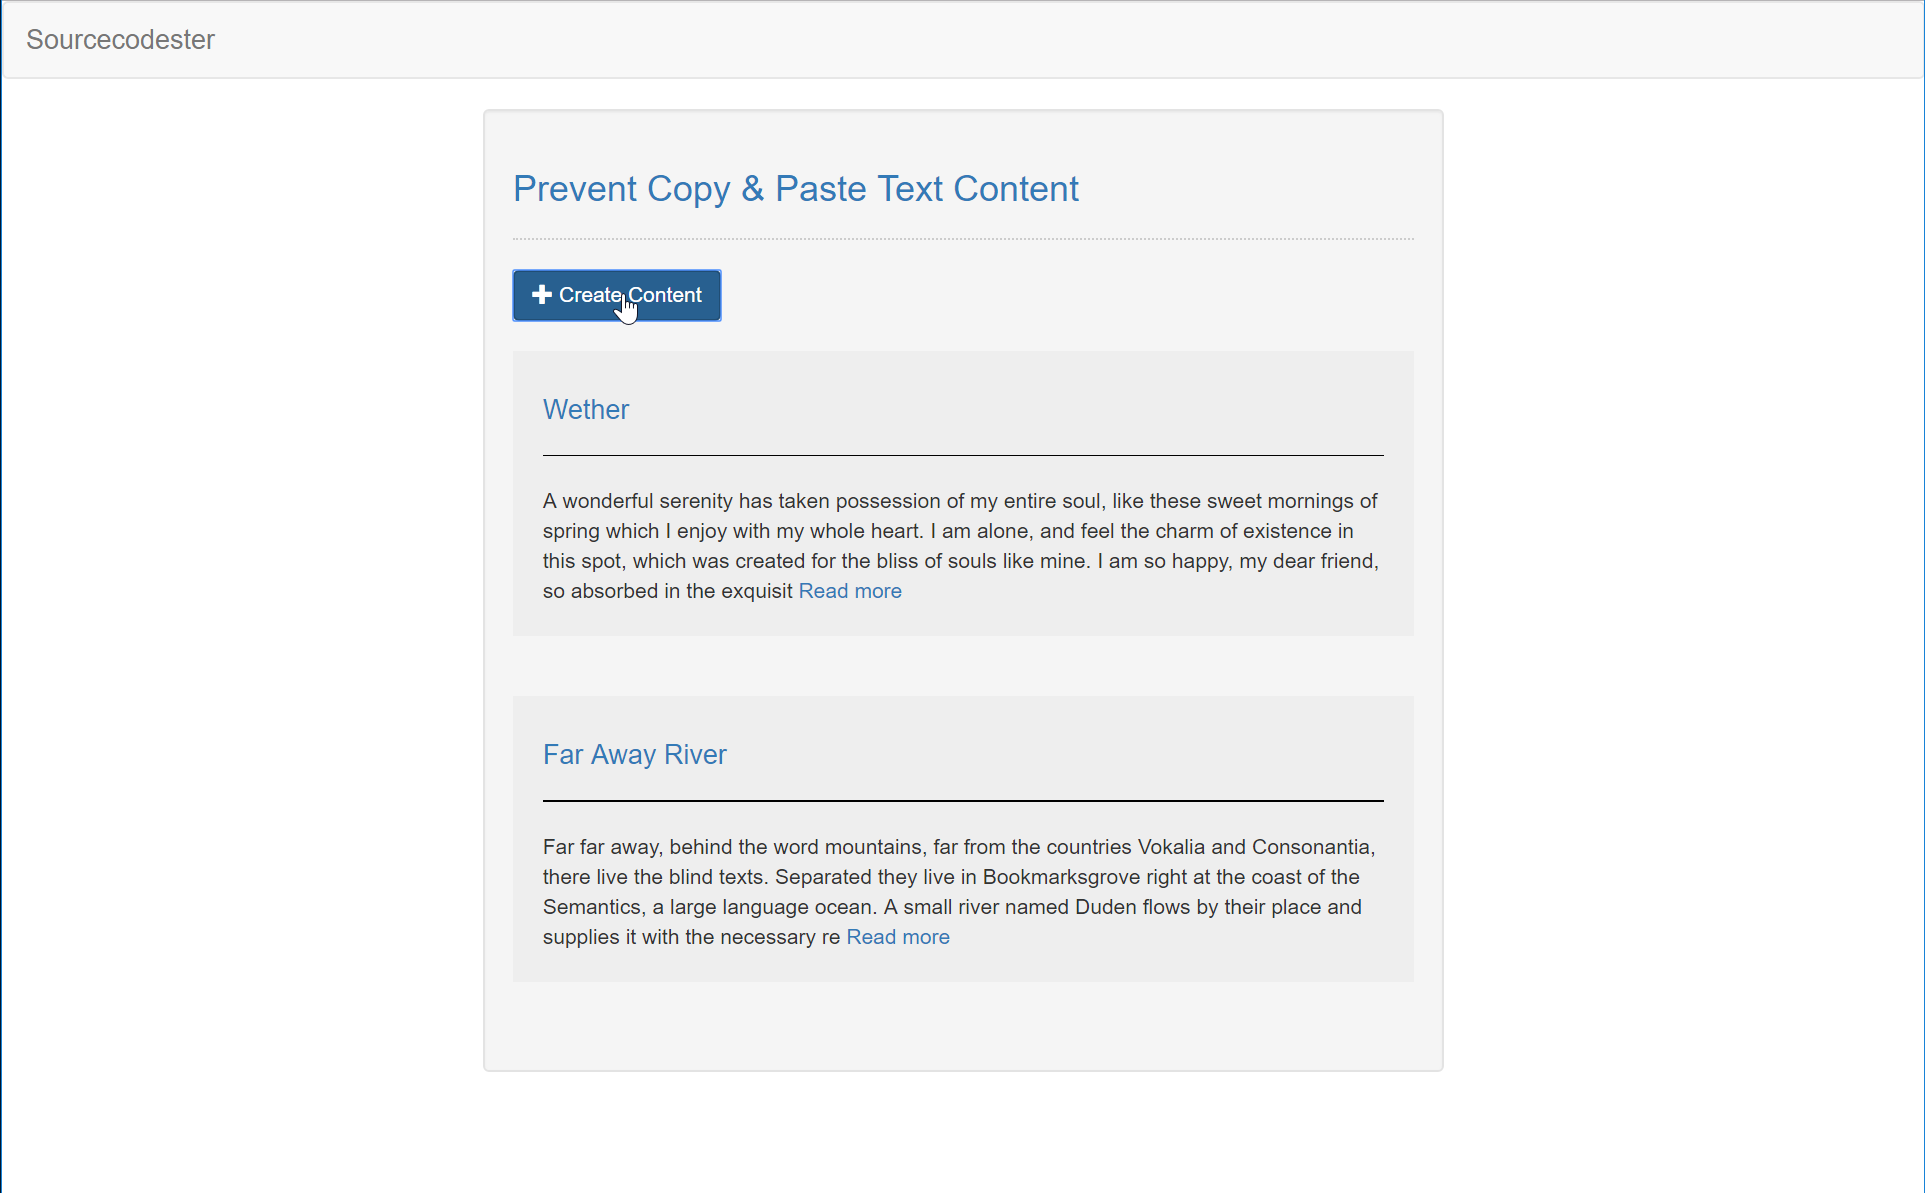
Creating The Interface
This is where we will create a simple form for our application. To create the forms simply copy and write it into your text editor, then save it as index.php.
- <!DOCTYPE html>
- <html lang="en">
- <head>
- <meta charset="UTF-8" name="viewport" content="width=device-width, initial-scale=1"/>
- <link rel="stylesheet" type="text/css" href="css/bootstrap.css"/>
- </head>
- <body>
- <nav class="navbar navbar-default">
- <div class="container-fluid">
- <a class="navbar-brand" href="https://sourcecodester.com">Sourcecodester</a>
- </div>
- </nav>
- <div class="col-md-3"></div>
- <div class="col-md-6 well">
- <h3 class="text-primary">Prevent Copy & Paste Text Content</h3>
- <hr style="border-top:1px dotted #ccc;"/>
- <button class="btn btn-primary" data-toggle="modal" data-target="#form_modal"><span class="glyphicon glyphicon-plus"></span> Create Content</button>
- <br /><br />
- <?php
- require 'conn.php';
- $query = $conn->query("SELECT * FROM `blog` ORDER BY `blog_id` DESC");
- while($fetch = $query->fetch_array()){
- ?>
- <div class = "col-md-12 content" style = "word-wrap:break-word; background-color:#eee; padding:20px;">
- <h4 class="text-primary"><?php echo $fetch['title']?></h4>
- <hr style = "border-top:1px solid #000;"/>
- <?php
- echo $content." <a href='content.php?blog_id=".$fetch['blog_id']."'>Read more</a>";
- ?>
- </div>
- <br style = "clear:both;"/>
- <br /><br />
- <?php
- }
- ?>
- </div>
- <div class="modal fade" id="form_modal" aria-hidden="true">
- <div class="modal-dialog" role="document">
- <form method="POST" action="save_query.php">
- <div class="modal-content">
- <div class="modal-body">
- <div class="col-md-2"></div>
- <div class="col-md-8">
- <div class="form-group">
- <label>Title</label>
- <input class="form-control" type="text" name="title"/>
- </div>
- <div class="form-group">
- <label>Content</label>
- <textarea class="form-control" style="resize:none; height:300px;" name="content"></textarea>
- </div>
- </div>
- </div>
- <div style="clear:both;"></div>
- <div class="modal-footer">
- <button type="button" class="btn btn-danger" data-dismiss="modal"><span class="glyphicon glyphicon-remove"></span> Close</button>
- <button name="submit" class="btn btn-primary"><span class="glyphicon glyphicon-save"></span> Submit</button>
- </div>
- </div>
- </form>
- </div>
- </div>
- </body>
- <script src="js/jquery-3.2.1.min.js"></script>
- <script src="js/bootstrap.js"></script>
- </html>
Creating Save Query
This code contains the storing of data input to the database. This code will prompt the user to complete first the required input, to be able to submit the data to the database server. To create this just write these block of code inside the text editor, then name this file as save_query.php
- <?php
- require_once 'conn.php';
- $title = $_POST['title'];
- $content = $_POST['content'];
- if($title == "" && $content == ""){
- echo "<script>alert('Please complete the required field!')</script>";
- echo "<script>window.location = 'index.php'</script>";
- }else{
- $conn->query("INSERT INTO `blog` VALUES('', '$title', '$content')");
- echo "<script>alert('Successfully Saved!')</script>";
- echo "<script>window.location = 'index.php'</script>";
- }
- }
- ?>
Creating Main Function
This code contains the specific function for the application. This code will prevent any attempt of copy and pasting the text content of the author by adding some css prevet function. This method will stop user from highlighting the text content and make stop right clicking from functioning, To have better understanding follow the whole code then save it as content.php
- <!DOCTYPE html>
- <html lang="en">
- <head>
- <meta charset="UTF-8" name="viewport" content="width=device-width, initial-scale=1"/>
- <link rel="stylesheet" type="text/css" href="css/bootstrap.css"/>
- <style>
- #content{
- -webkit-touch-callout: none;
- -webkit-user-select: none;
- -khtml-user-select: none;
- -moz-user-select: none;
- -ms-user-select: none;
- user-select: none;
- }
- </style>
- </head>
- <body>
- <nav class="navbar navbar-default">
- <div class="container-fluid">
- <a class="navbar-brand" href="https://sourcecodester.com">Sourcecodester</a>
- </div>
- </nav>
- <div class="col-md-3"></div>
- <div class="col-md-6 well">
- <h3 class="text-primary">Prevent Copy & Paste Text Content</h3>
- <hr style="border-top:1px dotted #ccc;"/>
- <a class="btn btn-success" href="index.php"><span class="glyphicon glyphicon-hand-right"></span> Back</a>
- <br /><br />
- <?php
- require 'conn.php';
- $query = $conn->query("SELECT * FROM `blog` WHERE `blog_id` = '$_REQUEST[blog_id]'");
- $fetch = $query->fetch_array();
- ?>
- <h2><?php echo $fetch['title']?></h2>
- <hr style="1px groovy #ccc"/>
- <div id="content" style="word-wrap:break-word;"><p><?php echo $fetch['content']?></p></div>
- <?php
- }
- ?>
- </div>
- </body>
- </html>
There you have it we successfully created a Prevent Copy & Paste Text Content. I hope that this simple tutorial helps you with what you are looking for. For more updates and tutorials just kindly visit this site.
Enjoy Coding!