Getting Started
I've used bootstrap to improve the design of presentation of this tutorial. This bootstrap is included in the downloadable of this tutorial but, if you want, you may download bootstrap using
this link.
Creating our Database
Next, we create our MySQL database.
I've included a .sql file in the downloadable of this tutorial which is a mysql database file. All you have to do is import the said file. If you have no idea on how to do this, please refer to my tutorial,
How import .sql file to restore MySQL database.
You should be able to create a database with tables named
mydatabase.
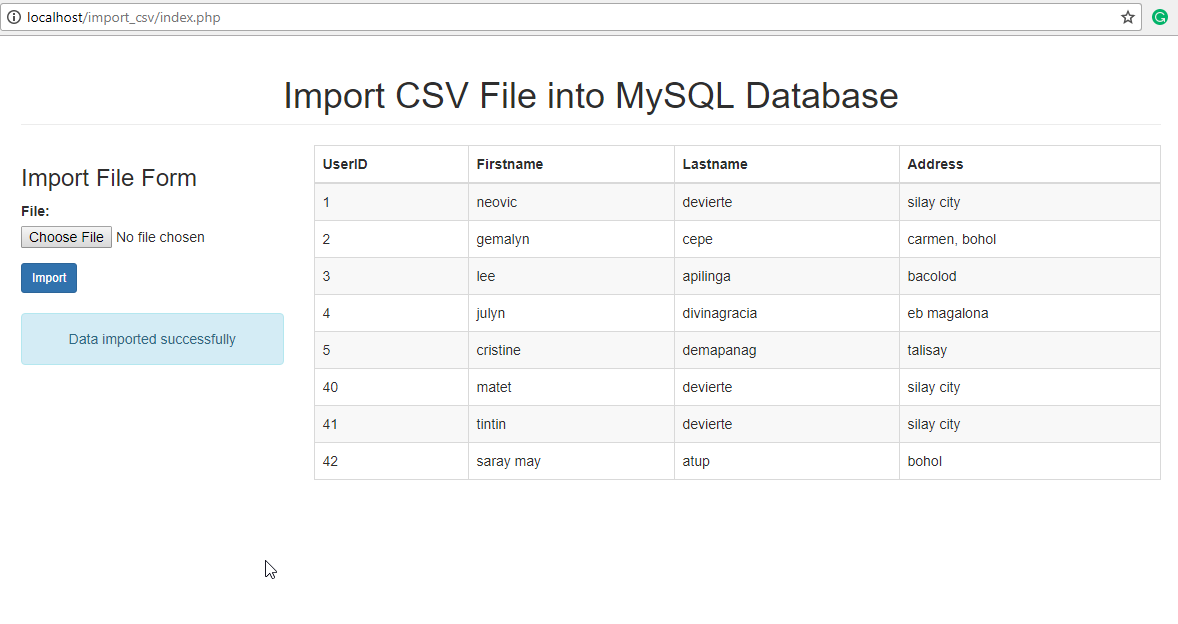
Creating our Form
Next, we're going to create our upload form. Also, for you to check the uploaded data, I've included the table that contains the uploaded data as well.
Create a new php file and name it as
index.php and paste the below codes.
<!DOCTYPE html>
<html>
<head>
<meta charset="utf-8">
<title>Import CSV File into MySQL Database using PHP/MySQLi</title>
<link rel="stylesheet" type="text/css" href="bootstrap/css/bootstrap.min.css">
</head>
<body>
<div class="container">
<h1 class="page-header text-center">Import CSV File into MySQL Database</h1>
<div class="row">
<div class="col-sm-3">
<h3>Import File Form</h3>
<form method="POST" action="import.php" enctype="multipart/form-data">
<div class="form-group">
<label for="file">File:</label>
<input type="file" id="file" name="file">
</div>
<button type="submit" name="import" class="btn btn-primary btn-sm">Import</button>
</form>
<?php
if(isset($_SESSION['message'])){ ?>
<div class="alert alert-info text-center" style="margin-top:20px;">
<?php echo $_SESSION['message']; ?>
</div>
<?php
unset($_SESSION['message']); }
?>
</div>
<div class="col-sm-9">
<table class="table table-bordered table-striped">
<thead>
<th>UserID</th>
<th>Firstname</th>
<th>Lastname</th>
<th>Address</th>
</thead>
<tbody>
<?php
//connection
$conn = new mysqli('localhost', 'root', '', 'mydatabase');
$sql = "SELECT * FROM members";
$query = $conn->query($sql);
while($row = $query->fetch_array()){
?>
<tr>
<td><?php echo $row['id']; ?></td>
<td><?php echo $row['firstname']; ?></td>
<td><?php echo $row['lastname']; ?></td>
<td><?php echo $row['address']; ?></td>
</tr>
<?php
}
?>
</tbody>
</table>
</div>
</div>
</div>
</body>
</html>
Creating our Import Script
Lastly, we create our upload/import data script.
Create a new file and name it as
import.php and paste the below codes on the file.
<?php
//connection
$conn = new mysqli('localhost', 'root', '', 'mydatabase');
if(isset($_POST['import'])){ //check if input file is empty
if(!empty($_FILES['file']['name'])){ $filename = $_FILES['file']['tmp_name'];
$fileinfo = pathinfo($_FILES['file']['name']);
//check file extension
//check if file contains data
if($_FILES['file']['size'] > 0){
$file = fopen($filename, 'r');
while(($impData = fgetcsv($file, 1000, ',')) !== FALSE){ $sql = "INSERT INTO members (firstname, lastname, address) VALUES ('".$impData[0]."', '".$impData[1]."', '".$impData[2]."')";
$query = $conn->query($sql);
if($query){
$_SESSION['message'] = "Data imported successfully";
}
else{
$_SESSION['message'] = "Cannot import data. Something went wrong";
}
}
header('location: index.php');
}
else{
$_SESSION['message'] = "File contains empty data";
header('location: index.php'); }
}
else{
$_SESSION['message'] = "Please upload CSV files only";
header('location: index.php'); }
}
else{
$_SESSION['message'] = "File empty";
header('location: index.php'); }
}
else{
$_SESSION['message'] = "Please import a file first";
header('location: index.php'); }
?>
That ends this tutorial.
P.S. If you have no .csv file to test, I've included a test.csv file in the downloadable on this tutorial that you can use.
Also, if you have an excel file instead of csv file, just save the file as a new .csv file.
Happy Coding :)