Angular JS Simple Register using Ui-Router
Submitted by nurhodelta_17 on Wednesday, January 31, 2018 - 19:48.
Getting Started
Please take a look at our previous tutorial, Angular JS Simple Login using Ui-Router, which tackles on how to create a simple login using Angular JS in Ui-Router since we're gonna be using it in this tutorial.Creating Link for Register
First, let's create a link to our register form by adding the ff in the login.html of the previous login tutorial.Creating our Registration Form
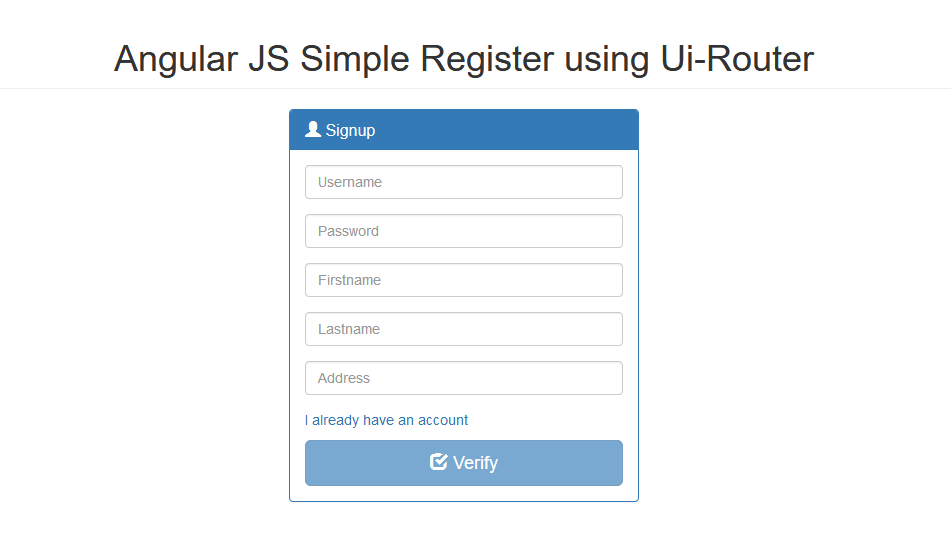
Next, we're gonna create our registration form by creating a new file in our root folder and name it as register.html- <div class="col-sm-4 col-sm-offset-4">
- <div class="login-panel panel panel-primary">
- <div class="panel-heading">
- </h3>
- </div>
- <div class="panel-body">
- <form name="signupform" ng-submit="signup()">
- <fieldset>
- <div class="form-group">
- <input class="form-control" placeholder="Username" type="text" autofocus ng-model="user.username" required>
- </div>
- <div class="form-group">
- <input class="form-control" placeholder="Password" type="password" ng-model="user.password" required>
- </div>
- <div class="form-group">
- <input class="form-control" placeholder="Firstname" type="text" ng-model="user.firstname" required>
- </div>
- <div class="form-group">
- <input class="form-control" placeholder="Lastname" type="text" ng-model="user.lastname" required>
- </div>
- <div class="form-group">
- <input class="form-control" placeholder="Address" type="text" ng-model="user.address" required>
- </div>
- </fieldset>
- </form>
- </div>
- </div>
- <div class="alert alert-danger text-center" ng-show="errorSignup">
- {{ errorMsg }}
- </div>
- <div class="alert alert-success text-center" ng-show="successSignup">
- {{ successMsg }}
- </div>
- </div>
Adding "register" to our States
Next, in our app.js located in js folder, add the ff to our .config.- .state('register', {
- url: '/register',
- templateUrl: 'register.html',
- controller: 'registerCtrl'
- })
Creating our Register Controller and Service
Next, we are going to create our controller and service. registerCtrl.js In js folder, open controllers folder and create a new file and name it as registerCtrl.js- 'use strict';
- app.controller('registerCtrl', function($scope, signupService, loginService, $location){
- //redirect back to home if user is logged in
- var connected = loginService.islogged();
- connected.then(function(response){
- if(response.data == 'true'){
- $location.path('/home');
- }
- });
- $scope.errorSignup = false;
- $scope.successSignup = false;
- $scope.signup = function(){
- signupService.signup($scope.user, $scope);
- }
- $scope.clearMsg = function(){
- $scope.errorSignup = false;
- $scope.successSignup = false;
- }
- });
- 'use strict';
- app.factory('signupService', function($http, $location, sessionService){
- return{
- signup: function(user, $scope){
- var validate = $http.post('api/signup.php', user);
- validate.then(function(response){
- var uid = response.data.user;
- if(uid){
- sessionService.set('user',uid);
- $location.path('/home');
- }
- else{
- $scope.successLogin = false;
- $scope.errorLogin = true;
- $scope.errorMsg = response.data.message;
- }
- });
- }
- }
- });
Adding Controller and Service to our App
Next, we add the controller and service that we created in our app by adding the ff. in index.html which is our main page.Creating our Register API
Lastly, we create our PHP register API by opening api folder and create a new file named signup.php.- <?php
- $conn = new mysqli("localhost", "root", "", "angular");
- if ($conn->connect_error) {
- }
- $username = $user->username;
- $password = $user->password;
- $firstname = $user->firstname;
- $lastname = $user->lastname;
- $address = $user->address;
- $sql = "INSERT INTO members (username, password, firstname, lastname, address) VALUES ('$username', '$password', '$firstname', '$lastname', '$address')";
- $query = $conn->query($sql);
- if($query){
- $nid = $conn->insert_id;
- $_SESSION['user'] = $nid;
- }
- else{
- $out['error'] = true;
- $out['message'] = 'Signup Failed';
- }
- ?>