Inserting Image in Microsoft Access Database Using C#
Submitted by janobe on Friday, September 27, 2019 - 16:39.
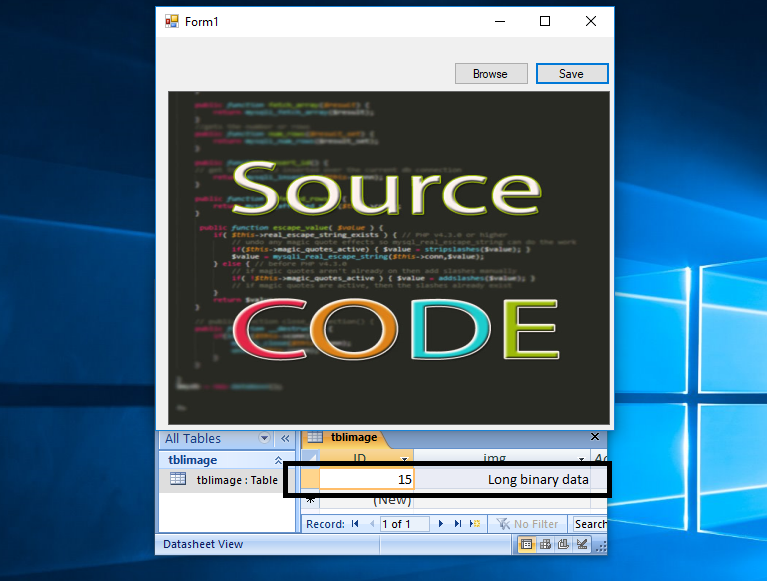
In this tutorial, I will teach you how to insert an image in MS Access Database Using C#. This method has the ability to store an image into Microsoft Access database. I used an OleDB object in the data types of a field in order to save an image itself. Let's begin.
 Step 6
Write the following code to execute the
Step 7
Write the following code to get an image in the file directory when the Browse button is clicked.
Download the complete source code and run it on your computer.
For any questions about this article. You can contact me @
Email – [email protected]
Mobile No. – 09305235027 – TNT
Or feel free to comment below
Step 6
Write the following code to execute the
Step 7
Write the following code to get an image in the file directory when the Browse button is clicked.
Download the complete source code and run it on your computer.
For any questions about this article. You can contact me @
Email – [email protected]
Mobile No. – 09305235027 – TNT
Or feel free to comment below
Creating an Application
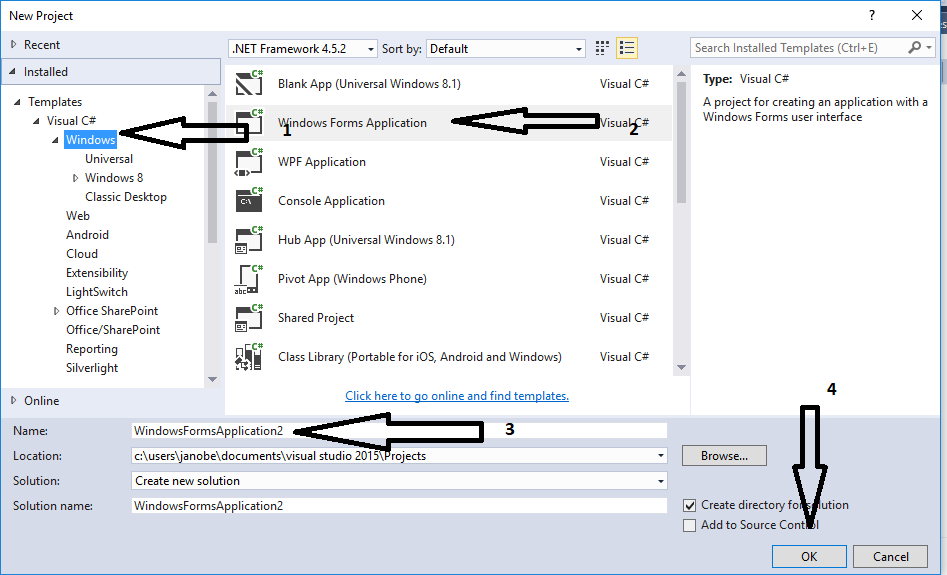
Step 1
Open Microsoft Visual Studio 2015 and create a new windows form application in c#.
Step 2
Do the form just like shown below.
Step 3
Press F7 to open the code editor. In the code editor, add a namespace forOLeDB to access OLeDB libraries .
- Using System.Data.OleDb
Step 4
Create a connection between the MS access database and c#. After that, declare all the classes and variables that are needed.Step 5
Create a method for Saving an image in the database.- private void saveImage(string sql)
- {
- try
- {
- con.Open();
- string path = ofd.FileName;
- byte[] imageData;
- cmd.Connection = con;
- cmd.CommandText = sql;
- imageData = System.IO.File.ReadAllBytes(@path);
- cmd.Parameters.AddWithValue("@IM", imageData);
- cmd.ExecuteNonQuery();
- }
- catch(Exception ex)
- {
- MessageBox.Show(ex.Message);
- }
- finally
- {
- con.Close();
- }
- }
saveImage() method when the “Save” button is clicked.
- private void btnSave_Click(object sender, EventArgs e)
- {
- sql = "Insert into tblimage (img) Values (@IM)";
- saveImage(sql);
- MessageBox.Show("Image has been saved into the database");
- }
- private void btnBrowse_Click(object sender, EventArgs e)
- {
- //'CHECK THE SELECTED FILE IF IT EXIST OTHERWISE THE DIALOG BOX WILL DISPLAY A WARNING.
- ofd.CheckFileExists = true;
- //'CHECK THE SELECTED PATH IF IT EXIST OTHERWISE THE DIALOG BOX WILL DISPLAY A WARNING.
- ofd.CheckPathExists = true;
- //'GET AND SET THE DEFAULT EXTENSION
- ofd.DefaultExt = "jpg";
- //'RETURN THE FILE LINKED TO THE LNK FILE
- ofd.DereferenceLinks = true;
- //'SET THE FILE NAME TO EMPTY
- ofd.FileName = ".jpg";
- //'FILTERING THE FILES
- ofd.Filter = "(*.jpg)|*.jpg|(*.png)|*.png|(*.jpg)|*.jpg|All files|*.*";
- //'SET THIS FOR ONE FILE SELECTION ONLY.
- ofd.Multiselect = false;
- //'SET THIS TO PUT THE CURRENT FOLDER BACK TO WHERE IT HAS STARTED.
- ofd.RestoreDirectory = true;
- //'SET THE TITLE OF THE DIALOG BOX.
- ofd.Title = "Select a file to open";
- //'ACCEPT ONLY THE VALID WIN32 FILE NAMES.
- ofd.ValidateNames = true;
- if (ofd.ShowDialog() == DialogResult.OK)
- {
- PictureBox1.Image = Image.FromFile(ofd.FileName);
- }
- }