C# - Simple Splash Screen
Submitted by razormist on Monday, April 2, 2018 - 22:22.
In this tutorial we will create a Simple Splash Screen using C#. C# is a general-purpose, object-oriented programming language. C# automatically manages inaccessible object memory using a garbage collector, which eliminates developer concerns and memory leaks. C# is faster than dynamically typed languages because things are more clearly defined. It contains several classes that support any C# platforms, like game development. It has a friendly environment for all new developers. So let's do the coding.
After that create another form by going to the menu Project then select Add Windows Form. Then write these block of codes inside the designer script to render the interface of the form.
or also you create the layout by dragging the proper tools to the forms.
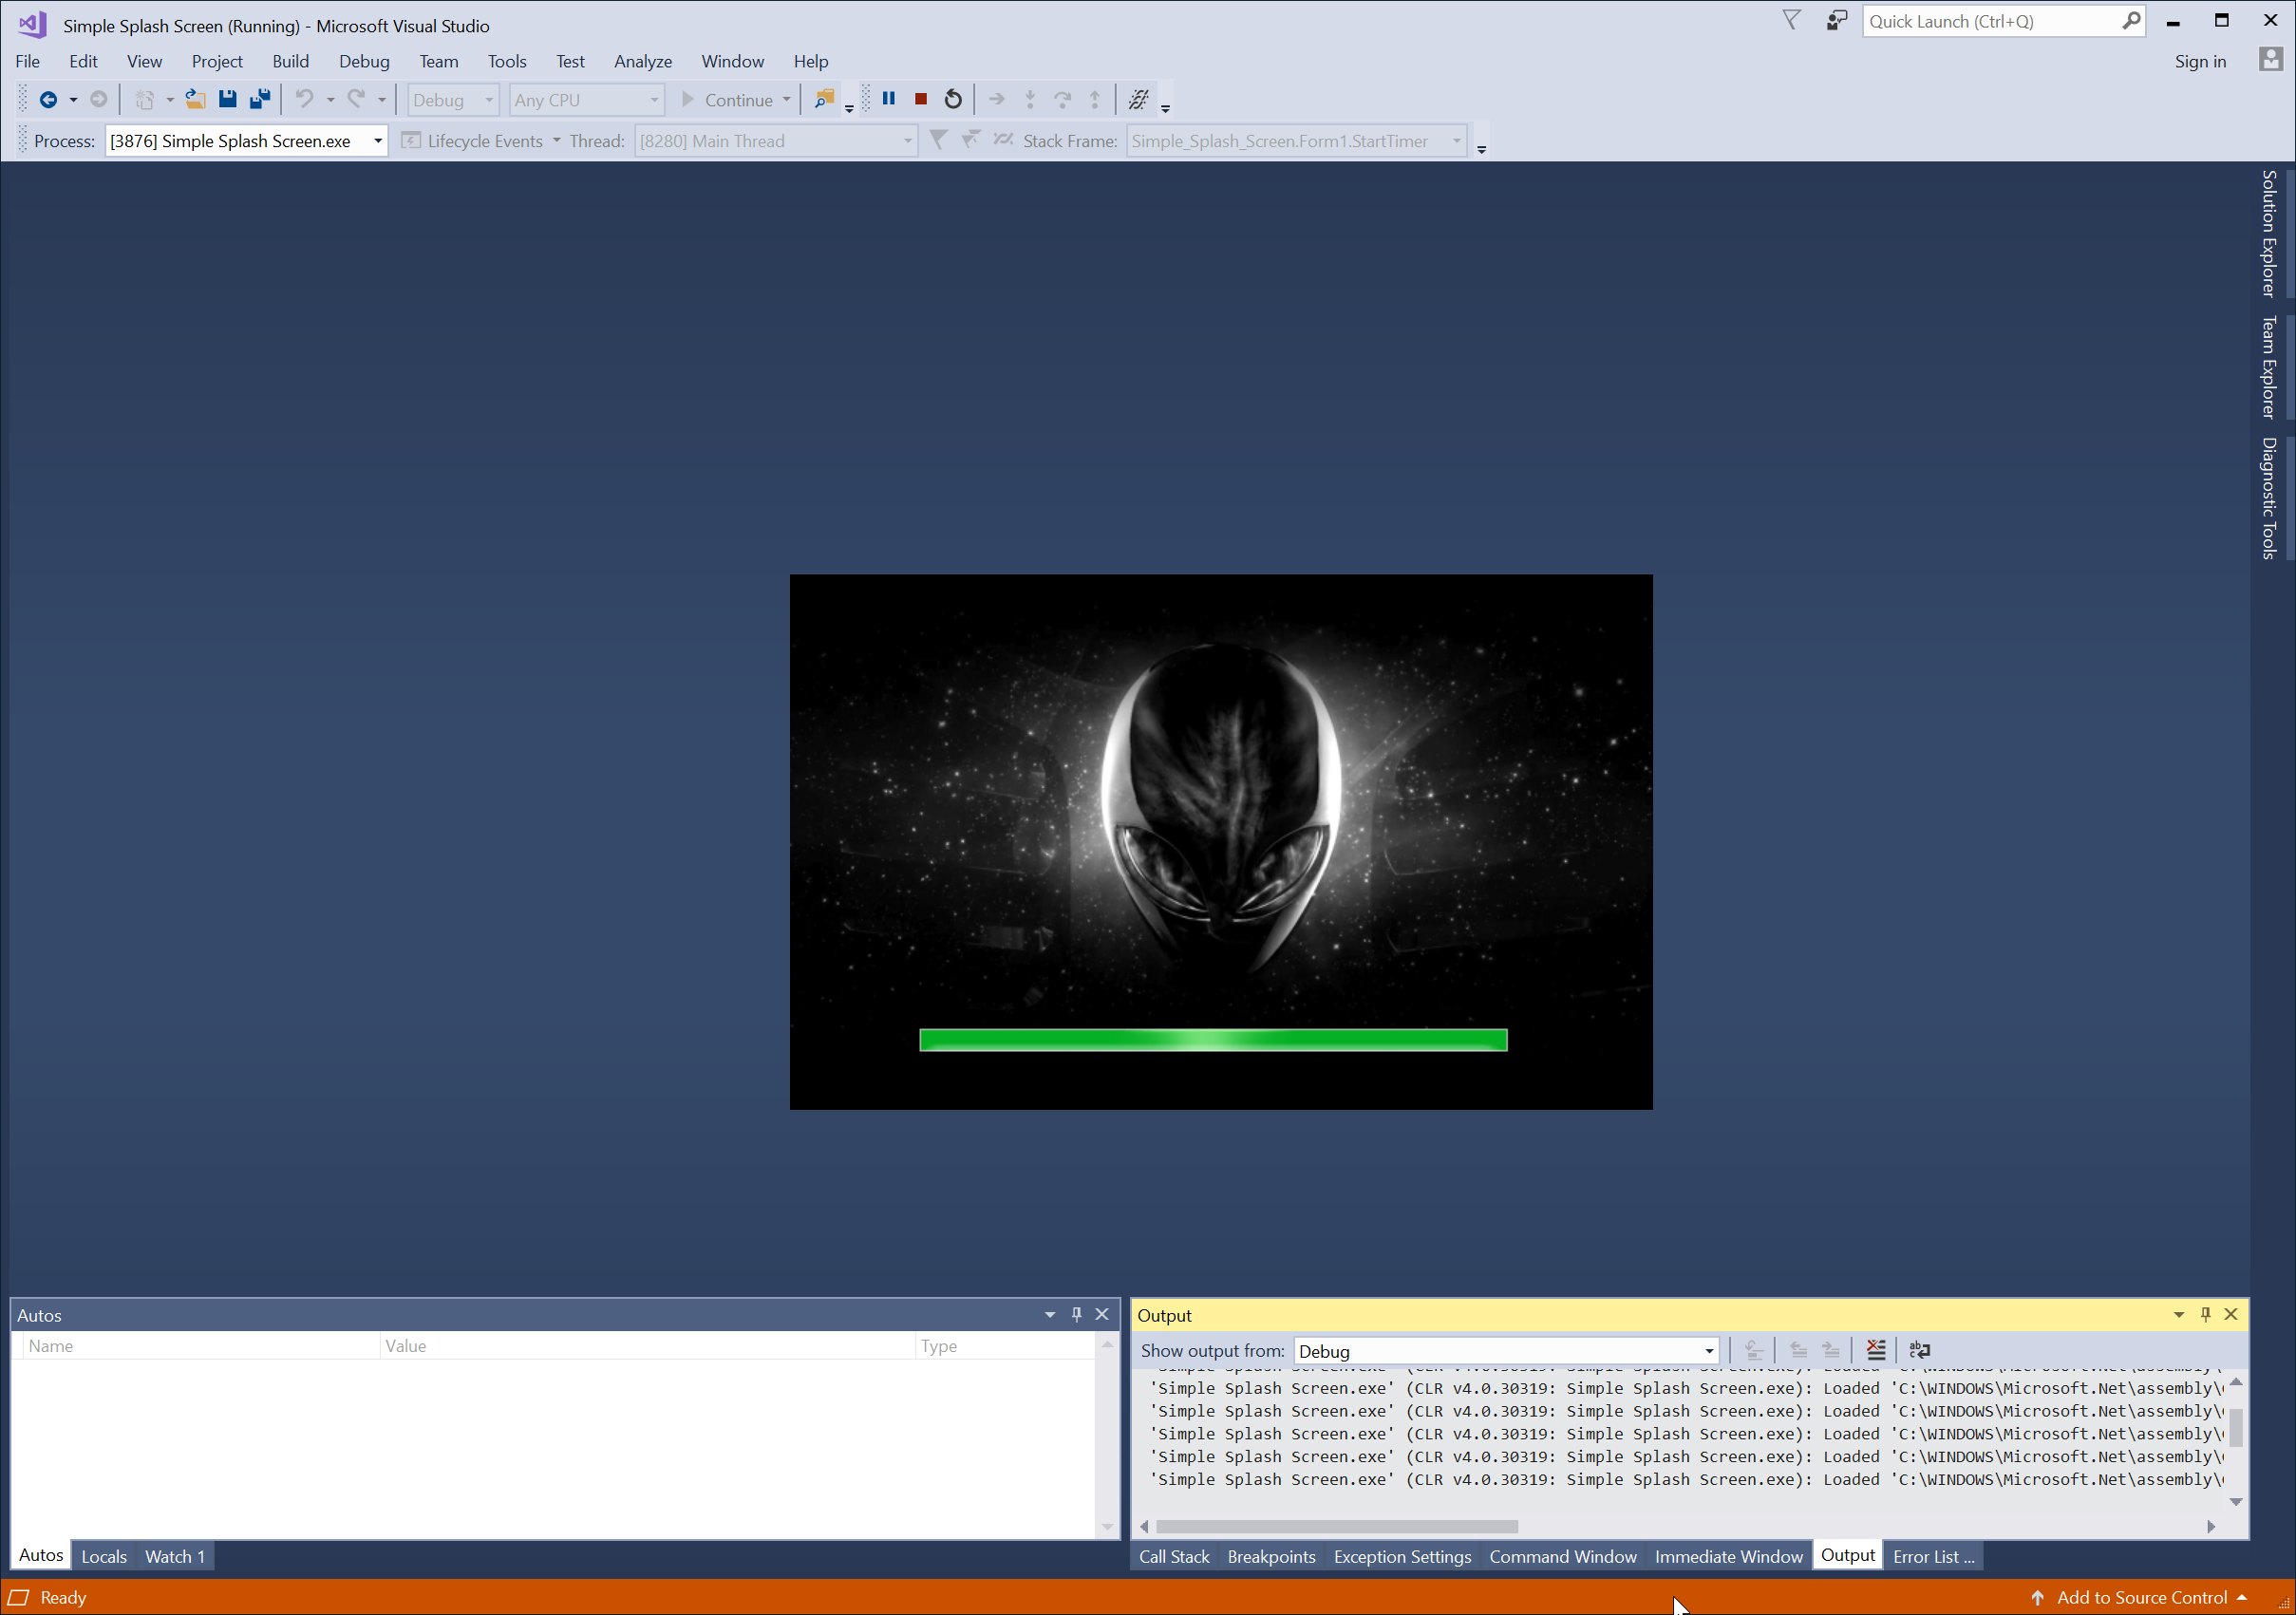
Note: To make the progress bar work make sure the you insert the Timer component in the Form by dragging the component to it.
This is the whole code for the Program.cs
Try to run the application and see if it works.
There you go we successfully create a Simple Splash Screen using C#. I hope that this tutorial help you understand on how to develop an application using C#. For more updates and tutorials just kindly visit this site. Enjoy Coding!!!
Getting Started
First you will have to download & install the Visual Studio. Visual Studios is an open source development feel free to create any application that you want. Here's the link for the Visual Studio https://www.visualstudio.com/Application Design
We will now create the design for the application, first locate the designer file called form1.Designer.cs, this is the default name when you create a new windows form. Then write these codes inside your designer file.- namespace Simple_Splash_Screen
- {
- partial class Form1
- {
- /// <summary>
- /// Required designer variable.
- /// </summary>
- private System.ComponentModel.IContainer components = null;
- /// <summary>
- /// Clean up any resources being used.
- /// </summary>
- /// <param name="disposing">true if managed resources should be disposed; otherwise, false.</param>
- protected override void Dispose(bool disposing)
- {
- if (disposing && (components != null))
- {
- components.Dispose();
- }
- base.Dispose(disposing);
- }
- #region Windows Form Designer generated code
- /// <summary>
- /// Required method for Designer support - do not modify
- /// the contents of this method with the code editor.
- /// </summary>
- private void InitializeComponent()
- {
- this.SuspendLayout();
- //
- // pb_loading
- //
- this.pb_loading.Name = "pb_loading";
- this.pb_loading.TabIndex = 0;
- //
- // t_duration
- //
- this.t_duration.Enabled = true;
- this.t_duration.Interval = 50;
- //
- // Form1
- //
- this.AutoScaleMode = System.Windows.Forms.AutoScaleMode.Font;
- this.BackgroundImage = global::Simple_Splash_Screen.Properties.Resources._2497315_alien_wallpapers;
- this.BackgroundImageLayout = System.Windows.Forms.ImageLayout.Stretch;
- this.Controls.Add(this.pb_loading);
- this.FormBorderStyle = System.Windows.Forms.FormBorderStyle.None;
- this.Name = "Form1";
- this.StartPosition = System.Windows.Forms.FormStartPosition.CenterScreen;
- this.Text = "Smple Splash Screen";
- this.ResumeLayout(false);
- }
- #endregion
- private System.Windows.Forms.ProgressBar pb_loading;
- private System.Windows.Forms.Timer t_duration;
- }
- }
- namespace Simple_Splash_Screen
- {
- partial class Form2
- {
- /// <summary>
- /// Required designer variable.
- /// </summary>
- private System.ComponentModel.IContainer components = null;
- /// <summary>
- /// Clean up any resources being used.
- /// </summary>
- /// <param name="disposing">true if managed resources should be disposed; otherwise, false.</param>
- protected override void Dispose(bool disposing)
- {
- if (disposing && (components != null))
- {
- components.Dispose();
- }
- base.Dispose(disposing);
- }
- #region Windows Form Designer generated code
- /// <summary>
- /// Required method for Designer support - do not modify
- /// the contents of this method with the code editor.
- /// </summary>
- private void InitializeComponent()
- {
- this.SuspendLayout();
- //
- // label1
- //
- this.label1.AutoSize = true;
- this.label1.Font = new System.Drawing.Font("Mistral", 28F, System.Drawing.FontStyle.Regular, System.Drawing.GraphicsUnit.Point, ((byte)(0)));
- this.label1.Name = "label1";
- this.label1.TabIndex = 0;
- this.label1.Text = "Welcome Human!";
- //
- // Form2
- //
- this.AutoScaleMode = System.Windows.Forms.AutoScaleMode.Font;
- this.Controls.Add(this.label1);
- this.Name = "Form2";
- this.StartPosition = System.Windows.Forms.FormStartPosition.CenterScreen;
- this.Text = "Main Form";
- this.ResumeLayout(false);
- this.PerformLayout();
- }
- #endregion
- private System.Windows.Forms.Label label1;
- }
- }
Managing the Main Application Class
This is the main script that runs the whole class of the application. We will add some methods to enhance the capabilities of the existing function of the script. To do the that open Program.cs then write these methods inside the Static void Main()
Then add a new methods to handle the script that we added and to be able to run it prroperly. Write these code block of codes.
- static void FormClosed(object sender, FormClosedEventArgs e) {
- ((Form)sender).FormClosed -= FormClosed;
- if (Application.OpenForms.Count == 0) Application.ExitThread();
- else Application.OpenForms[0].FormClosed += FormClosed;
- }
- using System;
- using System.Collections.Generic;
- using System.Linq;
- using System.Threading.Tasks;
- using System.Windows.Forms;
- namespace Simple_Splash_Screen
- {
- static class Program
- {
- /// <summary>
- /// The main entry point for the application.
- /// </summary>
- [STAThread]
- static void Main()
- {
- Application.EnableVisualStyles();
- Application.SetCompatibleTextRenderingDefault(false);
- startForm.Show();
- Application.Run();
- }
- static void FormClosed(object sender, FormClosedEventArgs e) {
- ((Form)sender).FormClosed -= FormClosed;
- if (Application.OpenForms.Count == 0) Application.ExitThread();
- else Application.OpenForms[0].FormClosed += FormClosed;
- }
- }
- }
Creating the Script
This code contains the function of the application. This code will the event when the application start running.This will run the timer and increment the progress bar each seconds, and when the progress bar reach the maximum value it will open a new form at the same time.To do that locate the csharp script, In my case the default script will be called Form1.cs. Then write these block of codes inside the Class of the form called Form1.- using System;
- using System.Collections.Generic;
- using System.ComponentModel;
- using System.Data;
- using System.Drawing;
- using System.Linq;
- using System.Text;
- using System.Threading;
- using System.Threading.Tasks;
- using System.Windows.Forms;
- namespace Simple_Splash_Screen
- {
- public partial class Form1 : Form
- {
- Form2 frm2;
- public Form1()
- {
- InitializeComponent();
- }
- private async void Delay() {
- await Task.Delay(5000);
- frm2.Show();
- this.Close();
- }
- private void StartTimer(object sender, EventArgs e) {
- pb_loading.Maximum = 100;
- pb_loading.Increment(1);
- if (pb_loading.Value == 100) {
- t_duration.Stop();
- Delay();
- }
- }
- }
- }