Javascript Mouse Enter and Mouse Leave Events
Submitted by Yorkiebar on Friday, October 3, 2014 - 09:59.
Introduction:
This tutorial is going to be explaining the Javascript/jQuery events for mouse enter and leave.jQuery Events?
jQuery or Javascript events are triggered when the appropriate event trigger occurs. The trigger is easily determined by simply looking at the event name, for example; this tutorial is on the 'mouse enter' and 'mouse leave' events, which are therefore triggered when the user moves their mouse in to, and out of, the given event area.HTML:
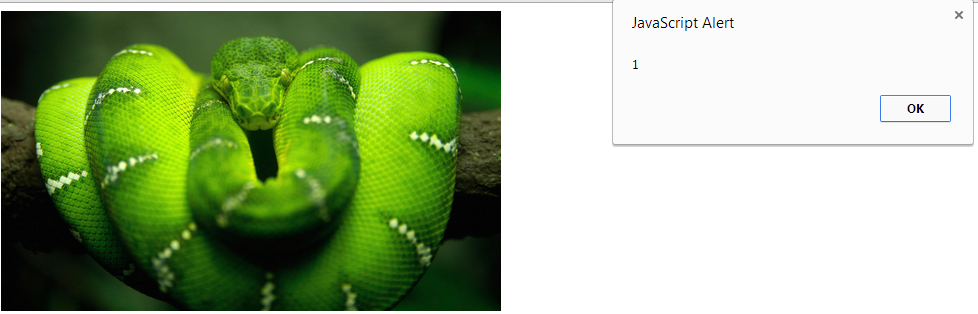
Before we can start our jQuery we need some basic HTML. This HTML is going to simply consist of an image with the source of 'http://www.sexyli.com/wp-content/uploads/2013/05/Green-Snake-Image-Wallpaper.jpg'.Styling:
Next we are just going to give the image a width and height since it's default is 2000 width which is too large for my, and most other's, browsers/monitors...- <img width='500' height='300' src='http://www.sexyli.com/wp-content/uploads/2013/05/Green-Snake-Image-Wallpaper.jpg' />
Inline Events:
Now for the actual Javascript events. First we can choose to opt for inline javascript events, this means we set the function to run on the javascript even trigger within the HTML element we want it to activate on. For our 'mouse enter' and 'mouse leave' events we use the following triggers/events...- <img onmouseenter='entered();' onmouseleave='left();' width='500' height='300' src='http://www.sexyli.com/wp-content/uploads/2013/05/Green-Snake-Image-Wallpaper.jpg' />
Functions:
The next thing we want to do is create the functions that get ran on the event triggers. In this case they are called 'entered' and 'left'.- <script>
- function entered() {
- alert(1);
- }
- function left() {
- alert(2);
- }
- </script>