JavaScript - Autofill Inputs By Dragging
Submitted by razormist on Friday, March 1, 2019 - 12:11.
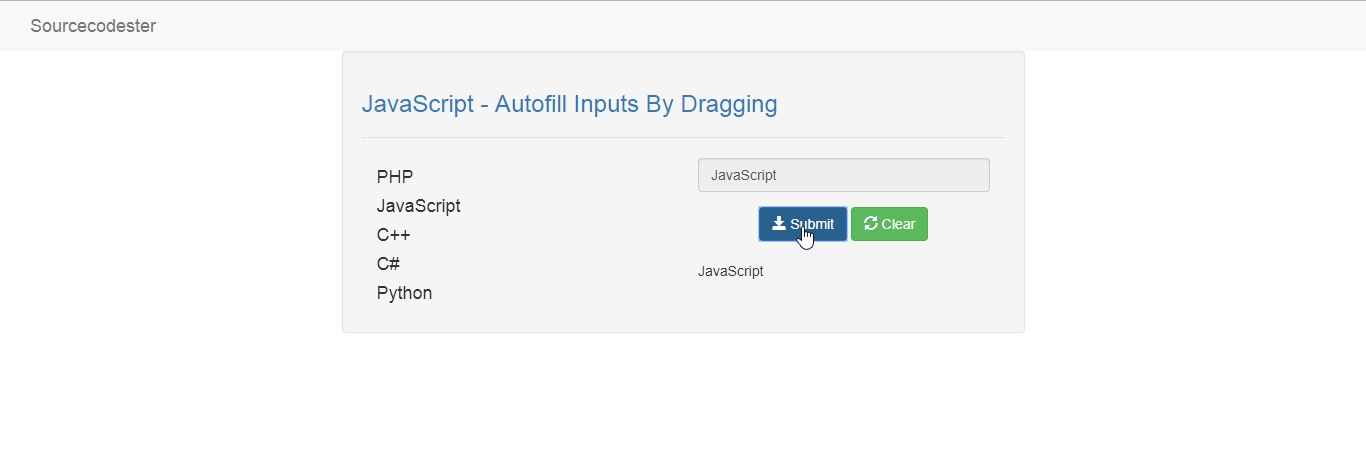
In this tutorial we will create a Autofill Inputs By Dragging using JavaScript. JavaScript is a scripting or programming language that allows you to implement complex things on web pages. It is a text-based programming language meant to run as part of a web-based application. It is an interpreted programming language that has a capabilities of Object-Oriented. So Let's do the coding...
There you have it we successfully created a Autofill Inputs By Dragging using JavaScript. I hope that this simple tutorial help you to what you are looking for. For more updates and tutorials just kindly visit this site. Enjoy Coding!
Getting started:
First you have to download bootstrap framework, this is the link for the bootstrap that i used for the layout design https://getbootstrap.com/.The Main Interface
This code contains the interface of the application. To create this just write these block of code inside the text editor and save this as index.html.- <!DOCTYPE html>
- <html lang="en">
- <head>
- <meta charset="UTf-8" name="viewport" content="width=device-width, initial-scale=1"/>
- <link rel="stylesheet" type="text/css" href="css/bootstrap.css"/>
- </head>
- <body>
- <nav class="navabr navbar-default">
- <div class="container-fluid">
- </div>
- </nav>
- <div class="col-md-6 well">
- <hr style="border-top:1px dotted #ccc;"/>
- <div class="col-md-6">
- </div>
- <div class="col-md-6">
- <div class="form-group">
- <input class="form-control" type="text" id="data" ondrop="drop(event)" ondragover="dragOver(event)" readonly="readonly"/>
- </div>
- <br />
- </div>
- </div>
- </body>
- </html>
Creating the Script
This code contains the script of the application. This code can drag and drop the data into the corresponded input form. To do this just copy and write these block of codes as shown below inside the text editor and save it as script.js inside the js folder.- function dragOver(e){
- e.preventDefault();
- }
- function drop(e){
- e.preventDefault();
- var data = e.dataTransfer.getData("data");
- document.getElementById('data').value = data;
- }
- function drag(e){
- e.dataTransfer.setData("data", e.target.id);
- }
- function submit(){
- var data = document.getElementById('data').value;
- if(data !=""){
- document.getElementById('result').innerHTML = data;
- }
- }
- function reset(){
- document.getElementById('result').innerHTML = "";
- document.getElementById('data').value = "";
- }