Live Checking of Input Data Availability using VueJS and PHP Tutorial
In this tutorial, you will learn how to implement a Live Checking of Input Data Availability using VueJS and PHP. This tutorial aims to provide IT students and new programmers a reference for implementing a live interaction of an application between the client and server side using the said JS Framework and Programming Language. I have provided some snippets below for this tutorial. A sample web application source code file that demonstrates the objective of this tutorial is also provided and free to download.
How does Live Checking of Input Data Availability work?
Live Checking of Input Data Availability is one of the effective features of a web application. Some developers prefer to implement this kind of feature in some of their project forms. It allows the end-users or the form encoders to be notified right away if the data entered on the specific text field that requires a unique value is already existing. With this, end-users will know the availability status of the data immediately even if the form is not submitted yet.
How to implement or create a Live Checking of Input Data Availability using VueJS and PHP?
The Live Checking of Input Data Availability feature can be achieved in so many ways using PHP and Vue. Here are the following methods, functions, properties, and APIs of PHP and Vue that can help in implementing the said feature.
JavaScript
- Vue methods
- JS Fetch API
- Vue Models
- JS FormData
PHP
- PHP MySQL OOP
- MySQL SELECT Statement
To get a better understanding of how to use the given methods, functions, properties, and APIs of PHP and Vue above to implement a Live Checking of Input Data Availability feature, check out the snippets that I provided below. The snippets output a simple web application that inserts new employee records into the database.
Snippets
Database
The snippet that I provided uses a MySQL Database named dummy_db. The database has the following MySQL Schema.
Database Connection
The following snippet is a PHP File named db-connect.php. The script handles the connection between the application and the database.
- <?php
- $host = "localhost";
- $username = "root";
- $pw = "";
- $db_name = "dummy_db";
- $conn = new mysqli($host, $username, $pw, $db_name);
- if(!$conn){
- }
Form Page Interface
The following snippet contains the script of the main page and the sample form interface. Save the file as index.php.
- <!DOCTYPE html>
- <html lang="en">
- <head>
- <meta charset="UTF-8">
- <meta http-equiv="X-UA-Compatible" content="IE=edge">
- <meta name="viewport" content="width=device-width, initial-scale=1.0">
- <title>Check Input Data Availability | PHP & Vue.JS</title>
- <link rel="stylesheet" href="https://cdnjs.cloudflare.com/ajax/libs/font-awesome/6.2.0/css/all.min.css" integrity="sha512-xh6O/CkQoPOWDdYTDqeRdPCVd1SpvCA9XXcUnZS2FmJNp1coAFzvtCN9BmamE+4aHK8yyUHUSCcJHgXloTyT2A==" crossorigin="anonymous" referrerpolicy="no-referrer" />
- <link rel="stylesheet" href="https://cdn.jsdelivr.net/npm/[email protected]/dist/css/bootstrap.min.css" integrity="sha384-Zenh87qX5JnK2Jl0vWa8Ck2rdkQ2Bzep5IDxbcnCeuOxjzrPF/et3URy9Bv1WTRi" crossorigin="anonymous">
- <script src="https://cdnjs.cloudflare.com/ajax/libs/font-awesome/6.2.0/js/all.min.js" integrity="sha512-naukR7I+Nk6gp7p5TMA4ycgfxaZBJ7MO5iC3Fp6ySQyKFHOGfpkSZkYVWV5R7u7cfAicxanwYQ5D1e17EfJcMA==" crossorigin="anonymous" referrerpolicy="no-referrer"></script>
- <script src="https://cdn.jsdelivr.net/npm/[email protected]/dist/js/bootstrap.bundle.min.js" integrity="sha384-OERcA2EqjJCMA+/3y+gxIOqMEjwtxJY7qPCqsdltbNJuaOe923+mo//f6V8Qbsw3" crossorigin="anonymous"></script>
- <script src="https://unpkg.com/vue@3/dist/vue.global.js"></script>
- <style>
- html, body{
- min-height:100%;
- width:100%;
- }
- tbody:empty:after{
- content:'No records found'
- }
- </style>
- </head>
- <body>
- <nav class="navbar navbar-expand-lg navbar-dark bg-primary bg-gradient">
- <div class="container">
- <div>
- </div>
- </div>
- </nav>
- <div class="container-fluid px-5 my-3" id="SampleApp">
- <div class="col-lg-6 col-md-8 col-sm-12 mx-auto">
- <div class="d-flex w-100 justify-content-center">
- <hr class="w-50">
- </div>
- <div class="card rounded-0 shadow mb-3">
- <div class="card-body">
- <div class="container-fluid">
- <form action="" id="sample-form" @submit="formSubmit">
- <div class="mb-3">
- <input type="text" id="code" name="code" v-model="code" @keyup="checkAvailability('code')" maxLength="50" class="form-control form-control-sm rounded-0" required>
- </div>
- <div class="mb-3">
- <input type="text" id="name" name="name" class="form-control form-control-sm rounded-0" required>
- </div>
- <div class="mb-3">
- <input type="text" id="email" name="email" v-model="email" @keyup="checkAvailability('email')" class="form-control form-control-sm rounded-0" required>
- </div>
- <div class="mb-3">
- <input type="text" id="department" name="department" class="form-control form-control-sm rounded-0" required>
- </div>
- <div class="mb-3">
- <input type="text" id="designation" name="designation" class="form-control form-control-sm rounded-0" required>
- </div>
- </form>
- </div>
- </div>
- <div class="card-footer py-1 text-center">
- </div>
- </div>
- </div>
- </div>
- </body>
- </html>
JavaScript
The snippet below is a JavaScript file that contains the script for initiating the VueJS. The methods of checking the input data availability and form submission are written in the snippet. Save it as app.js.
- const { createApp } = Vue
- /**
- * Create Vue App to the selected Element
- */
- createApp({
- /**
- * Application Data
- */
- data() {
- return {
- is_error: false,
- is_success: false,
- success_message: "",
- error_message: "",
- code: '',
- email: '',
- input_error:{
- code:{status:false, msg:""},
- email:{status:false, msg:""}
- },
- input_success:{
- code:{status:false, msg:""},
- email:{status:false, msg:""}
- }
- }
- },
- /**
- * Application Methods
- */
- methods:{
- /**
- * Live Checking Input Data Availability Method
- * @param {string} input
- */
- checkAvailability(input){
- if(this[input] == '' || this[input] == null){
- this.input_error[input] = {status:false, msg:""}
- this.input_success[input] = {status:false, msg:""}
- return false;
- }
- //Setting Form Data
- var fdata = new FormData();
- fdata.append(input,this[input])
- fdata.append("check_live",'true')
- //Request for cheching input availability
- fetch("checkAvailability.php",{
- method:'POST',
- body: fdata
- })
- .then(response => response.json())
- .then(data=>{
- if(!!data.status){
- if(data.status == 'success'){
- if(!!data.success){
- //Return Success Message
- Object.keys(data.success).map(k => {
- this.input_success[k] = data.success[k]
- this.input_error[k] = {status:false, msg: ''}
- })
- }
- if(!!data.error){
- //Return Error Message
- Object.keys(data.error).map(k => {
- this.input_error[k] = data.error[k]
- this.input_success[k] = {status:false, msg: ''}
- })
- }
- }
- }
- })
- .catch(error=>{
- console.error(error)
- })
- },
- formSubmit(e){
- e.preventDefault();
- //Submitted Form
- var form = e.target
- // Setting New Form Data
- var fdata = new FormData(form);
- // Chech some Availability Error before saving the record
- if(this.input_error.code.status || this.input_error.email.status){
- is_error = true
- error_message= "Some of the input data are already exists."
- }
- // Request for Saving the record
- fetch("saveEmployee.php",{
- method:'POST',
- body: fdata
- })
- .then(response => response.json())
- .then(data=>{
- if(!!data.status){
- if(data.status == 'success'){
- // If the request process is successful
- form.reset();
- this.is_success = true;
- this.is_error = false;
- this.code = "";
- this.email = "";
- if(!!data.msg){
- this.success_message = data.msg
- }
- this.input_error={
- code:{status:false, msg:""},
- email:{status:false, msg:""}
- },
- this.input_success={
- code:{status:false, msg:""},
- email:{status:false, msg:""}
- }
- }else{
- // If the request process has failed to continue
- this.is_success = false;
- if(!!data.error){
- Object.keys(data.error).map(k => {
- this.input_success[k] = {status:false, msg: ''}
- this.input_error[k] = data.error[k]
- })
- }
- if(!!data.msg){
- this.is_error = true;
- this.error_message = data.msg
- }
- }
- }
- })
- .catch(error=>{
- console.error(error)
- })
- }
- }
- }).mount('#SampleApp')
Check Availability API
Here is the snippet of a PHP File that contains the PHP Script for checking the availability of the entered input value of the end user. The script will be executed using the checkAvailability() method on the Vue App script. The script will be used also before the insertion process to check the availability again before executing the insertion of data on the database. Save it as checkAvailability.php.
- <?php
- include_once('db-connect.php');
- function check_availability(){
- global $conn;
- // Allowed fields to check
- $allowed_fields = ['code', 'email'];
- $response['status'] = 'success';
- /**
- * Dynamically checking the input data availablity
- */
- foreach($_POST as $k => $v){
- // SQL Statement
- $check_sql = "SELECT id FROM `employee_list` where `{$k}` = '{$v}' ";
- // SQL Query
- $check_qry = $conn->query($check_sql);
- if($check_qry->num_rows > 0){
- // If data does not exists yet
- $response['error'][$k]['status'] = 'true';
- $response['error'][$k]['msg'] = "The entered {$k} already exists.";
- }else{
- // If data already exists
- $response['success'][$k]['status'] = 'true';
- $response['success'][$k]['msg'] = "The entered {$k} is still avalailable.";
- }
- }
- }
- return $response;
- }
- // If request was executed upon input keyup event
- $conn->close();
- }
- ?>
Data Insertion API
The following snippet is PHP Script that contains the script for inserting the form's input data values on the database. The script loads the checkAvailability.php file for validating the input value availability before the execution of insertion. Save the file saveEmployee.php.
- <?php
- require_once('db-connect.php');
- require_once('checkAvailability.php');
- if($_SERVER['REQUEST_METHOD'] == 'POST'){
- /**
- * Check input availability before saving
- */
- $input_check = check_availability();
- // If some data already exists
- $input_check['status'] = 'error';
- $input_check['msg'] = "Some of the input data already exists.";
- exit;
- }
- // sanitizing input values
- foreach($_POST as $k => $v){
- }
- // Insert SQL Statement
- $sql = "INSERT INTO `employee_list`
- (`code`, `name`, `email`, `department`, `designation`)
- VALUES
- ('{$code}','{$name}','{$email}','{$department}','{$designation}')
- ";
- // Insert SQL Query
- $insert = $conn->query($sql);
- if($insert){
- // If insertion is successful
- $response['status'] = 'success';
- $response['msg'] = 'New Employee Data has been added successfully.';
- }else{
- // If insertion has failed
- $response['status'] = 'success';
- $response['msg'] = 'Employee Data has failed to insert. Error: '.$conn->error;
- }
- }
- $conn->close();
That's it! You can now test the sample web application on your end and see if it achieves the objective of this tutorial. I have provided also the source code zip file on this article. You can download it by clicking the Download Button below this article.
Snapshots
Here are some of the snapshots of the application's output.
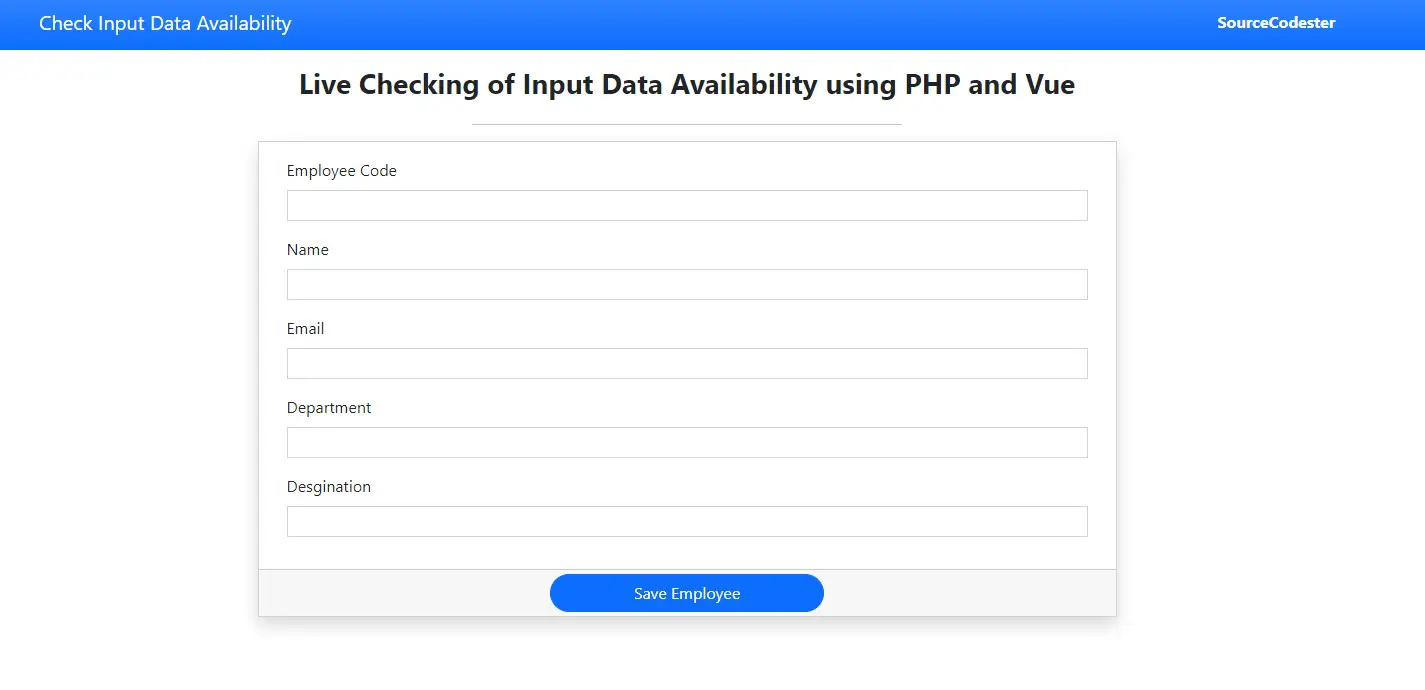
Form Interface
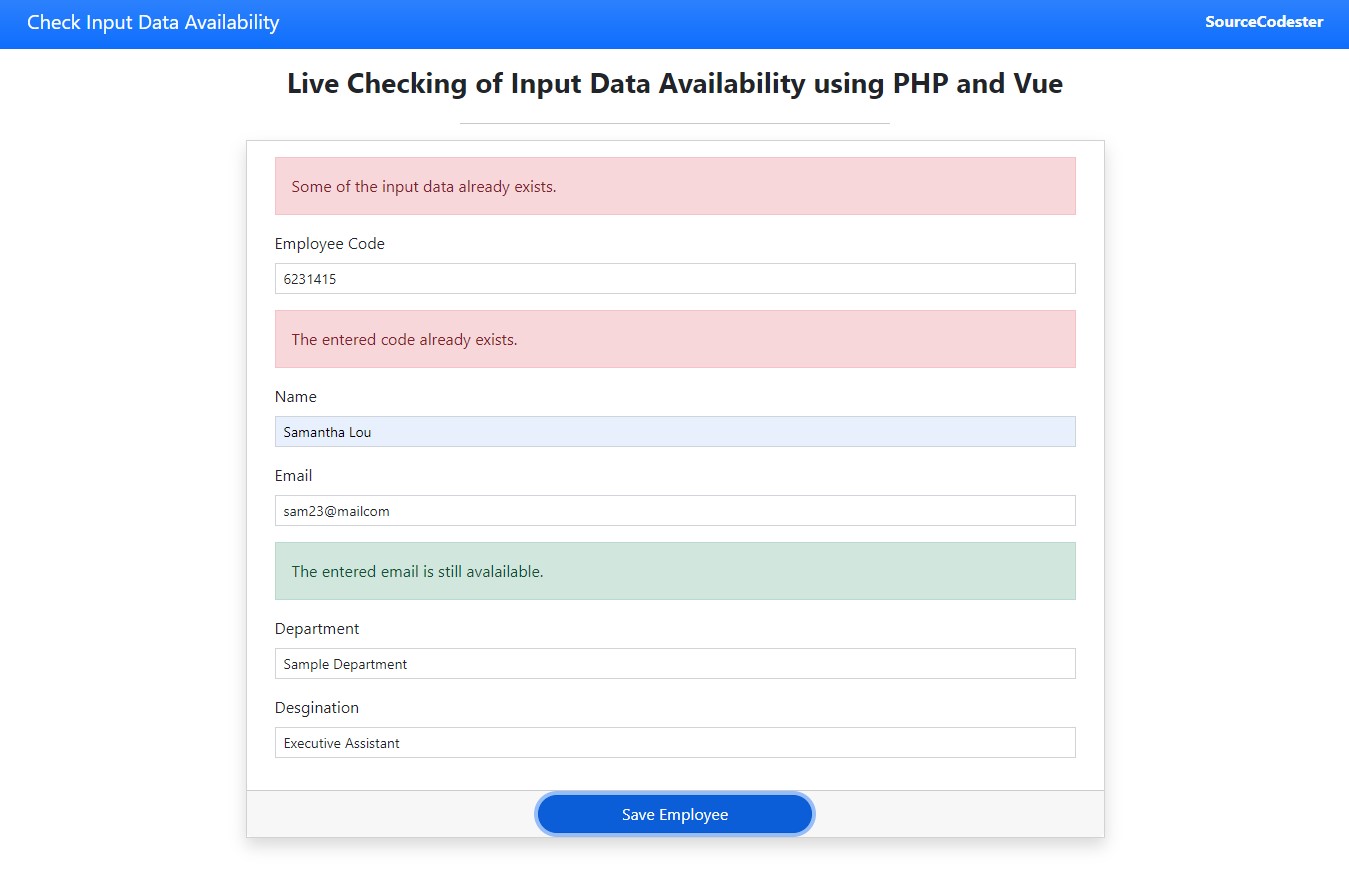
Input Data Availability Message (Available)

Input Data Availability Message (Existing)

Form's Interface with Alerts
That's the end of this tutorial. I hope this Live Checking of Input Data Availability using VueJS and PHP Tutorial helps you with what you are looking for and that you'll find this useful for your current and future projects.
Explore more on this website for more Tutorials and Free Source Codes.