In this tutorial, we will tackle about how to Populate HTML Table from JSON File using jQuery and Ajax. This tutorial will teach to populate tables from JSON data using asynchronous HTTP (Ajax) requests. This technique can optimize your application page load by loading the data only when the page or document is ready. You can also refresh or reload the table row items without leaving the page.
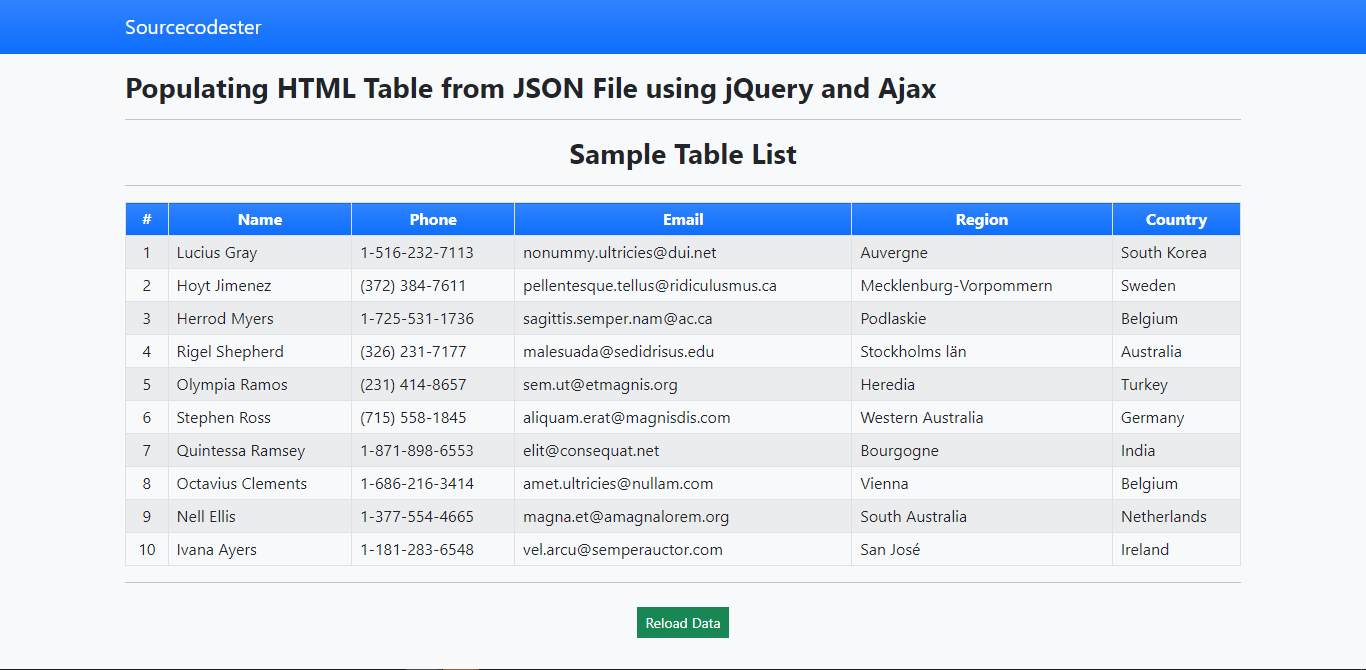
We will be creating a simple HTML Web Application that has a simple user interface, a table for displaying data, and a button for refreshing data. Our goal on this simple application is to load the data using the Ajax Request from the JSON File which contains the data to be displayed/shown in the table.
Getting Started
Download the jQuery library. If you are downloading the compressed jQuery File, make sure that the library can able to do Ajax Request. For the user interface design, I will be using Bootstrap v5.
Creating the Interface
The script below is the HTML file for our index page of the web application. This contains the HTML Scripts for our sample web application. Save this file as index.html.
<!DOCTYPE html>
<meta http-equiv="X-UA-Compatible" content="IE=edge"> <meta name="viewport" content="width=device-width, initial-scale=1.0"> <title>Populating HTML Table from JSON File (jQuery/Ajax)
</title> <link rel="stylesheet" href="./css/bootstrap.min.css"> <!-- Custom CSS -->
<nav class="navbar navbar-expand-lg navbar-dark bg-primary bg-gradient" id="topNavBar">
<a class="navbar-brand" href="https://Sourcecodester.com"> Sourcecodester
</nav>
<div class="container py-3" id="page-container"> <h3><b>Populating HTML Table from JSON File using jQuery and Ajax
</b></h3> <div class="to_print" id="first_element"> <h3 class="text-center"><b>Sample Table List
</b></h3> <table class="table table-bordered table-striped" id="table-list"> <tr class="bg-primary bg-gradient text-white"> <th class="text-capitalize text-center py-1 px-2">#
</th> <th class="text-capitalize text-center py-1 px-2">name
</th> <th class="text-capitalize text-center py-1 px-2">phone
</th> <th class="text-capitalize text-center py-1 px-2">email
</th> <th class="text-capitalize text-center py-1 px-2">region
</th> <th class="text-capitalize text-center py-1 px-2">country
</th> <div id="loader" class="d-flex justify-content-center"> <div class="spinner-border" role="status"> <span class="visually-hidden">Loading...
</span> <center><button type="button" class="btn btn-sm btn-success rounded-0 my-2" id="reload_data">Reload Data
</button></center>
Creating the JSON File
This json data below is the dummy data that we will use for this tutorial. Save the file as data.json.
[{
"name": "Lucius Gray",
"phone": "1-516-232-7113",
"region": "Auvergne",
"country": "South Korea"
},
{
"name": "Hoyt Jimenez",
"phone": "(372) 384-7611",
"region": "Mecklenburg-Vorpommern",
"country": "Sweden"
},
{
"name": "Herrod Myers",
"phone": "1-725-531-1736",
"region": "Podlaskie",
"country": "Belgium"
},
{
"name": "Rigel Shepherd",
"phone": "(326) 231-7177",
"region": "Stockholms län",
"country": "Australia"
},
{
"name": "Olympia Ramos",
"phone": "(231) 414-8657",
"region": "Heredia",
"country": "Turkey"
}, {
"name": "Stephen Ross",
"phone": "(715) 558-1845",
"region": "Western Australia",
"country": "Germany"
},
{
"name": "Quintessa Ramsey",
"phone": "1-871-898-6553",
"region": "Bourgogne",
"country": "India"
},
{
"name": "Octavius Clements",
"phone": "1-686-216-3414",
"region": "Vienna",
"country": "Belgium"
},
{
"name": "Nell Ellis",
"phone": "1-377-554-4665",
"region": "South Australia",
"country": "Netherlands"
},
{
"name": "Ivana Ayers",
"phone": "1-181-283-6548",
"region": "San José",
"country": "Ireland"
}
]
Creating the Main Function
The code below is the javascript/jquery script for printing the elements. The function below is being executed when the page loads and reload button is triggered. Save this file as script.js and include the file in your index.html file.
function load_data() {
// Show loader
$('#loader').removeClass('d-none')
// Selecting the table Element
var table = $('#table-list')
// Emptying the Table items
table.find('tbody').html('')
setTimeout(() => {
$.ajax({
// JSON FILE URL
url: 'data.json',
// Type of Return Data
dataType: 'json',
// Error Function
error: err => {
console.log(err)
alert("An error occured")
$('#loader').addClass('d-none')
},
// Succes Function
success: function(resp) {
if (resp.length > 0) {
// If returned json data is not empty
var i = 1;
// looping the returned data
Object.keys(resp).map(k => {
// creating new table row element
var tr = $('<tr>')
// first column data
tr.append('<td class="py-1 px-2 text-center">' + (i++) + '</td>')
// second column data
tr.append('<td class="py-1 px-2">' + resp[k].name + '</td>')
// third column data
tr.append('<td class="py-1 px-2">' + resp[k].phone + '</td>')
// fourth column data
tr.append('<td class="py-1 px-2">' + resp[k].email + '</td>')
// fifth column data
tr.append('<td class="py-1 px-2">' + resp[k].region + '</td>')
// sixth column data
tr.append('<td class="py-1 px-2">' + resp[k].country + '</td>')
// Append table row item to table body
table.find('tbody').append(tr)
})
} else {
// If returned json data is empty
var tr = $('<tr>')
tr.append('<th class="py-1 px-2 text-center">No data to display</th>')
table.find('tbody').append(tr)
}
$('#loader').addClass('d-none')
}
})
}, 500)
}
$(function() {
// Hide loader on document ready
$('#loader').addClass('d-none')
setTimeout(() => {
load_data()
}, 200)
// Reload Button Function
$('#reload_data').click(function() {
// refreshing the table data
load_data()
})
})
That's it! You can now test the source code you created on your end and see if it works as we planned. If there's an error occurred, kindly review the source code I provided above. Working source code is also provided in this article. Download Button is located below.
DEMO VIDEO
That ends this tutorial. I hope this tutorial will help you with what you are looking for and you'll find this useful for your future web application projects.
Explore more on this website for more Tutorials and Free Source Codes.
Happy Coding :)