Creating a Simple Login Form with User Levels in PHP/MySQLi Tutorial
Hello guys, I have here an example of a login form with different user levels using PHP/MySQLi. This is easy and simple. To learn how to create a simple Login Form with user levels, please continue reading and I will show you how.
Getting Started
First, you have setup the following into your local machine:
- Download and Install the latest XAMPP
- Download Bootstrap
- Download jQuery
- Download and Install any text editor such as notepad++.
Setup the Database
Follow the following step:
- Open the XAMPP Control Panel and start the "Apache" and "MySQL".
- Open a web browser and browse the PHPMyAdmin. (http://localhost/phpmyadmin)
- Click the "Database" located at the top-left of the page or the click the "New" hyperlink located at the side navigation bar of the page.
- Enter "levels" in the "Database name" input and click "Create".
- Navigate to SQL page. To do this, click the "SQL" Navigation Menu in the menu bar.
- Copy and paste the code below.
- Click the "Go" button.
Creating the Pages Layout.
First, open the "htdocs" directory of xampp and create a new folder. In my case, I named my folder as "user_levels". Then extract the bootsrap zip file inside the folder. All files that will be created below must be saved in this directory.
Creating a Database connectionCreate a new php file naming "connect.php". Copy and paste the following script.
- <?php
- $conn = mysqli_connect("localhost","root","","levels") or die(mysqli_error()."Cannot connect to the database.");
- ?>
- <?php include("connect.php"); ?>
- <!DOCTYPE html>
- <html lang="en">
- <head>
- <meta charset="utf-8">
- <meta http-equiv="X-UA-Compatible" content="IE=edge">
- <meta name="viewport" content="width=device-width, initial-scale=1">
- <meta name="description" content="">
- <meta name="author" content="">
- <link rel="icon" href="../../favicon.ico">
- <link rel="stylesheet" href="https://pro.fontawesome.com/releases/v5.10.0/css/all.css" integrity="sha384-AYmEC3Yw5cVb3ZcuHtOA93w35dYTsvhLPVnYs9eStHfGJvOvKxVfELGroGkvsg+p" crossorigin="anonymous"/>
- <link href="css/bootstrap.min.css" rel="stylesheet">
- </head>
- <body>
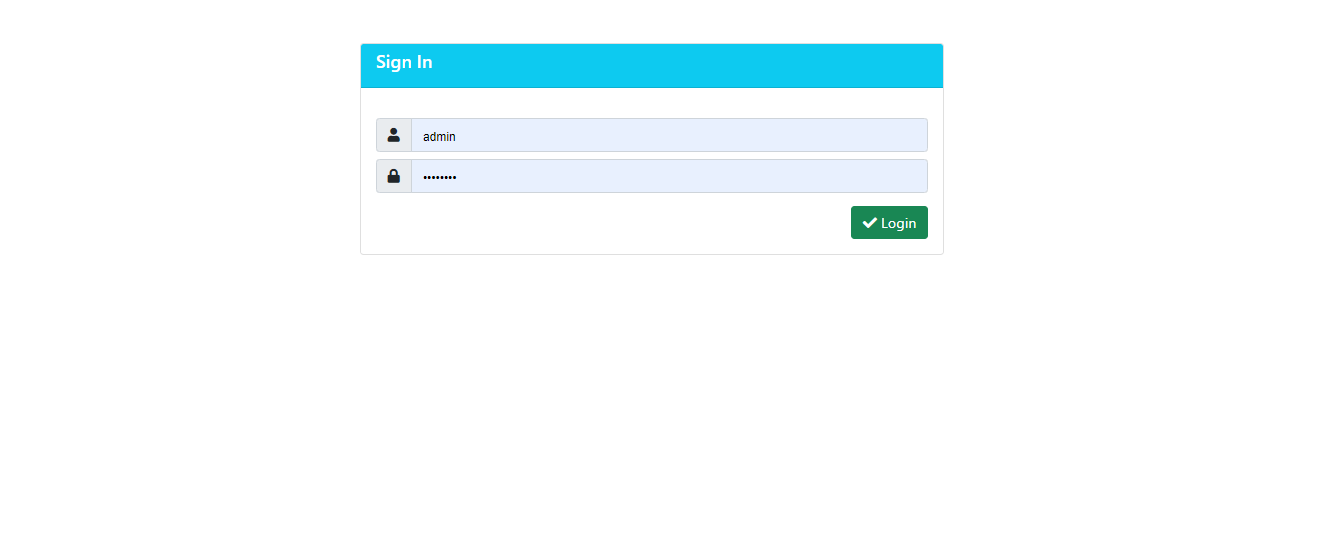
- <div class="container">
- <div id="loginbox" style="margin-top:50px;" class="mainbox col-md-6 offset-md-3 col-sm-8 offset-sm-2">
- <div class="card card-info" >
- <div class="card-header bg-info">
- </div>
- <div style="padding-top:30px" class="card-body" >
- <form action="login_action.php" method="post">
- <div class="input-group py-1">
- <input id="login-username" type="text" class="form-control" name="username" value="" placeholder="username">
- </div>
- <div class="input-group py-1">
- <input id="login-password" type="password" class="form-control" name="password" placeholder="password">
- </div>
- <div style="margin-top:10px" class="form-group">
- <!-- Button -->
- <div class="col-sm-12 controls">
- </div>
- </div>
- </form>
- </div>
- </div>
- </div>
- </div> <!-- /container -->
- </body>
- </html>
Next, we will create a PHP query script to check if the user credential entered exist in the database. Create a new file for "login_action.php" and paste the code below.
- <?php
- //include the database connection
- include("connect.php");
- $tbl_name="user_levels"; // Table name
- $username=$_POST['username']; // username sent from form
- $password=$_POST['password']; // password sent from form
- // clean the strings
- //Query
- $sql="SELECT * FROM $tbl_name WHERE username='$username' and password='$password'";
- // mysqli_num_rows is counting table row
- //Direct pages with different user levels
- if ($rows['userlevel'] == '1') {
- }
- else
- if ($rows['userlevel'] == '2') {
- }
- else
- if ($rows['userlevel'] == '3') {
- }
- else
- if ($rows['userlevel'] == '4') {
- }
- }
- else
- {
- // Error login
- echo "<script>alert('Access Denied!');
- window.location='index.php';
- </script>";
- }
- ?>
Then, create 4 html files for naming "user1.html", "user2.html", "user3.html", and "user4.html". Enter an example string in each html files and make sure that you the content are different. In my case, I use "Welcome User" + [user_level] .
That's it, now test your work. The user credentials are provided below. If you may encounter any error, just compare your work and the code above in each file. You may also download my work for this tutorial. The Download button is located below.
User Credentialsusername: user1 , user2 , user3 , user4
password: user1 , user2 , user3 , user4
I hope this tutorial will help you.
Enjoy :)Note: Due to the size or complexity of this submission, the author has submitted it as a .zip file to shorten your download time. After downloading it, you will need a program like Winzip to decompress it.
Virus note: All files are scanned once-a-day by SourceCodester.com for viruses, but new viruses come out every day, so no prevention program can catch 100% of them.
FOR YOUR OWN SAFETY, PLEASE:
1. Re-scan downloaded files using your personal virus checker before using it.
2. NEVER, EVER run compiled files (.exe's, .ocx's, .dll's etc.)--only run source code.