How to include PHP files/Templates in CodeIgniter
Submitted by nurhodelta_17 on Friday, February 9, 2018 - 13:29.
Installing CodeIgniter
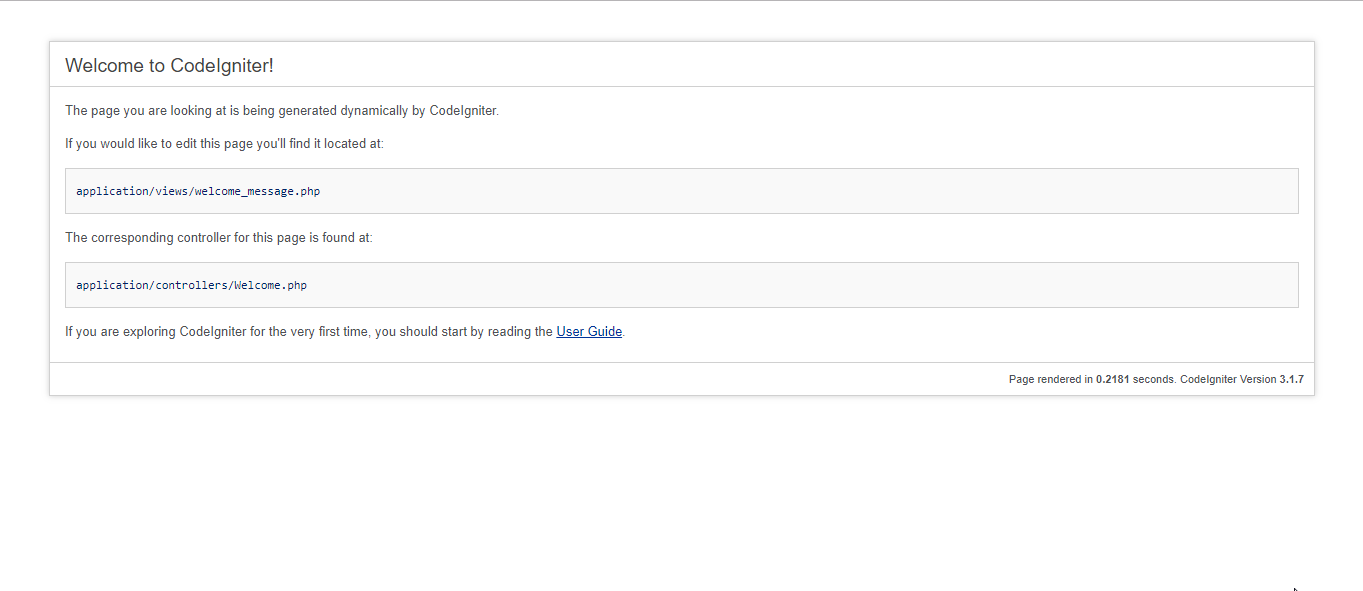
If you don't have CodeIgniter installed yet, you can use this link to download the latest version of CodeIgniter which is 3.1.7 that I've used in this tutorial. After downloading, extract the file in the folder of your server. Since I'm using XAMPP as my localhost server, I've put the folder in htdocs folder of my XAMPP. Then, you can test whether you have successfully installed codeigniter by typing your app name in your browser. In my case, I named my app as codeigniter_include so I'm using the below code.- localhost/codeigniter_include

Configuring our Base URL
Next, we configure our base url which literally the link our our site or application. 1. In your codeigniter app folder, open config.php located in application/config folder. 2. Find and edit the ff line:- $config['base_url'] = 'http://localhost/codeigniter_include';
Creating our Controller
Next, we create our controller. This is where we create the files that we want to include in a view by passing it when calling the view function. Create a file named Routes.php in application/controllers folder of our app and put the ff codes.- <?php
- class Routes extends CI_Controller {
- function __construct(){
- parent::__construct();
- $this->load->helper('url');
- $this->inc['title'] = 'How to include PHP files/Templates in CodeIgniter';
- $this->inc['navbar'] = $this->load->view('navbar', '', true);
- }
- public function index(){
- $this->inc['page_title'] = 'Home';
- $this->load->view('home', $this->inc);
- }
- public function about(){
- $this->inc['page_title'] = 'About';
- $this->load->view('home', $this->inc);
- }
- public function blog(){
- $this->inc['page_title'] = 'Blog';
- $this->load->view('home', $this->inc);
- }
- }
Defining our Default Route
Next, we are going to set our default route so that whenever we haven't set up a controller to use, this default controller will be used instead. Open routes.php located in application/config folder and set the default route to our user controller. Note: While we name controllers using CAPITAL letter in this first letter, we refer to them in SMALL letter.- $route['default_controller'] = 'routes';
Creating our Views
Lastly, we create the views of our app. Take note that I've use Bootstrap in the views. You may download bootstrap using this link. Create the ff files inside application/views folder. home.php- <!DOCTYPE html>
- <html>
- <head>
- <meta charset="utf-8">
- <title><?php echo $title; ?></title>
- <link rel="stylesheet" type="text/css" href="<?php echo base_url(); ?>bootstrap/css/bootstrap.min.css">
- </head>
- <body>
- <?php echo $navbar; ?>
- <div class="container">
- <div class="jumbotron">
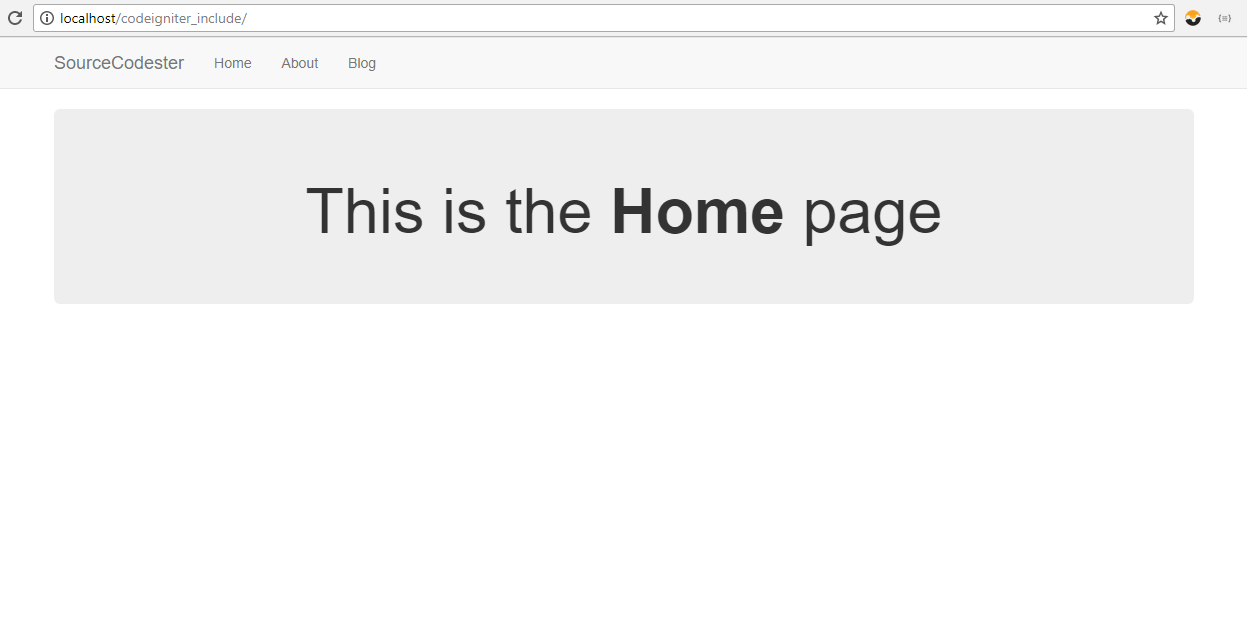
- <h1 class="text-center">This is the <b><?php echo $page_title; ?></b> page</h1>
- </div>
- </div>
- </body>
- </html>
- <!DOCTYPE html>
- <html>
- <head>
- <meta charset="utf-8">
- <title><?php echo $title; ?></title>
- <link rel="stylesheet" type="text/css" href="<?php echo base_url(); ?>bootstrap/css/bootstrap.min.css">
- </head>
- <body>
- <?php echo $navbar; ?>
- <div class="container">
- <div class="jumbotron">
- <h1 class="text-center">This is the <b><?php echo $page_title; ?></b> page</h1>
- </div>
- </div>
- </body>
- </html>
- <nav class="navbar navbar-default">
- <div class="container">
- <div class="navbar-header">
- <button type="button" class="navbar-toggle collapsed" data-toggle="collapse" data-target="#bs-example-navbar-collapse-1" aria-expanded="false">
- <span class="sr-only">Toggle navigation</span>
- <span class="icon-bar"></span>
- <span class="icon-bar"></span>
- <span class="icon-bar"></span>
- </button>
- <a class="navbar-brand" href="https://www.sourcecodester.com">SourceCodester</a>
- </div>
- <div class="collapse navbar-collapse" id="bs-example-navbar-collapse-1">
- <ul class="nav navbar-nav">
- <li><a href="<?php echo base_url(); ?>index.php/routes/index">Home</a></li>
- <li><a href="<?php echo base_url(); ?>index.php/routes/about">About</a></li>
- <li><a href="<?php echo base_url(); ?>index.php/routes/blog">Blog</a></li>
- </ul>
- </div>
- </div>
- </nav>

