In this tutorial, we will be creating a simple a Image Gallery web application with an image viewer modal.The Image Viewer will also have control button for navigating to the pervious or next image. We will be using Bootstrap for the design of the application and jQuery to dispaly image on the viewer modal and for navigation control functionalities.
Getting Started
In this tutorial, I used Bootstrap v5 for the design of application. And, kindly download also the jQuery Library. After that, compile you CSS and Script assets into a directory.
Here's the Example Images I used for this tutorial code
Download the follwing images if you want use the images. Save the images what I written in the link tag.
Creating the Custom CSS
The following code is the custom Cascading Style Sheet for the design of the gallery images, container, and viewe modal. It also includes the style for the navigator buttons (Next and Previous) of the for the Images Viewer Modal. Save this file as custom.css and In my case this was located inside the CSS directory.
.img-item .card {
cursor: pointer;
}
.img-item .card:hover .img-thumb {
cursor: pointer;
transform: scale(1.4);
filter: brightness(1);
}
.img-container {
width: calc(100%);
height: 40vh;
overflow: hidden;
}
.img-thumb {
width: calc(100%);
height: calc(100%);
object-fit: scale-down;
object-position: center center;
transition: transform .3s ease-in;
filter: brightness(0.8);
}
#img-viewer-container {
height: 70vh;
width: calc(100%);
position: relative
}
img#img-viewer {
height: calc(100%);
width: calc(100%);
object-fit: scale-down;
object-position: center center;
}
.control-prev,
.control-next {
cursor: pointer;
height: 75px;
width: 75px;
opacity: .3;
}
.control-prev:hover,
.control-next:hover {
opacity: 1;
background-color: #00000033;
}
.control-prev {
left: 0
}
.control-next {
right: 0
}
.control-next-container {
right: 0
}
.control-prev:before {
content: "";
height: 50px;
border-left: 5px solid white;
position: absolute;
top: 47%;
left: 2em;
transform: rotate(-56deg);
}
.control-prev:after {
content: "";
height: 50px;
border-left: 5px solid white;
position: absolute;
bottom: 47.8%;
left: 2em;
transform: rotate(56deg);
}
.control-next:before {
content: "";
height: 50px;
border-left: 5px solid white;
position: absolute;
top: 47%;
right: 2em;
transform: rotate(56deg);
}
.control-next:after {
content: "";
height: 50px;
border-left: 5px solid white;
position: absolute;
bottom: 47.8%;
right: 2em;
transform: rotate(-56deg);
}
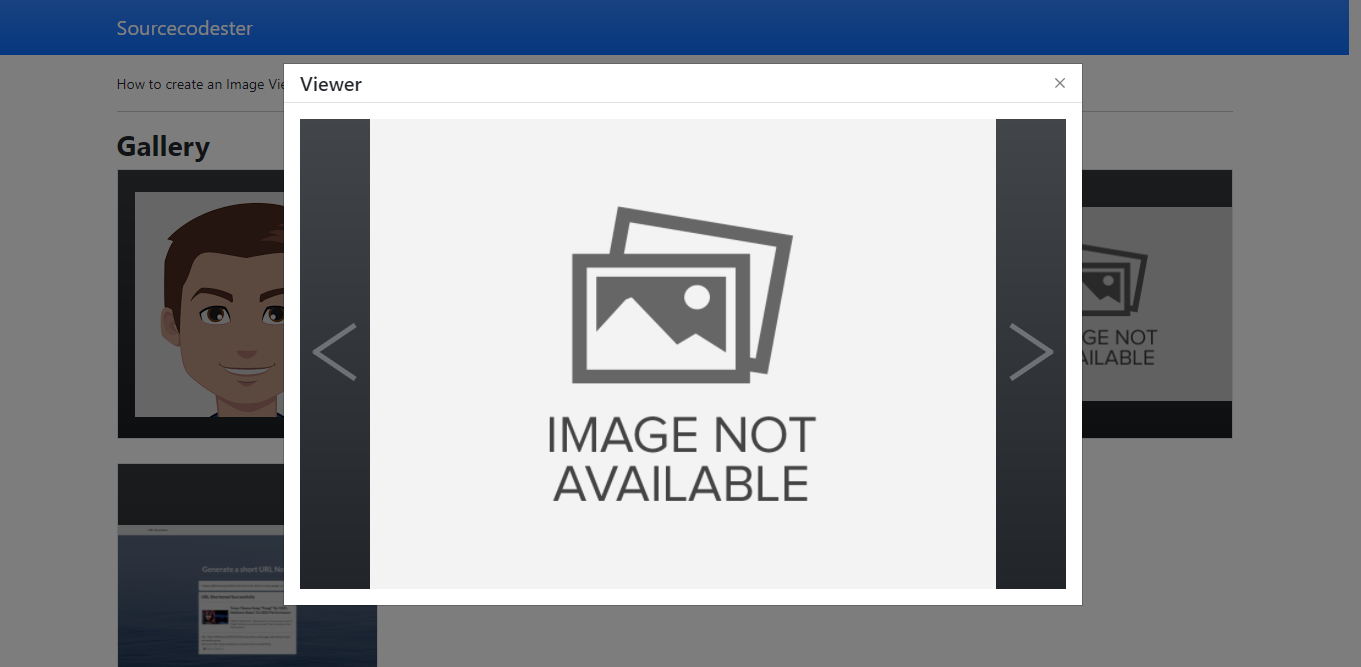
Creating the Interface
The script below is the HTML code of our simple gallery application. This contains the gallery card interface of the application. Save this file as index.html.
<!DOCTYPE html>
<meta http-equiv="X-UA-Compatible" content="IE=edge"> <meta name="viewport" content="width=device-width, initial-scale=1.0"> <link rel="stylesheet" href="./css/bootstrap.min.css"> <link rel="stylesheet" href="./css/jquery-ui.css"> <!-- Custom CSS -->
<link rel="stylesheet" href="./css/custom.css">
<nav class="navbar navbar-expand-lg navbar-dark bg-primary bg-gradient" id="topNavBar">
<a class="navbar-brand" href="https://sourcecodester.com"> Sourcecodester
</nav>
<div class="container py-3" id="page-container"> <small>How to create an Image View with Controls (
<b>Next
</b> and
<b>Previous
</b> )
</small> <div class="row row-cols-1 row-cols-sm-1 row-cols-md-3 row-cols-xl-4 gx-4 gy-4"> <div class="col img-item"> <div class="card rounded-0"> <div class="img-container"> <img src="./images/1.png" alt="Image" class="img-top bg-dark bg-gradient img-thumb"> <div class="col img-item"> <div class="card rounded-0"> <div class="img-container"> <img src="./images/2.png" alt="Image" class="img-top bg-dark bg-gradient img-thumb"> <div class="col img-item"> <div class="card rounded-0"> <div class="img-container"> <img src="./images/3.jpg" alt="Image" class="img-top bg-dark bg-gradient img-thumb"> <div class="col img-item"> <div class="card rounded-0"> <div class="img-container"> <img src="./images/4.png" alt="Image" class="img-top bg-dark bg-gradient img-thumb"> <div class="col img-item"> <div class="card rounded-0"> <div class="img-container"> <img src="./images/5.png" alt="Image" class="img-top bg-dark bg-gradient img-thumb">
<!-- Confirmation Modal -->
<div class="modal fade" id="imageViewerModal" data-bs-backdrop="static" data-bs-keyboard="false" tabindex="-1" aria-labelledby="imageViewerModalLabel" aria-hidden="true"> <div class="modal-dialog modal-lg modal-dialog-centered rounded-0"> <div class="modal-content rounded-0"> <div class="modal-header py-1"> <h5 class="modal-title" id="imageViewerModalLabel">Viewer
</h5> <button type="button" style="font-size: .65em;" class="btn-close" data-bs-dismiss="modal" aria-label="Close"></button> <div class="modal-body rounded-0"> <div id="img-viewer-container" class="d-flex"> <div class="h-100 d-flex align-items-center position-absolute control-prev-container"> <div class="control-prev"></div> <img src="" alt="Viewer" id="img-viewer" class="bg-dark bg-gradient"> <div class="h-100 d-flex align-items-center position-absolute control-next-container"> <div class="control-next"></div> <!-- End of Confirmation Modal -->
Creating the Custom Javascript
The following script is the custom JavaScript using jQuery which contains the functions for viewing the images in a modal and also the control navigation function for changing the image on the image viewer display. Save this file as script.js. In my case, this file is locaed inside the JS directory.
var viewer_modal;
$(function() {
viewer_modal = $('#imageViewerModal')
$('.img-item').click(function() {
viewer_modal.find('#img-viewer').attr('src', $(this).find('.img-thumb').attr('src'))
viewer_modal.modal('show')
})
viewer_modal.on('hidden.bs.modal', function() {
viewer_modal.find('#img-viewer').attr('src', '')
})
$('.control-next').click(function() {
var cur_img = viewer_modal.find('#img-viewer').attr('src');
var index = $('.img-thumb[src="' + cur_img + '"]').closest('.img-item').index() + 1;
var next_index = index > ($('.img-thumb').length - 1) ? 0 : index;
viewer_modal.find('#img-viewer').attr('src', $('.img-thumb').eq(next_index).attr('src'))
})
$('.control-prev').click(function() {
var cur_img = viewer_modal.find('#img-viewer').attr('src');
var index = $('.img-thumb[src="' + cur_img + '"]').closest('.img-item').index() - 1;
var prev_index = index < 0 ? ($('.img-thumb').length - 1) : index;
viewer_modal.find('#img-viewer').attr('src', $('.img-thumb').eq(prev_index).attr('src'))
})
})
There you go. You can now test the source code on your browser by browsing the index.html. If ever you have encountered any error, kindly review your code and differentiate it from the codes I provided above. You can also download the working source code I created or this tutorial. The download button is located below this article
DEMO VIDEO
that's the end of this tutorial. I hope this Simple Image Gallery Web App Tutorial Code will help you and you'll find it useful for your future web application projects.
Explore more on this website for more Tutorials and Free Source Codes.
Happy Coding :)