Creating Your First C# Program
1.1 Objective
This tutorial will guide you how to create your first C# program, build and run it. If you are newbie to C# programming language, this tutorial is very important.
1.2 Let’s go
Creating first C# Program
Creating C# Program requires you to install .net framework. Currently the newest version of .net framework is 4.5. After you have installed .net framework, you must choose an editor to write C# program. The most famous editor is integrated in Microsoft Visual Studio. Others include Sharp Develop, CodeWright, Poorman IDE, EditPlus, JEdit
In this tutorial, I use Microsoft Visual Studio 2010 (.net framework 4.0) to create a C# program. Follow these steps as bellow:
- Creating Program: Open the Visual Studio, choose File > New > Project… to display New Project windows like bellow:
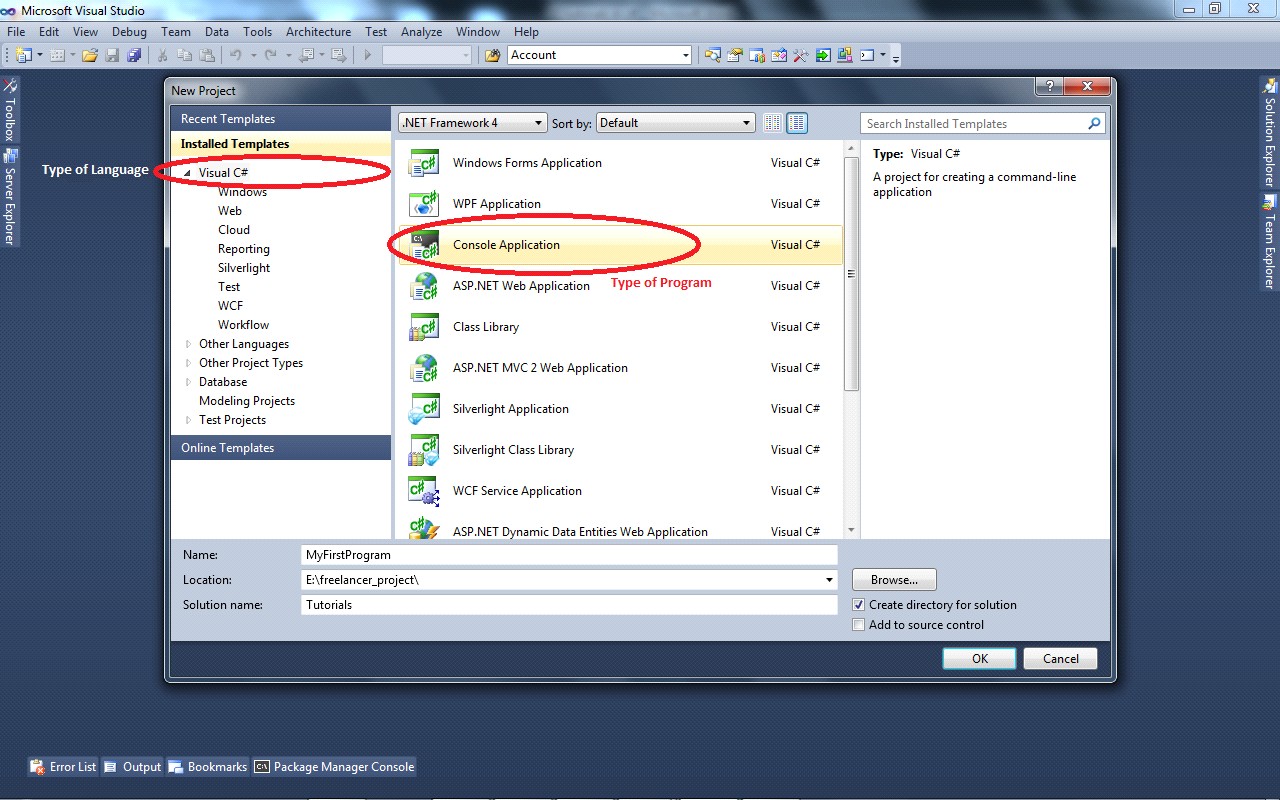
In New Project windows, select type of language is C# and type of program is Console Application, then insert information of the program:
- Name: This is the name of your program, here I named MyFirstProgram
- Location: This is location where your program is located in your hard disk. You can use browse button to select location or you can type location directly.
- Solution name: The name of your solution. Here you need to note that there may be more than one program in a solution. I named the solution is Tutorials.
Click OK button to complete creating C# program. Visual Studio will create a solution with a program inside.
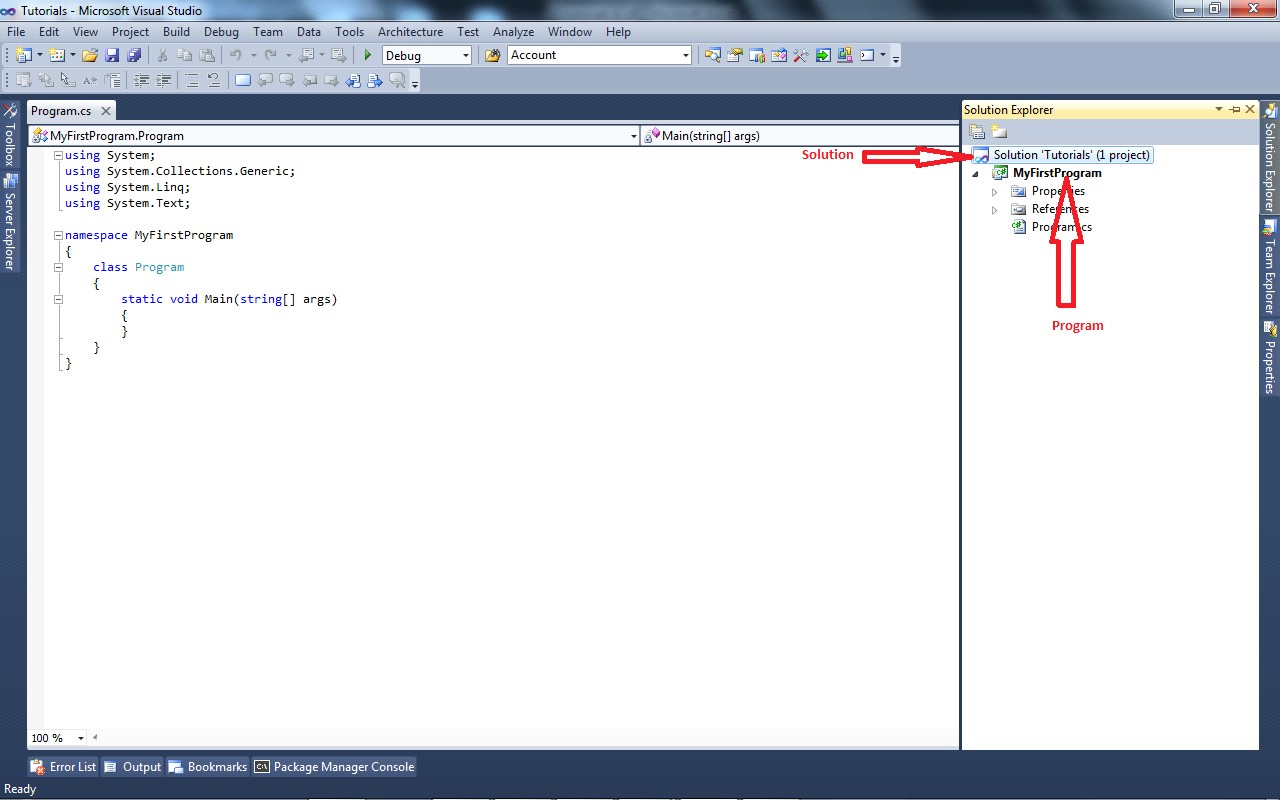
- Writing first program
Edit the code in Program.cs file as bellow:
- #region "importing libraries area"
- using System;
- using System.Collections.Generic;
- using System.Linq;
- using System.Text;
- #endregion
- #region "program"
- namespace MyFirstProgram //this is namespace of our program
- {
- class Program //this is name of our class
- {
- static void Main(string[] args) //this is function' name. Main function is the starting point of the program
- {
- //You can write you code here
- Console.WriteLine("This is my first C# program!");
- Console.ReadKey();
- }
- }
- }
- #endregion
Explanation
- “region” keyword (with “#” character as prefix) creates a region in document (only used for clear coding). Here I create a region named “importing libraries area” means that you should import all required libraries for the program, and a region named “program” where we setup code. Note that region can be nested. A region ends with a endregion keyword.
- “using” keyword is used for importing a library into the program.
- “namespace” keyword defines namespace of the program, here is MyFirstProgram.
- “class” keyword followed by an name of class, here is Program.
- The Main function is default starting point of the program. When a program starts running, the Main function is called first.
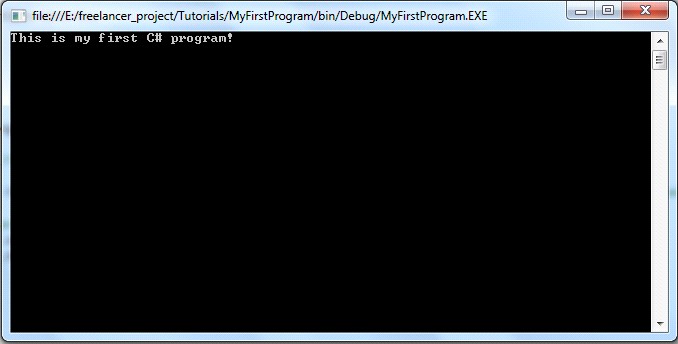
Running the program
Click "Run" icon in menu bar or press F5 button to run the program. Bellow is the output of the program above:
Summary
In this lesson, we show you some points:
- How to create your first project in Visual Studio
- How to edit a simple code, with clear area in program file
- How to run a program in Visual Studio