In this tutorial, I will teach you how to
save the data using vb.net and SQL Server database. This program is
developed in Visual Studio 2015 and Microsoft SQL Server Management Studio 2018. It has the
ability to save the data in the SQL Server database that you have input in the textbox. Let’s begin.
Creating Database
1. Install the
SSMS 2018 on your machine.
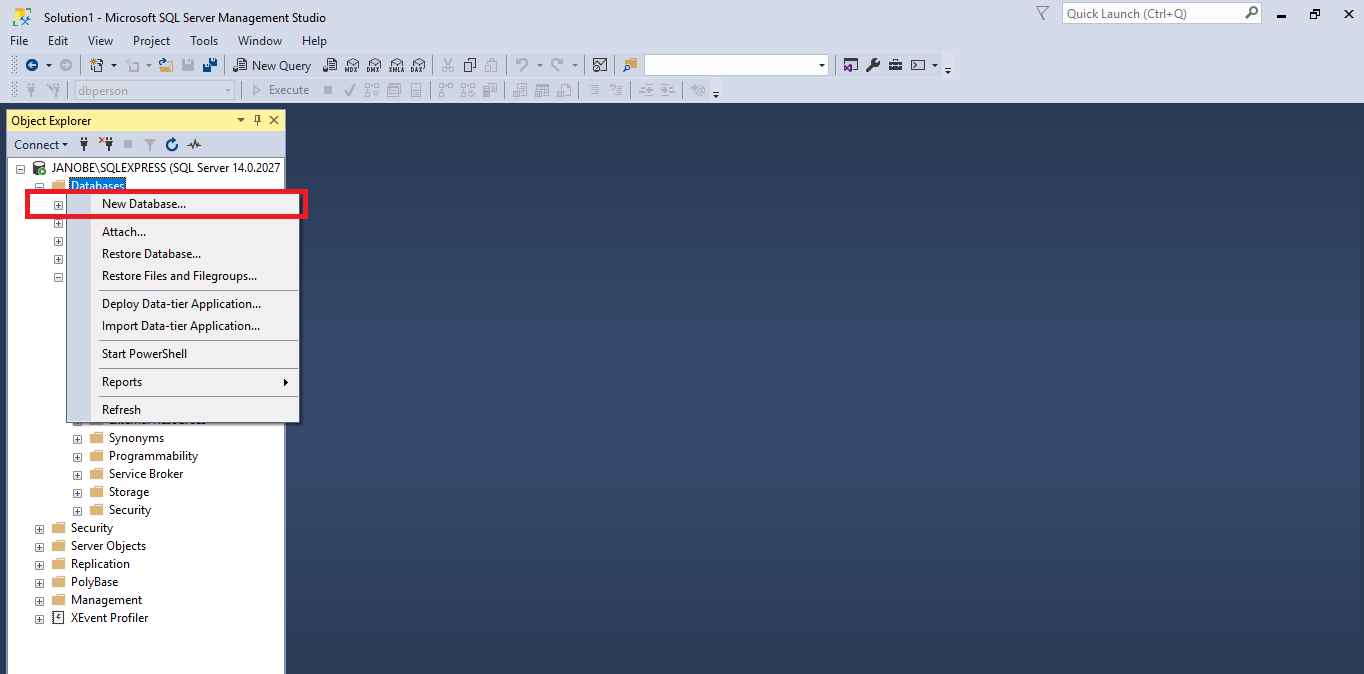
2. Open the
SSMS 2018 . After that, right click the database, the select “
New Database” and name it “
dbperson”
3. Do the following query to create a table in the database that you have created.
USE [dbperson]
GO
/****** Object: Table [dbo].[tblperson] Script Date: 11/10/2019 11:15:11 AM ******/
SET ANSI_NULLS ON
GO
SET QUOTED_IDENTIFIER ON
GO
CREATE TABLE [dbo].[tblperson](
[PersonID] [INT] IDENTITY(1,1) NOT NULL,
[Fname] [nvarchar](50) NULL,
[Lname] [nvarchar](50) NULL
) ON [PRIMARY]
GO
Creating Application
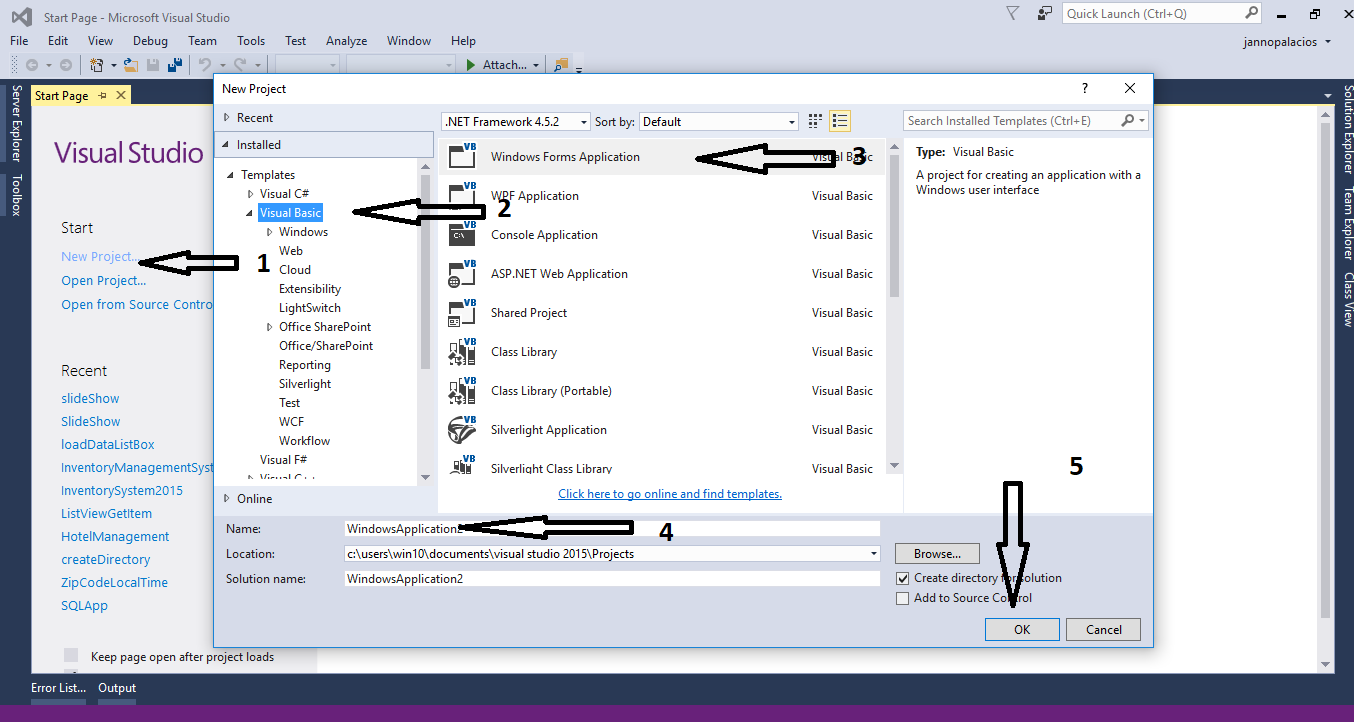
Step 1
Open
Microsoft Visual Studio 2015 and create a new windows form application for visual basic.
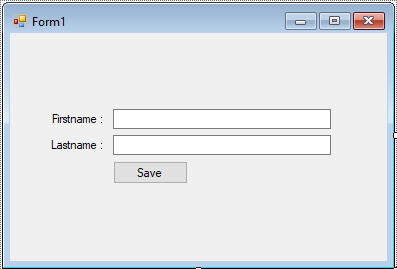
Step 2
Add a two
Textboxes, two
Labels, and a
Button inside the Form. Then do the Form just like shown below.
Step 3
Press F7 to open the code editor. In the code editor, add a namespace to access
SQL Server libraries.
Imports System.Data.SqlClient
Step 4
Create a connection between
Visual Basic 2015 and SQL Server database. After that, declare and initialize all the classes and variables that are needed.
Dim con As SqlConnection = New SqlConnection("Data Source=.\SQLEXPRESS;Database=dbperson;trusted_connection=true;")
Dim cmd As SqlCommand
Dim sql As String
Dim result As Integer
Step 5
Create a method for
saving the data in the database.
Private Sub saveData(sql As String)
Try
con.Open()
cmd = New SqlCommand
With cmd
.Connection = con
.CommandText = sql
Result = .ExecuteNonQuery()
End With
If Result > 0 Then
MsgBox("Data has been saved in the databse")
End If
Catch ex As Exception
MsgBox(ex.Message)
Finally
con.Close()
End Try
End Sub
Step 6
Go back to the design view, double click the button to open the
click event handler of it. After that, add this code inside the “
button1_clicked” event to save the data in the database.
Private Sub Button1_Click(sender As Object, e As EventArgs) Handles Button1.Click
sql = "INSERT INTO tblperson (Fname,Lname) VALUES ('" & txtFname.Text & "','" & txtLname.Text & "')"
saveData(sql)
txtFname.Clear()
txtLname.Clear()
End Sub
Output
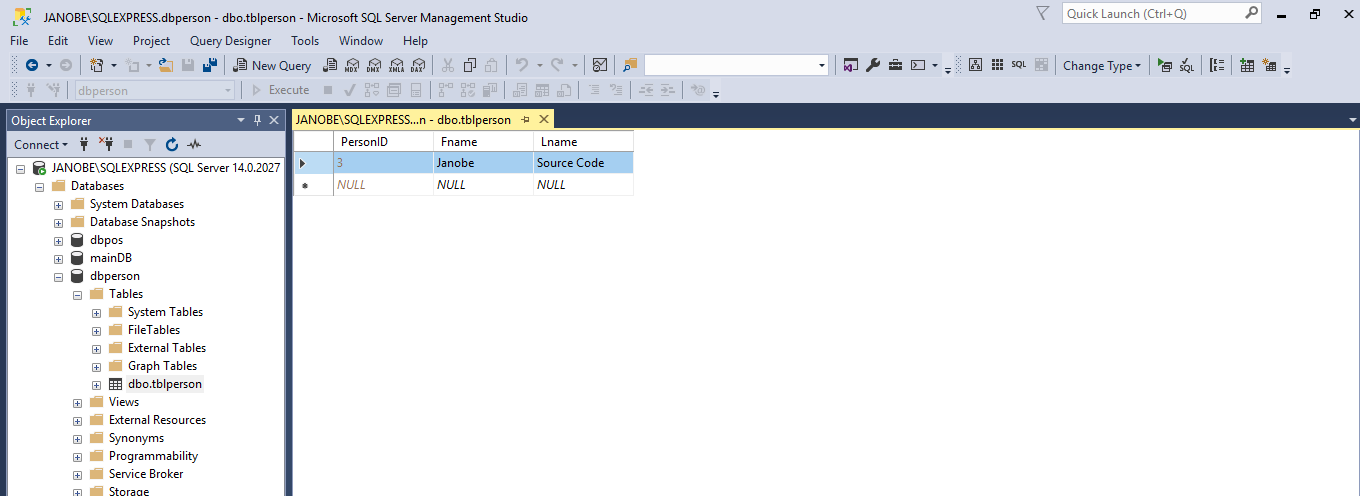
The complete source code is included. You can download it and run it on your computer.
For any questions about this article. You can contact me @
Email –
[email protected]
Mobile No. – 09305235027 – TNT
Or feel free to comment below.
