Javascript - How to Upload Images Using jQuery
Submitted by razormist on Friday, August 31, 2018 - 16:51.
In this tutorial we will create a How to Upload Images using jQuery. JavaScript is a scripting or programming language that allows you to implement complex things on web pages. It is a text-based programming language meant to run as part of a web-based application. It is an interpreted programming language that has a capabilities of Object-Oriented. So Let's do the coding...
There you have it we successfully created a How to Upload Images Using jQuery. I hope that this simple tutorial help you to what you are looking for. For more updates and tutorials just kindly visit this site. Enjoy Coding!
Getting started:
This is the link for the jquery that i used in this tutorial https://jquery.com/. Lastly, this is the link for the bootstrap that i used for the layout design https://getbootstrap.com/.The Main Interface
This code contains the interface of the application. To create this just write these block of code inside the text editor and save this as index.html.- <!doctype html>
- <html lang="en">
- <head>
- <meta charset="UTF-8" name="viewport" content="width=device-width, initial-scale=1"/>
- <link rel="stylesheet" type="text/css" href="css/bootstrap.css "/>
- </head>
- <body>
- <nav class="navbar navbar-default">
- <div class="container-fluid">
- </div>
- </nav>
- <div class="col-md-6 well">
- <hr style="border-top:1px dotted #ccc;"/>
- <center>
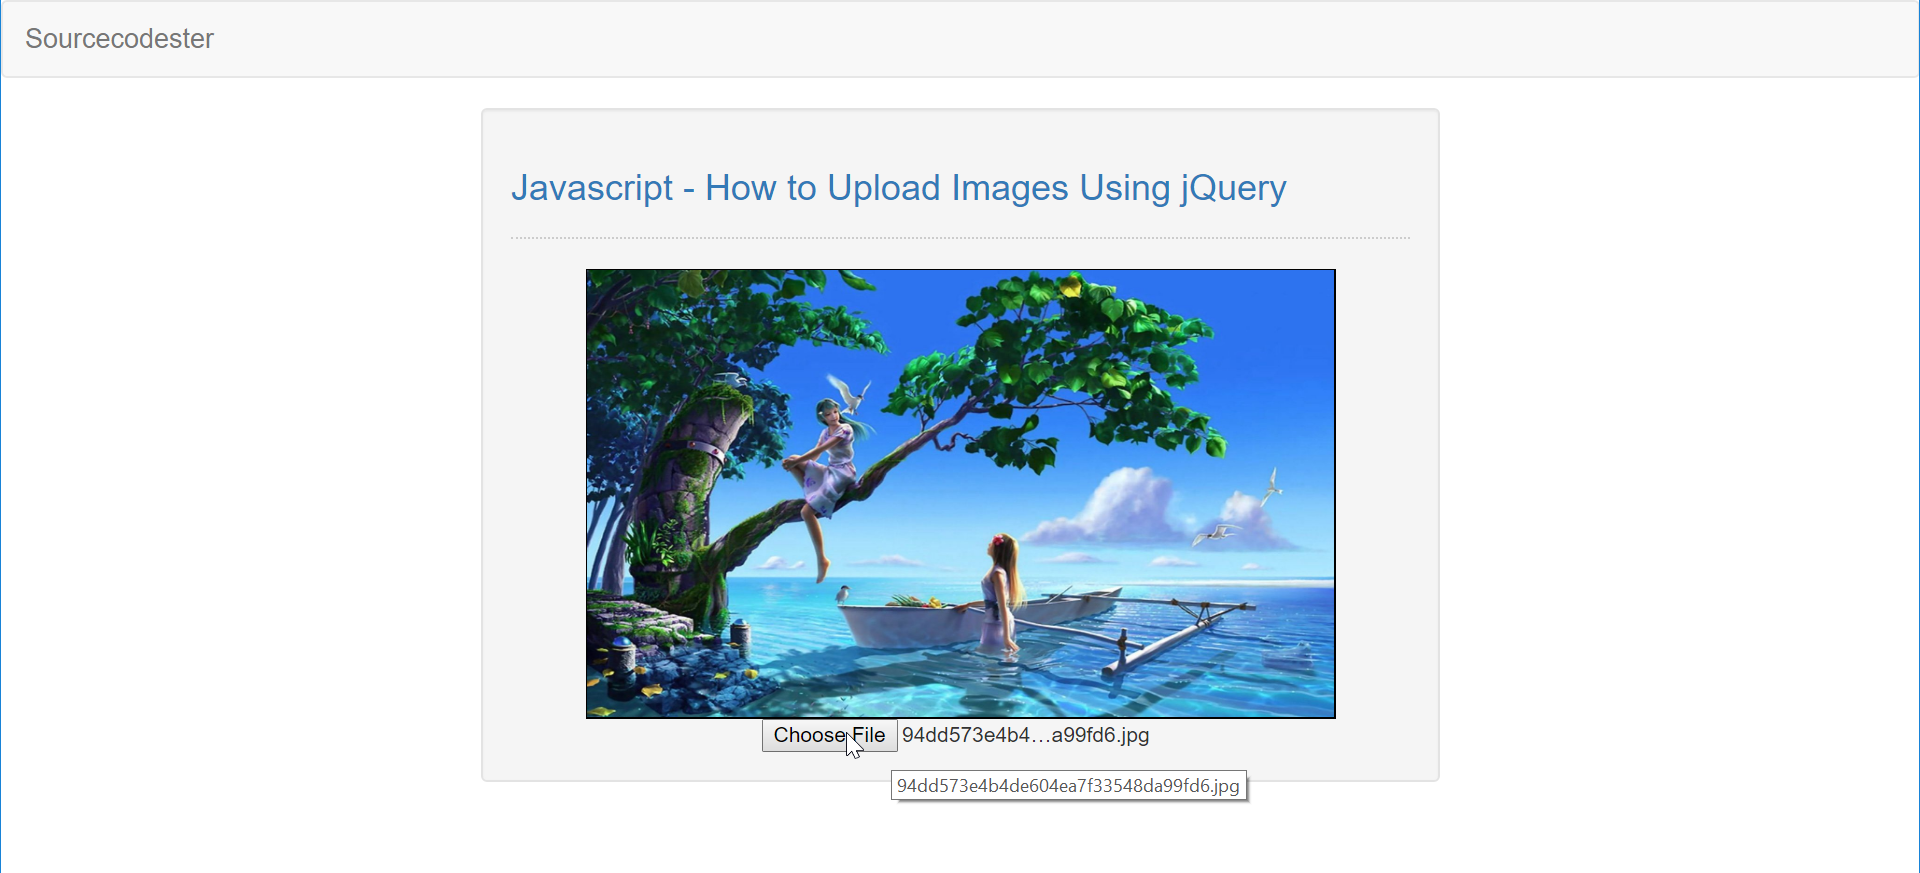
- <input type = "file" id = "file" name = "photo" accept="image/*"/>
- </center>
- </div>
- </body>
- </html>
Creating the Script
This code contains the script of the application. This code will upload the image file and display as a preview for checking. To do this just copy and write these block of codes as shown below inside the text editor and save it as script.js inside the js folder.- $(document).ready(function(){
- $pic = $('<img id = "image" width = "100%" height = "100%"/>');
- $("#file").change(function(){
- var files = !!this.files ? this.files : [];
- if(!files.length || !window.FileReader){
- $("#image").remove();
- }
- if(/^image/.test(files[0].type)){
- var reader = new FileReader();
- reader.readAsDataURL(files[0]);
- reader.onloadend = function(){
- $pic.appendTo("#preview");
- $("#image").attr("src", this.result);
- }
- }
- });
- });