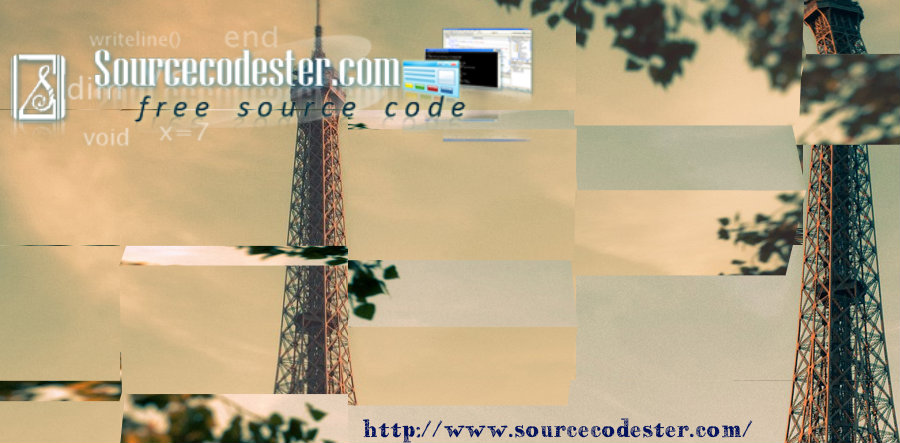
Web Page Slice Transition Effect with jQuery and CSS3
Submitted by alpha_luna on Friday, August 19, 2016 - 17:07.
Web Page Slice Transition Effect
If you are looking for Web Page Slice Transition Effect with jQuery and CSS3 then you are at the right place. We are going to use the slice screen jQuery plugin to apply the 3D transforms to create slice animation to the image when it moves to the next image from the web page. You can also check the live demo of this simple tutorial, so you can get an idea and you can try this out, let's start coding.How to use it
- Create a simple markup to have a content section to the web page.
- <section id="image1">
- <div class="wrapper">
- </div>
- </section>
- <section id="image2" style="display: none;">
- <div class="wrapper">
- </div>
- </section>
- <section id="image3" style="display: none;">
- <div class="wrapper">
- </div>
- </section>
- <section id="image4" style="display: none;">
- <div class="wrapper">
- </div>
- </section>
- <section id="image5" style="display: none;">
- <div class="wrapper">
- </div>
- </section>
- <section id="image6" style="display: none;">
- <div class="wrapper">
- </div>
- </section>
- <section id="image7" style="display: none;">
- <div class="wrapper">
- </div>
- </section>
- <section id="image8" style="display: none;">
- <div class="wrapper">
- </div>
- </section>
- <div id="ss-pager">
- </div>
- Next, we are going to code the next and previous button to the web page that the user allows to next and previous manually.
- <script type="text/javascript">
- var ss = new $.SliceScreenEffect();
- var index = 0;
- $('#next').click(function(event) {
- console.log('navigate to page ', ++index + 1);
- ss.next();
- });
- $('#prev').click(function(event) {
- console.log('navigate to page ', --index + 1);
- ss.prev();
- });
- </script>
- We are going to add a simple script to have a default page slider for the screen transition effect.
- var ss = new $.SliceScreenEffect();
- This is the default settings.
- $.SliceScreenEffect = function(cfg) {
- this.config = {
- autoplay: true,
- slicesCountX: 9,
- slicesCountY: 3,
- perspective: '2000px',
- speed: 500,
- duration: function(x, y) {
- return (x + y) * 150;
- },
- orientation: 'v',
- el: 'section',
- beforeTurn: function() {
- console.log("before turn");
- },
- afterTurn: function() {
- console.log("after turn");
- }
- };
- this.config = $.extend(true, this.config, cfg);
- this._init();
- }
Output

 That's it, kindly click the "Download Code" button below for the full source code. Enjoy coding.
If you are interested in programming, we have an example of programs that may help you even just in small ways.
Share us your thoughts and comments below. Thank you so much for dropping by and reading this tutorial post. For more updates, don’t hesitate and feel free to visit this website more often and please share this with your friends or email me at [email protected]. Practice Coding. Thank you very much.
