List Pagination using PHP, jQuery, and Ajax Tutorial
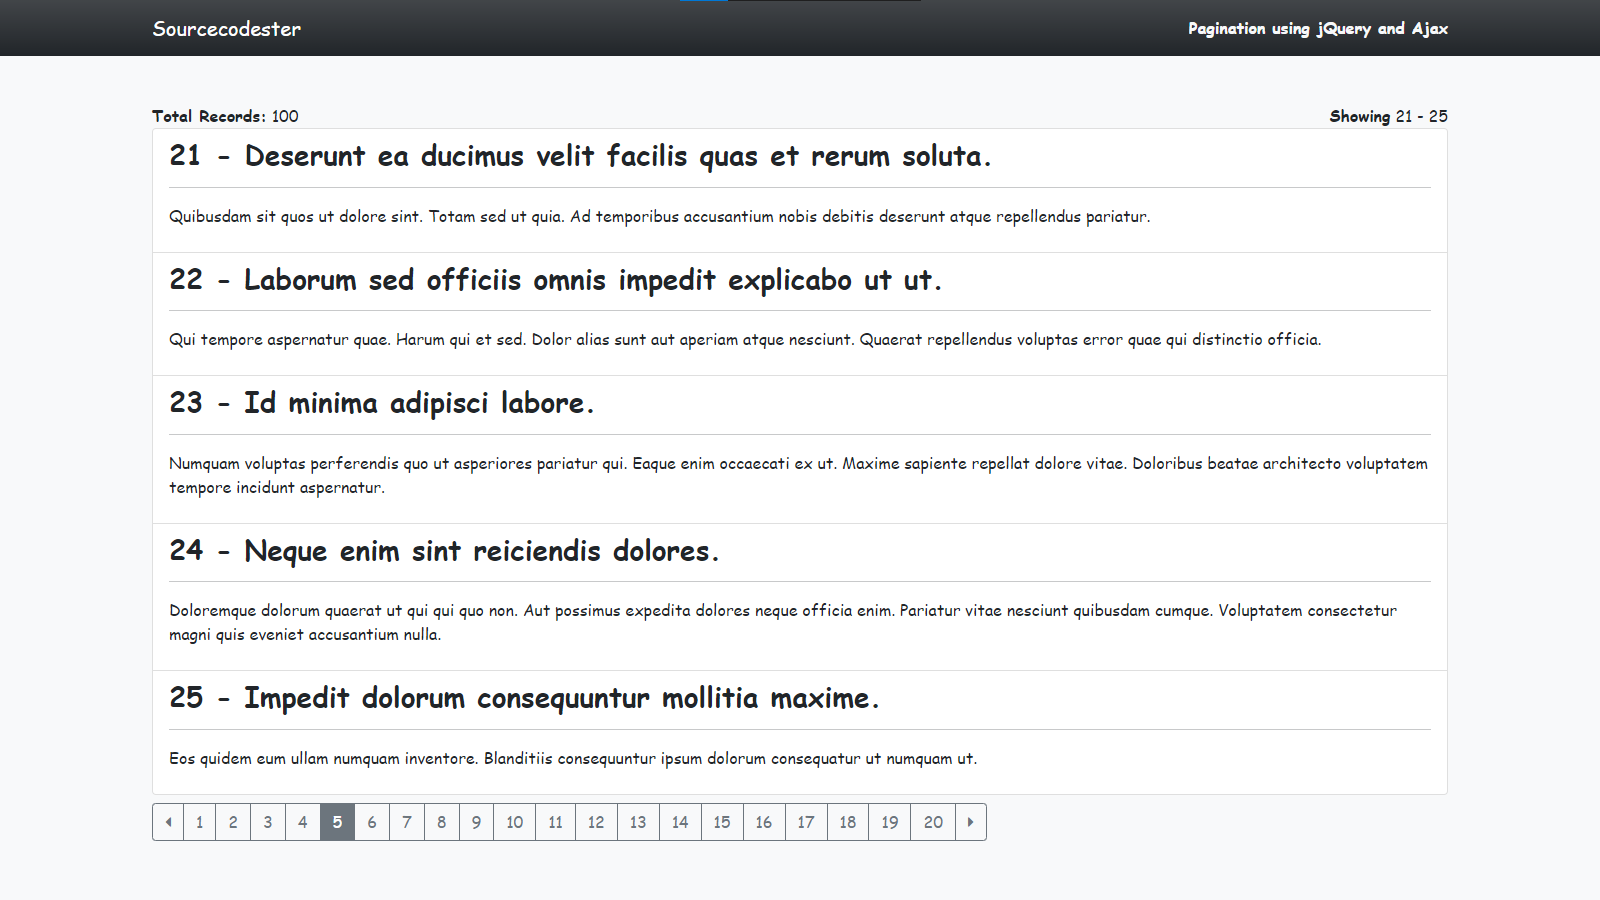
In this tutorial, you will learn how to add a Pagination Feature in your HTML List loaded from the Database. Here, you can achieve the said feature in your project with the use of jQuery library and Ajax Request. This feature is very helpful to optimize the load duration of your website in terms of loading a page with a bulk list data.
Bulk data can affect the speed of loading your site page. At first, when the project is still fresh, you won't notice the slow loading of the site page because the data is not that large yet. But with the use of Pagination Feature, this will prevent slow page loading in your project in the future. And also, with the help of the jQuery Library this will give your end-users a better experience.
Getting Started
Download and Install any local web server such as XAMPP/WAMP so you can run the simple web application that we will be making on your end.
If you use XAMPP/WAMPP, open the software's Control Panel and start Apache and MySQL servers.
Also, download Bootstrap v5 and jQuery Library. After that compile the libraries in a directory that you will use for storing your source code.
Note: If you are using XAMPP, make sure that your source code folder is stored inside the htdocs directory while in WAMP, place it on the www directory.
Creating the Dummy Database
Open a new tab in your browser and browse the PHPmyAdmin i.e https://localhost/phpmyadmin. Create a new database naming dummy_db. I have provided a dummy SQL Data in this article, you can download the source code zip file below this article. Then, import into your newly created database the dummy_db.sql file from the db directory in the download source code.
Creating The Custom Style Sheet
Below is the a simple CSS (Cascading Style Sheet) script for the custom design of some part of the application. Save this file as custom.css
- :root {
- --bs-success-rgb: 71, 222, 152 !important;
- }
- html,
- body {
- height: 100%;
- width: 100%;
- font-family: Apple Chancery, cursive;
- }
- .btn-info.text-light:hover,
- .btn-info.text-light:focus {
- background: #000;
- }
- #pgn-container {
- position: relative;
- }
- #pgn-loader {
- position: absolute;
- height: calc(100%);
- width: calc(100%);
- background-color: rgba(17, 17, 17, 0.432);
- display: flex;
- justify-content: center;
- align-items: center;
- z-index: 2;
- }
- .list-group[data-placeholder="true"]:empty:after {
- content: "No Data to Display";
- align-self: center;
- font-style: italic;
- font-size: .8em;
- color: rgb(66, 66, 66);
- }
Creating the Database Connection
Below is the script that that allow our script to connect to the MySQL Database. Save this file as db-connect.php.
- <?php
- // Dummy Data
- $host = 'localhost';
- $username = 'root';
- $password = '';
- $dbname = 'dummy_db';
- $conn = new mysqli($host, $username, $password, $dbname);
- if(!$conn){
- }
Creating the Interface
The script below is the code of the elements of our interface. It contains the navigation bar, List Element, Pagiation Buttons, and more. Save this file as index.php.
- <?php require_once('db-connect.php') ?>
- <!DOCTYPE html>
- <html lang="en">
- <head>
- <meta charset="UTF-8">
- <meta http-equiv="X-UA-Compatible" content="IE=edge">
- <meta name="viewport" content="width=device-width, initial-scale=1.0">
- <link rel="stylesheet" href="./Font-Awesome-master/css/all.min.css">
- <link rel="stylesheet" href="./css/bootstrap.min.css">
- <link rel="stylesheet" href="./css/custom.css">
- </head>
- <body class="bg-light">
- <nav class="navbar navbar-expand-lg navbar-dark bg-dark bg-gradient" id="topNavBar">
- <div class="container">
- <a class="navbar-brand" href="https://sourcecodester.com">
- Sourcecodester
- </a>
- <div>
- </div>
- </div>
- </nav>
- <div class="container py-5" id="page-container">
- <!-- Table Container -->
- <div id="pgn-container">
- <div class="text-center" id="pgn-loader">
- <div class="spinner-border text-primary" role="status">
- </div>
- </div>
- <div class="row">
- <div class="col-sm-12 col-md-6">
- </div>
- <div class="col-sm-12 col-md-6 text-end">
- </div>
- </div>
- <!-- List Field -->
- <!-- End of List Field -->
- <div class="col-md-12 my-2">
- <div class="row">
- <div class="justify-content-center">
- <div class="btn-group me-2" role="group" aria-label="First group">
- </div>
- </div>
- </div>
- </div>
- </div>
- <!-- End of Table Container -->
- </div>
- <!-- List Item Clone Element -->
- <noscript id="list-item-clone">
- <li class="list-group-item list-group-item-action pgn-item">
- <hr>
- </li>
- </noscript>
- <!-- End of List Item Clone Element -->
- <!-- Page Button Clone -->
- <noscript id="ipage-clone">
- </noscript>
- <!-- End of Page Button Clone -->
- </body>
- <?php if(isset($conn)) $conn->close(); ?>
- </html>
Creating the PHP API
The below script is the PHP code that fetches the records in the database, counts the filtered and total records in the database, and the count of page buttons. Save this file as get_data.php.
- <?php
- require_once('db-connect.php');
- // array to send back
- $resp = [];
- // Limit data to display
- $limit = 5;
- if($_SERVER['REQUEST_METHOD'] =='POST'){
- $page = $_POST['page'];
- // Total Records
- $all_posts = $conn->query("SELECT * FROM `posts`");
- $resp['total'] = $total_data;
- // total page count
- $offset = $page > 0 ? $page * $limit : 0;
- // Filtered Data
- $posts = $conn->query("SELECT * FROM `posts` order by `id` limit $limit offset $offset");
- while($row = $posts->fetch_assoc()){
- $row['title'] = $row['id'] . " - ".$row['title'];
- $resp['data'][] = $row;
- }
- }
- $conn->close();
- ?>
Creating the JavaScript File
The below is script is the JavaScript codes which contains all the functions that loads, redirects, and displays the data. Save this file as script.js.
- // current page loaded
- var current_page = 0;
- // Vount of records
- var _total = 0
- window.pgn_loader_start = function() {
- $('#pgn-loader').removeClass('d-none')
- }
- window.pgn_loader_end = function() {
- $('#pgn-loader').addClass('d-none')
- }
- window.load_page_bts = function($count = 1) {
- $('#pgn-container .ipage-btns').remove()
- for (var i = 0; i < $count; i++) {
- var btn = $($('noscript#ipage-clone').html()).clone()
- btn.attr('data-page', i)
- btn.text(parseFloat(i + 1).toLocaleString())
- $('#pgn-container #next-page').before(btn)
- btn.click(function() {
- load_page($(this).attr('data-page'))
- })
- }
- $('#pgn-container .ipage-btns[data-page="' + current_page + '"]').addClass('active')
- if (current_page == 0) {
- $('#prev-page').attr('disabled', true)
- } else {
- $('#prev-page').attr('disabled', false)
- }
- if (current_page == (_total - 1)) {
- $('#next-page').attr('disabled', true)
- } else {
- $('#next-page').attr('disabled', false)
- }
- }
- window.load_page = function($page = 0) {
- current_page = $page
- pgn_loader_start();
- $.ajax({
- url: './get_data.php',
- method: 'POST',
- data: { page: $page },
- dataType: 'json',
- error: err => {
- console.error(err)
- alert("An error occurred while fetching data.")
- pgn_loader_end();
- },
- success: function(resp) {
- if (resp) {
- $('#pgn-container ul').html('')
- var data = resp.data || {};
- $('#pgn-container .total-records').text(resp.total)
- $('#pgn-container .show-filter').text(resp.filtered)
- // Load Pagination Buttons
- load_page_bts(resp.page_count)
- _total = resp.page_count
- Object.keys(data).map(k => {
- var li = $($('noscript#list-item-clone').html()).clone()
- li.find('.item-title').text(data[k].title)
- li.find('.item-description').text(data[k].description)
- $('#pgn-container ul').append(li)
- })
- } else {
- console.error(resp)
- alert("An error occurred while fetching data.")
- }
- setTimeout(() => {
- pgn_loader_end();
- }, 800)
- }
- })
- }
- $(function() {
- load_page()
- $('#prev-page').click(function() {
- load_page(current_page - 1)
- })
- $('#next-page').click(function() {
- load_page(current_page + 1)
- })
- })
That's it! You can now test the application in your browser and see if we have met our goal on this tutorial. If ever you have encountered any errors, please review your source code by differentiating it from the source code I provided above. You can also test the working source code I created for this tutorial. You can download the source code zip file below this article.
DEMO VIDEO
That is the end of this tutorial. I hope you'll find this List Pagination Tutorial useful for you current and future PHP projects.
Explore more on this website for more Tutorials and Free Source Codes.