Angular 6 Starter with Laravel 5.6 API Service
Submitted by klevis on Monday, July 30, 2018 - 22:54.
Language
Angular 6 and Laravel 5.6
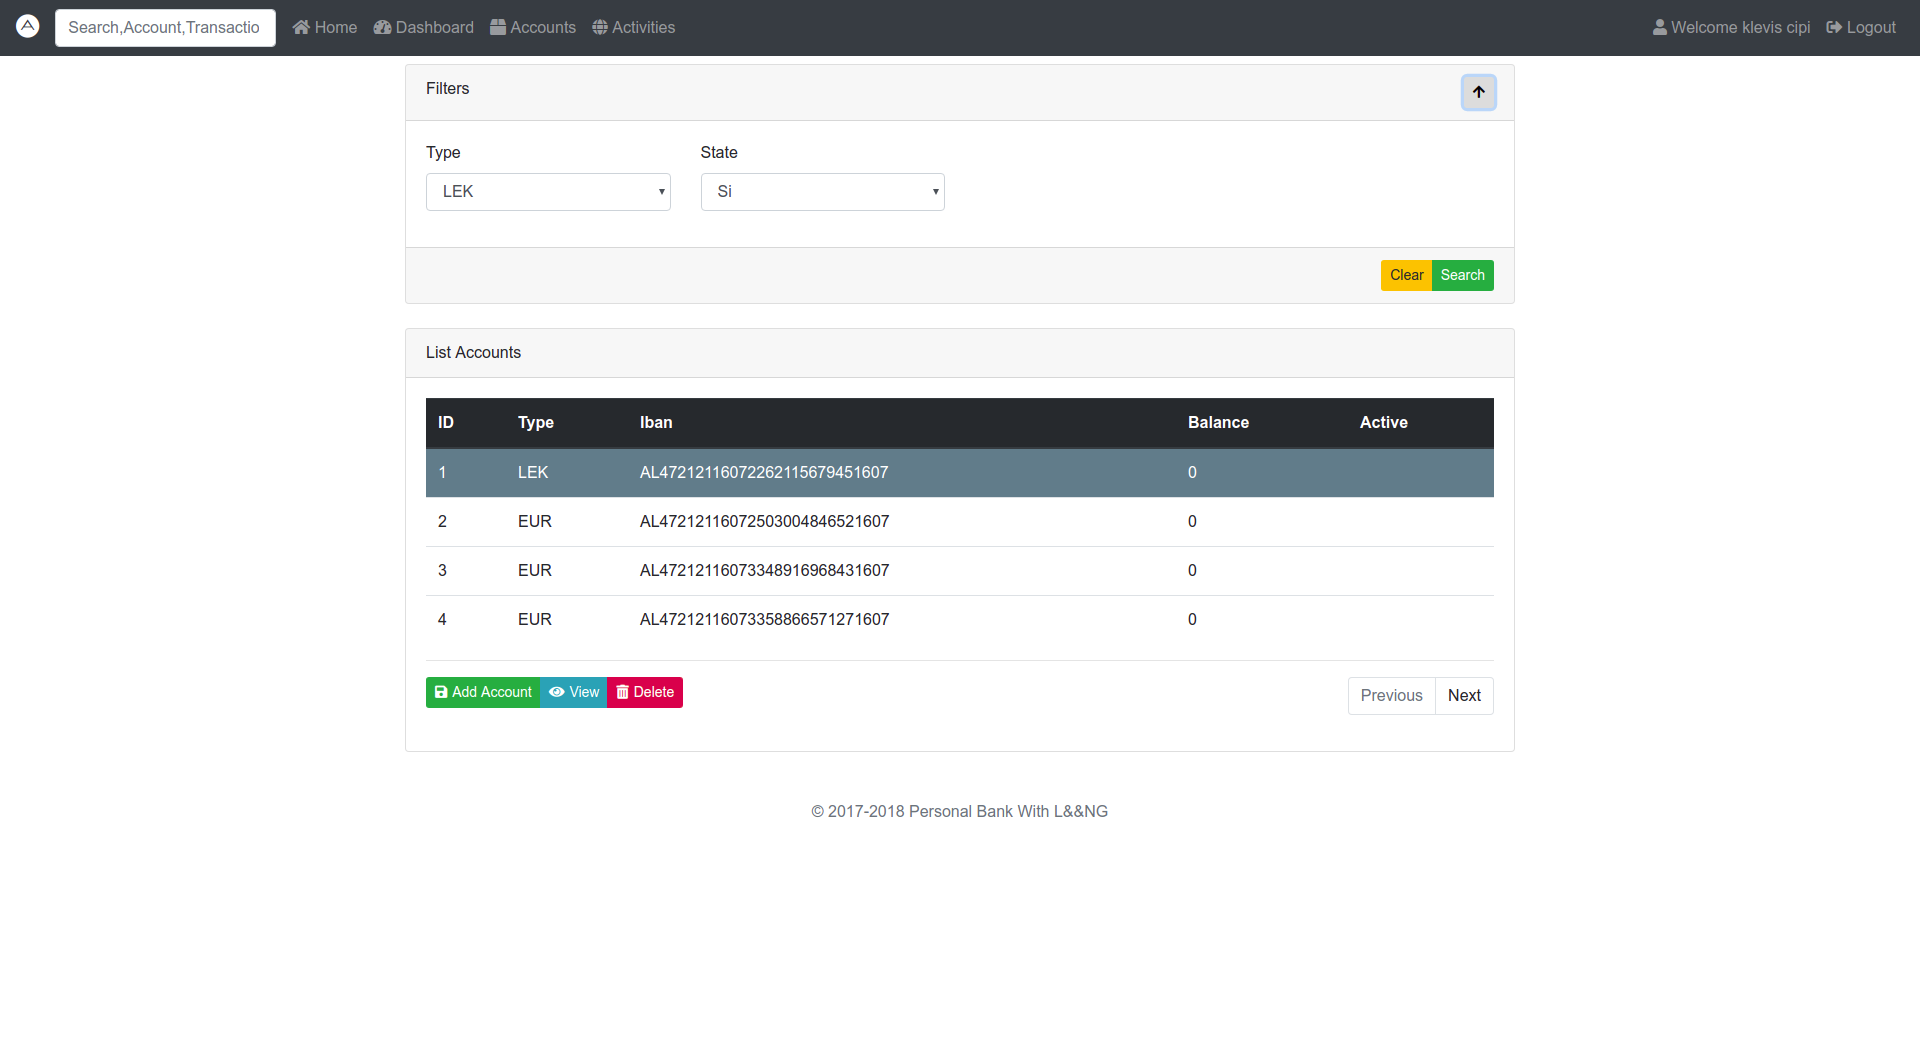
This project is a starter for creating interface with Angular using bootstrap && css && sass and using Laravel 5.6 for api requests.Demo
Installation
This project is divided in two parts (projects) and before use them you should follow the instructions below:Angular Project Interface
Local Environment
> git clone https://github.com/kleviscipi/personal-bank.git
> cd personal-bank
> npm install
> ng serve
Production Environment
For production mode you must build the project with command > ng build ---prod and upload the folder dist/personal-bank where you want. If you want to upload and host on firebase use this instructions:
> ng build ---prod
> npm install -g firebase-tools
> firebase init # Generate a firebase.json (REQUIRED)
> firebase deploy # Start development server
Note : If you are unfamiliar with firebase please go to the documentation
Further help
To get more help on the Angular CLI use `ng help` or go check out the Angular Cli Readme.
Laravel Project Api
Local Environment
> git clone https://github.com/kleviscipi/laravel-api-engine.git
> cd laravel-api-engine
> composer install
Now you must configure the environment file .env se the example file on project .env.example and don't forget to configure the variables for email.
> php artisan migrate # This will migrate and save all tables of database. see: database/migrations
> php artisan serve # This start , Laravel development server at: http://127.0.0.1:800
Note: If you have problem with passport api use this instructions
> php artisan passport:install
> php artisan passport:keys
Production Environment
After you have upload files on your production env you must create and configure the environment file .env If you want to upload the Laravel Project Api on https://www.heroku.com/ you should before install the heroku cli go to this link : Heroku Cli Dev Center After you have installed that :
> heroku login
> git init
> heroku git:remote -a you-app-name # This command connect your api created on your Heroku dashboard.
> git add .
> git commit -am "make it better"
> git push heroku master # Push all files on your app > heroku config:set APP_KEY=…
# This command set variables of your environment on heroku app and so on.... Like .env
Note: On Production mode don't forget to configure the variables for your email server. MAIL_DRIVER,MAIL_HOST,MAIL_PORT,MAIL_USERNAME,MAIL_PASSWORD,MAIL_ENCRYPTION
After registration you receive an active link email which active the account.
Architecture and Requrements
See : Trello Cards For more more details go to https://github.com/kleviscipi/personal-bankNote: Due to the size or complexity of this submission, the author has submitted it as a .zip file to shorten your download time. After downloading it, you will need a program like Winzip to decompress it.
Virus note: All files are scanned once-a-day by SourceCodester.com for viruses, but new viruses come out every day, so no prevention program can catch 100% of them.
FOR YOUR OWN SAFETY, PLEASE:
1. Re-scan downloaded files using your personal virus checker before using it.
2. NEVER, EVER run compiled files (.exe's, .ocx's, .dll's etc.)--only run source code.