How to Connect Android to A Remote Server Using JSON, MySQL and PHP
Submitted by ashok05 on Sunday, December 11, 2016 - 23:17.
Android-MySQL connectivity using JSON and PHP.
INTRODUCTION
To connect android app to a remote server, we use a technology called Volley. Before we start the coding, let’s see some basic theory behind the connection process.
CONCEPT
First the android phone creates a request to the server for asking data. The request contains an address of PHP file. The task of the PHP file is to communicate with the DB and create the list of values in JSON format. There is another advantage of using PHP file that is it gives back-end independence. Back-end independence is nothing but, no matter what front-end coding is used (Android, .NET, Objective C etc…), we no need to change the structure of back-end.
The server then creates a response, packs the JSON values in it and passes it back to the android phone. Normally JSON values will be in form of JSON Array. This is because the values might contain more number of rows, so each row is packed in the array.
STEPS TO BE FOLLOWED
There are four simple steps to be followed to connect MySQL DB to Android. They are
1) Create Request using RequestQueue
2) Create JSONArrayRequest
3) Get JSONObject from JSONArray
4) Add JSONArrayRequest to the request queue
EXPLAINATION OF THE STEPS
1) Create request using RequestQueue
• Before starting the communication, the front-end (android) should create a connection to the back-end. This connection is created using RequestQueue.
• The RequestQueue contains the list of request given by a client, and sends one by one to the server.
2) Create JSONArrayRequest
• Once the RequestQueue sends a request to the server, the server starts to process the request and communicates with the DB and created a list of JSON values.
• These list of values are packed inside one JSONArray.
• The JSONArray is sent to the client.
• The client (Android) receives the JSONArray using JSONArrayRequest.
3) Get JSONObject from JSONArray
• The JSONArray received from the server contains a list of JSONObject.
• In order to process each JSONObject, we have to convert the single JSONArray into list of JSON Objects.
• Once the list of JSON Object is obtained, then it is easy to process them.
4) Add JSOnArrayRequest to RequestQueue.
• The last and the most important step is to add the JSONArrayRequest into RequestQueue.
• If this step is not done, then the Request will never be sent to the server.
CODING
1) Create JSONArrayRequest
2) Create JSONArrayRequest
3) Get JSONObject from JSONArray
4) Add JSONArrayRequest to RequestQueue
SOURCE CODE
XML Layout
- RequestQueue r; //this line creates a RequestQueue Object.
- r= Volley.newRequestQueue(this); //initialize the RequestQueue.
- @Override
- public void onResponse(JSONArray response) {
- }
- }
- }, new Response.ErrorListener() {
- @Override
- public void onErrorResponse(VolleyError error) {
- }
- }
- );
- JSONArray books=response;
- for(int i=0;i<books.length();i++) //create list of JSONObjects from the JSONArray
- {
- try {
- JSONObject book = books.getJSONObject(i);
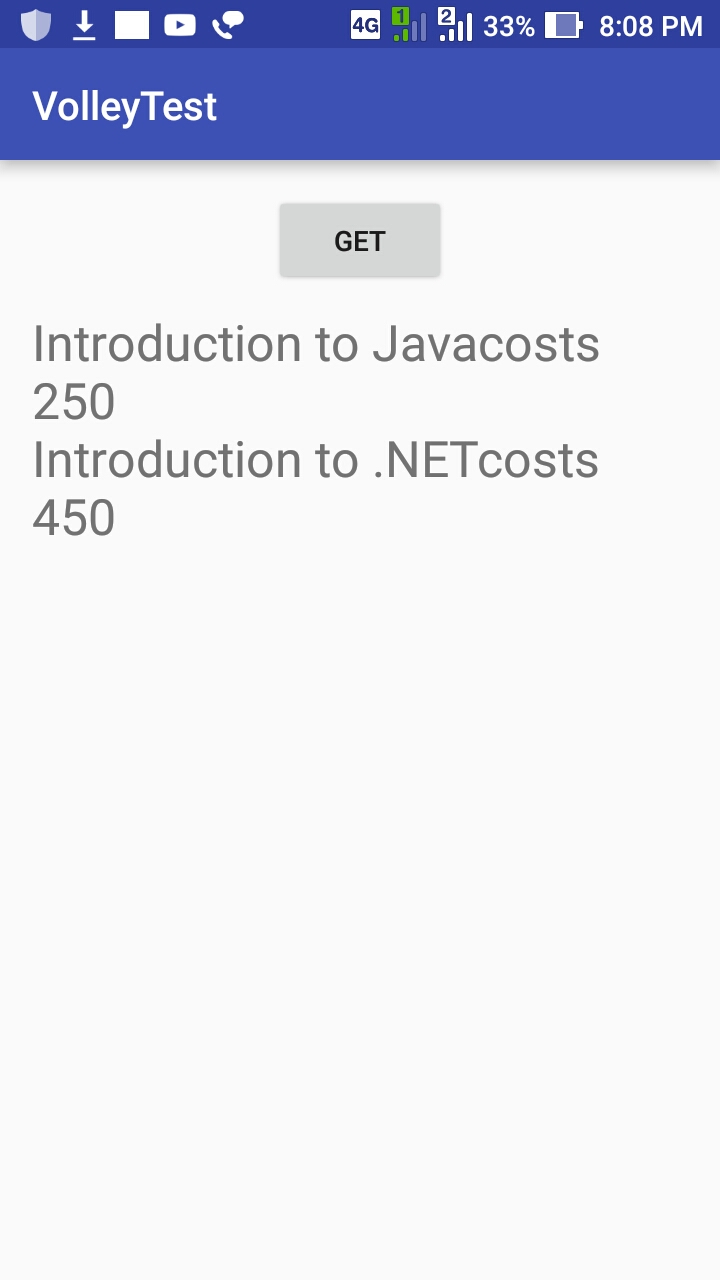
- txt.append(bookname+ "costs " + price+"\n"); //update output
- }
- {
- }
- r.add(jo); //add the request into the queue.
- StartPage.java
- package tutorials.microfusionsmartsolutions.com.volleytest;
- import android.os.Bundle;
- import android.support.v7.app.AppCompatActivity;
- import android.widget.Button;
- import android.widget.TextView;
- import com.android.volley.Request;
- import com.android.volley.RequestQueue;
- import com.android.volley.Response;
- import com.android.volley.VolleyError;
- import com.android.volley.toolbox.JsonArrayRequest;
- import com.android.volley.toolbox.Volley;
- import org.json.JSONArray;
- import org.json.JSONObject;
- public class StartPage extends AppCompatActivity {
- Button but;
- TextView txt;
- RequestQueue r;
- @Override
- protected void onCreate(Bundle savedInstanceState) {
- super.onCreate(savedInstanceState);
- setContentView(R.layout.activity_start_page);
- txt=(TextView) findViewById(R.id.textView);
- r= Volley.newRequestQueue(this);
- @Override
- public void onResponse(JSONArray response) {
- JSONArray books=response;
- for(int i=0;i<books.length();i++)
- {
- try {
- JSONObject book = books.getJSONObject(i);
- txt.append(bookname+ "costs " + price+"\n");
- }
- {
- }
- }
- }
- }, new Response.ErrorListener() {
- @Override
- public void onErrorResponse(VolleyError error) {
- }
- }
- );
- r.add(jo);
- }
- }
Note: Due to the size or complexity of this submission, the author has submitted it as a .zip file to shorten your download time. After downloading it, you will need a program like Winzip to decompress it.
Virus note: All files are scanned once-a-day by SourceCodester.com for viruses, but new viruses come out every day, so no prevention program can catch 100% of them.
FOR YOUR OWN SAFETY, PLEASE:
1. Re-scan downloaded files using your personal virus checker before using it.
2. NEVER, EVER run compiled files (.exe's, .ocx's, .dll's etc.)--only run source code.