Very good tutorial for…
Very good tutorial for beginners. Just add a line to save the code by pressing save button on toolbar before starting.
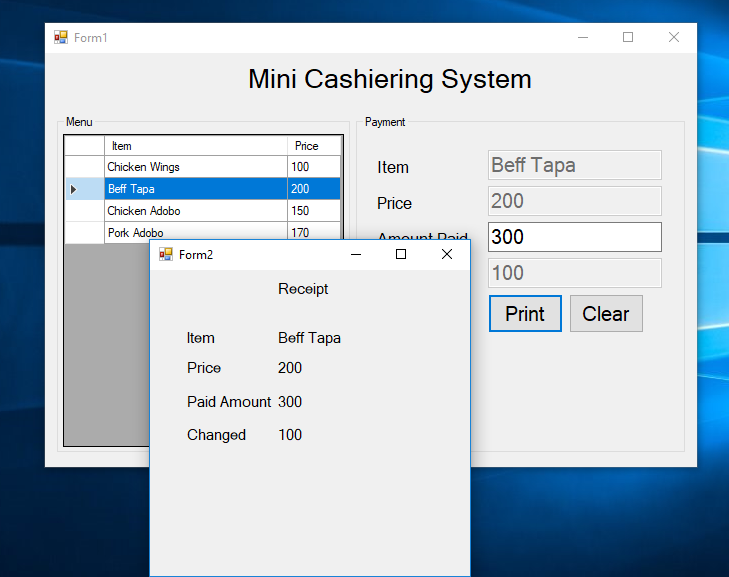
In this tutorial, I will teach you how to create a mini cashiering system in vb.net. This application is very helpful as a basis especially if you have to create a simple project in school. This cashiering system can select products, have payment, and print receipts.
Open Microsoft Visual Studio 2015 or higher version and create a new windows form application. After that do the form just like shown below.
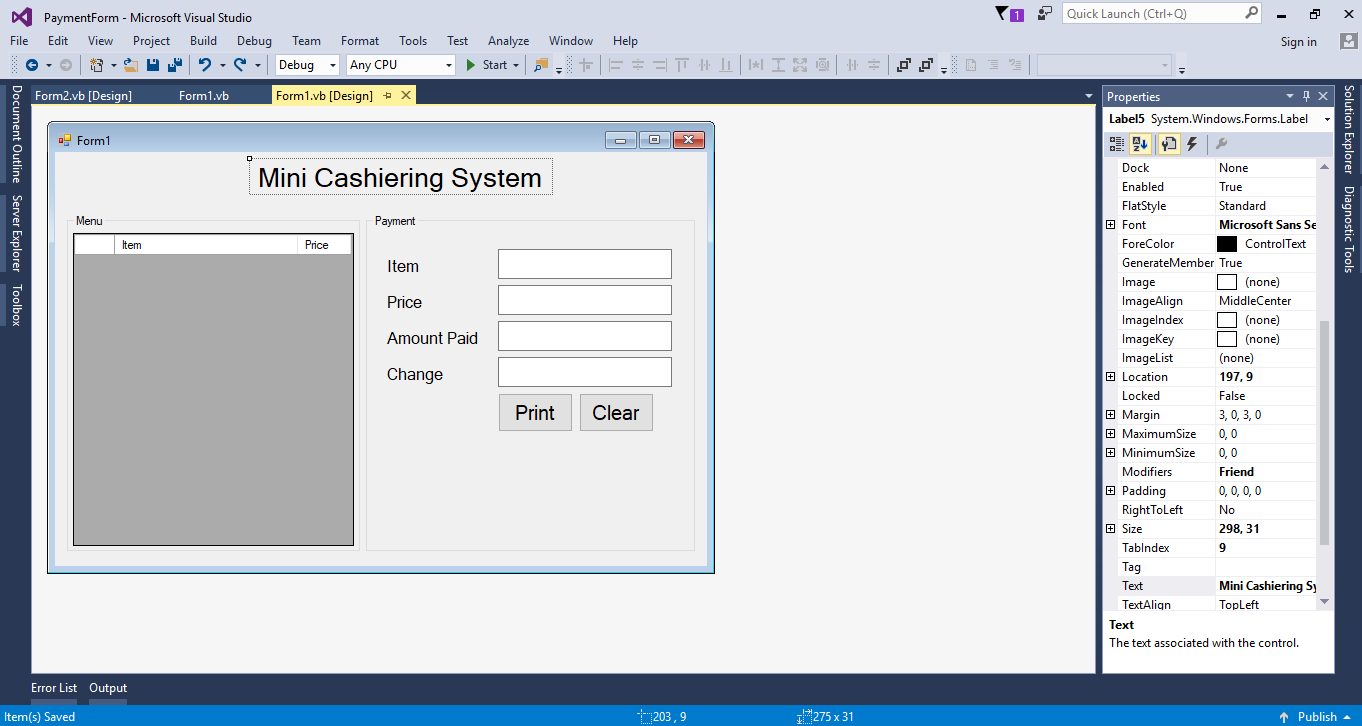
The form above was build using the ff:
Add Column in the Data Grid View for "Item" and Price.Then double click the form and do the following code for adding the data in the datagridview.
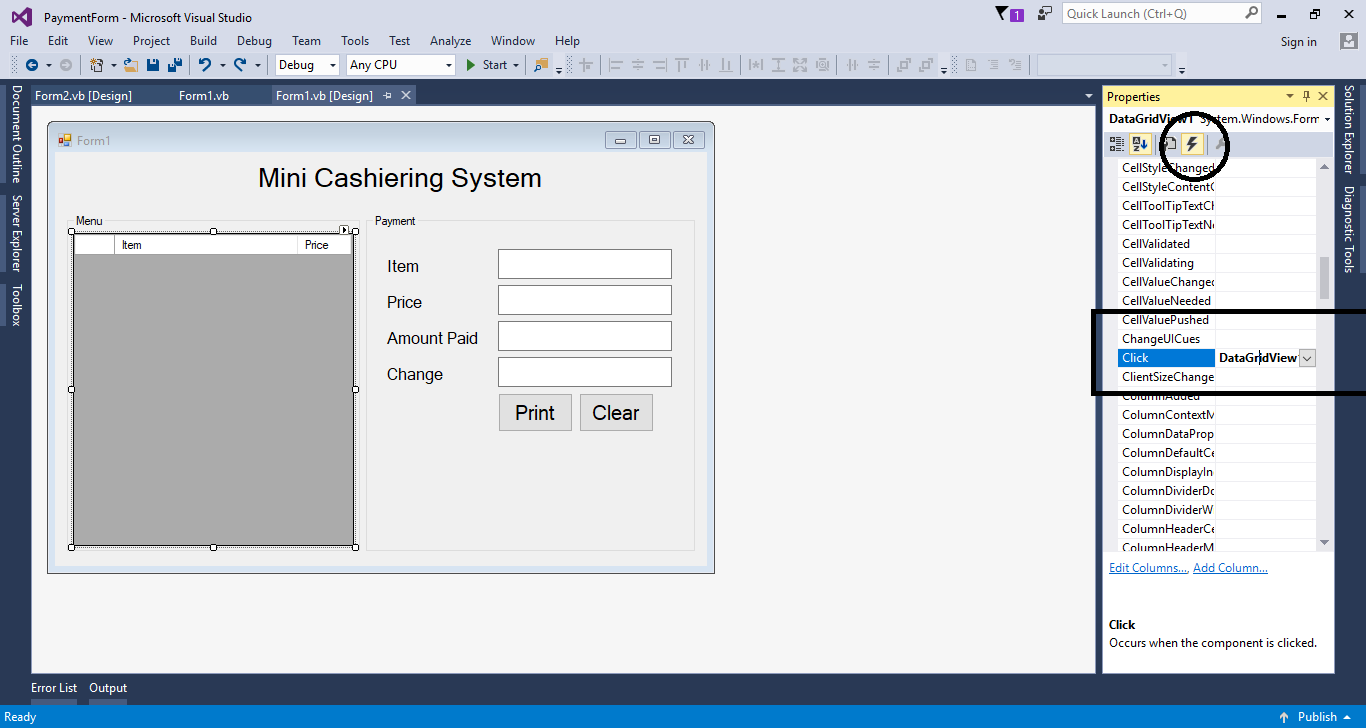
Go back to the design view and click the datagridview. After that, go to the properties, select the event just like a lightning bolt and double click the click event handler for datagridview.
Do the following code for assigning the data from the datagridview to the textbox.
Double click the “Amount Paid” textbox and do the following code for paying the amount price.
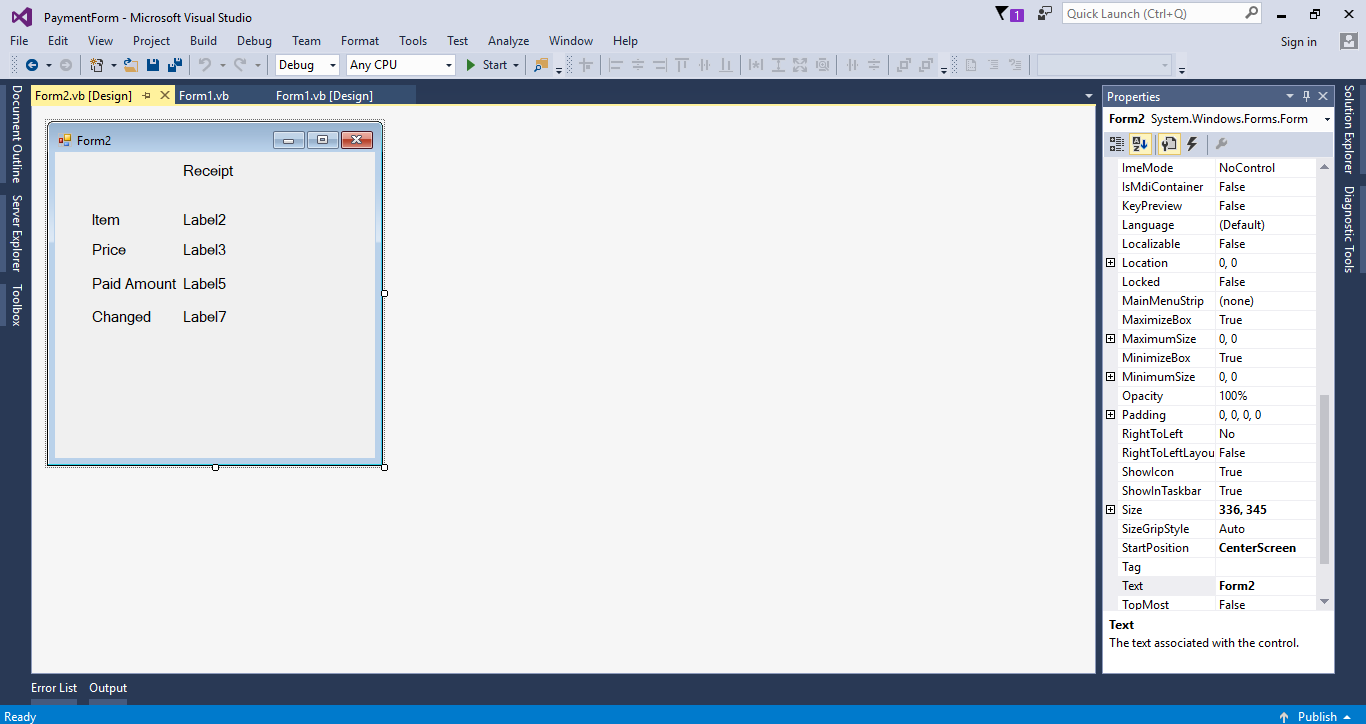
Create another form for the receipt.
Go back to the form1 and double click the Print button to fire the click event handler of it. Then, do the following code for printing the receipt.
Do the following code for the "Clear" button.
For any questions about this article. You can contact me @
Email – [email protected]
Mobile No. – 09305235027 – TNT
FB Account – https://www.facebook.com/onnaj.soicalap