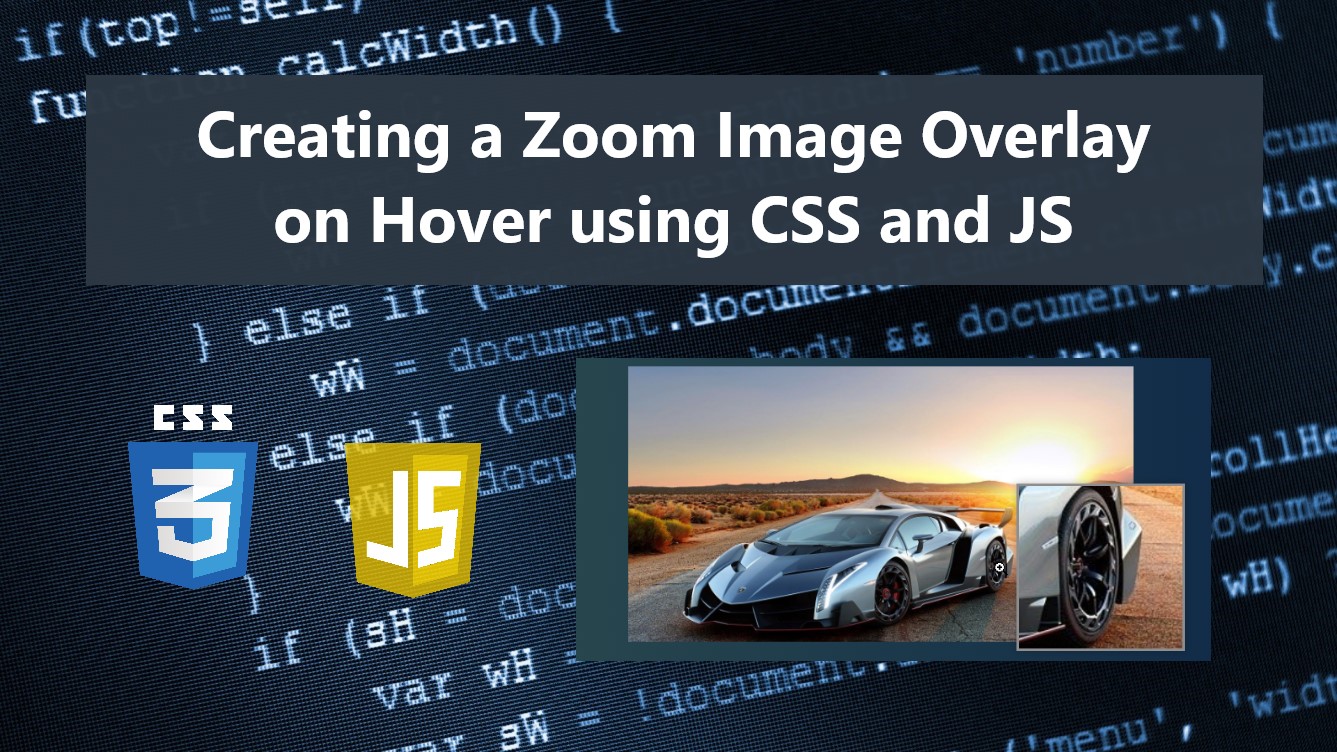
Creating a Zoom Image Overlay on Hover using CSS and JavaScript Tutorial
In this tutorial, you can learn how to create a Zoomed Image Overlay when Hovering over the Image Container using CSS and JavaScript. The tutorial aims to provide students and beginners with a reference for learning to create a useful component for a website or web application. Here, I will be providing a simple web page script that demonstrates the creation of a simple image-zoomed overlay functionality.
What is Zoomed Image Overlay?
Zoomed Image Overlay is a site component or useful feature that allows the end-users to zoom the image when hovering over the image container. This feature or component displays a floating element that contains the zoomed image and emphasizes the area where the cursor is located on the image. This feature is often used or implemented in eCommerce websites where visitors or users can zoom the product image by hovering only the image element.
How to create a Zoomed Image Overlay?
The Zoomed Image Overlay can be achieved easily using CSS and JavaScript. CSS comes with useful properties that allow us to design the overlay element according to what we desire and float it on the page screen. Using some of the JavaScript built-in methods, properties, functions, and APIs, we can make the Zoomed Image Overlay feature functional. Check out the scripts that I created and provided below to understand it more.
Sample Web Page Scripts
The scripts below result in a simple web application's page which display an image and has a Zoomed Image Overlay feature. The overlay will show when the user hovers over any area of the image container only and automatically hide when the image container area has been hovered out.
HTML
Here's the HTML file script known as index.html. The file contains the page layout, image container, and overlay elements.
- <!DOCTYPE html>
- <html lang="en">
- <head>
- <meta charset="UTF-8">
- <meta name="viewport" content="width=device-width, initial-scale=1.0">
- <link rel="stylesheet" href="style.css">
- <link rel="preconnect" href="https://fonts.googleapis.com">
- <link rel="preconnect" href="https://fonts.gstatic.com" crossorigin>
- </head>
- <body>
- <div class="container">
- <hr id="title_hr">
- <div id="wrapper">
- <div id="img-container">
- <img src="./image-1.jpg" alt="Sample Image">
- </div>
- </div>
- </div>
- <div id="img-zoom-container">
- <img src="./image-1.jpg" alt="Sample Image">
- </div>
- </body>
- </html>
CSS
Here's the CSS file script known as style.css. The file contains the stylesheet codes for designing the web page layout, image container, and overlay elements.
- @import url('https://fonts.googleapis.com/css2?family=Dongle:wght@300;400;700&family=Roboto+Mono:ital,wght@0,100;0,200;0,300;0,400;0,500;0,600;1,100;1,200;1,300;1,400;1,500;1,600&display=swap" rel="stylesheet');
- *{
- margin: 0;
- padding: 0;
- box-sizing: border-box;
- font-family: 'Dongle', sans-serif;
- font-family: 'Roboto Mono', monospace;
- }
- ::selection{
- color: #fff;
- background: #4db2ec;
- }
- body{
- display: flex;
- align-items: center;
- justify-content: center;
- min-height: 100vh;
- background: #0B2447;
- background-image: linear-gradient(to right, #2E4F4F 0%, #0B2447 100%);
- padding: 2em 0;
- }
- #page-title{
- color: #fff;
- text-align: center;
- font-weight: 500;
- }
- #title_hr{
- width:60px;
- border: 2px solid #ffffff;
- margin: .35em auto;
- }
- /* Card Wrapper */
- #wrapper{
- width: 600px;
- margin: 1em auto;
- }
- @media (max-width:680px){
- #wrapper{
- width: 95% !important;
- }
- }
- div#img-container {
- width: 100%;
- height: 70vh;
- overflow: hidden;
- cursor: zoom-in;
- }
- div#img-container > img{
- width: 100%;
- height: 100%;
- object-fit: cover;
- object-position: center center;
- }
- div#img-zoom-container {
- position: fixed;
- width: 200px;
- height: 200px;
- overflow: hidden;
- right: 0;
- bottom: 0;
- display: none;
- box-shadow: 0px 0px 10px #0000003d;
- border: 3px solid #8f8d8d;
- background-color: #000;
- }
- div#img-zoom-container > img{
- position: relative;
- width: 100%;
- height: 100%;
- object-fit: cover;
- object-position: center center;
- /* transform: scale(2); */
- }
JavaScript
Lastly, here's the JavaScript file script known as script.js. The file contains the JS codes that make the zoomed image overlay feature functional.
- // Displayed Image Selector
- const imageEl = document.querySelector('#img-container>img')
- // Hover Image Container
- const imageHoverContainer = document.getElementById('img-zoom-container')
- // Hover Image Selector
- const imageHoverEl = imageHoverContainer.querySelector('img')
- // Trigger Zoom
- const mouseZoomMove = (e) => {
- // Original Image Element Width
- var oimgWidth = imageEl.parentElement.offsetWidth
- // Original Image Element Height
- var oimgHeight = imageEl.parentElement.offsetHeight
- // Resized Image Element Width
- let imgWidth = imageEl.parentElement.offsetWidth * 3
- // Resized Image Element Height
- let imgHeight = imageEl.parentElement.offsetHeight * 3
- // Update Overlay Element to zoomed Image Width and Height
- imageHoverEl.style.width = `${imgWidth}px`
- imageHoverEl.style.height = `${imgHeight}px`
- // Cursor Position
- var zoomPosX = e.clientX
- var zoomPosY = e.clientY
- // Cursor position on Image Container
- var nzoomX = e.offsetX
- var nzoomY = e.offsetY
- // Converting Cursor position on Image to Zoomed Image position
- nzoomX = (nzoomX / oimgWidth) * imgWidth
- nzoomY = (nzoomY / oimgHeight) * imgHeight
- // Reposition Zoomed Image Overlay according converted position
- imageHoverEl.style.left = `-${nzoomX - 100}px`
- imageHoverEl.style.top = `-${nzoomY - 100}px`
- // Check if Overlay Position does not exceeds or less than the window height
- if((zoomPosY + 200) > window.outerHeight){
- zoomPosY = window.outerHeight - 200
- }
- if((zoomPosY - 100) < 0){
- zoomPosY = 110
- }
- // Check if Overlay Position does not exceeds or less than the window width
- if((zoomPosX + 200) > window.outerWidth){
- zoomPosX = window.outerWidth - 200
- }
- if((zoomPosX - 100) < 0){
- zoomPosX = 110
- }
- // Update position of overlay
- imageHoverContainer.style.left = `${zoomPosX + 20}px`
- imageHoverContainer.style.top = `${zoomPosY - 100}px`
- // Show Overlay
- imageHoverContainer.style.display = `block`
- }
- imageEl.addEventListener('mouseenter', e =>{
- // Start Zoom overlay
- imageEl.addEventListener('mousemove', mouseZoomMove)
- // Stop Zoom overlay
- imageEl.addEventListener('mouseout', e =>{
- imageEl.removeEventListener('mousemove', mouseZoomMove)
- // Hide Overlay
- imageHoverContainer.style.display = `none`
- })
- })
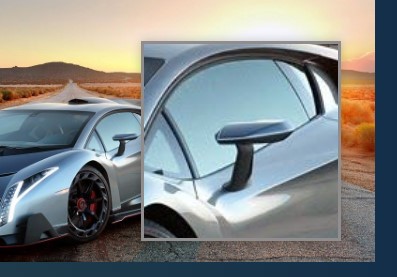
Snapshots
Here are some snapshots of the overall result of the provided scripts.
Page Interface
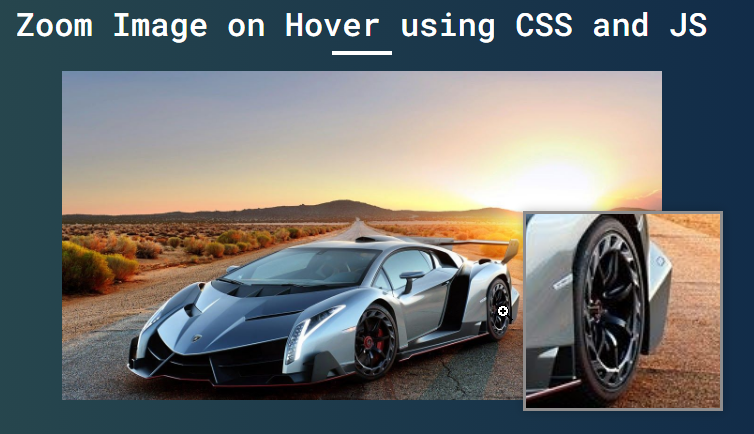
Image Container

Zoomed Image Overlay
There you go! I have provided also the complete source code zip file of the web page scripts above on this website and it is free to download. Feel free to download and modify the source code and some experiments to enhance your programming capabilities.
That's it! I hope this Creating a Zoom Image Overlay on Hover using CSS and JavaScript Tutorial will help you with what you are looking for and will be useful for your current and future web application projects.
Explore more on this website for more Tutorials and Free Source Codes.