Creating a Parallax Effect using HTML, CSS, and JavaScript
In this comprehensive tutorial, I will guide you step-by-step on how to create a highly creative and visually attractive website feature known as the Parallax Effect. The parallax scrolling effect is a popular web design trend that adds depth, motion, and an engaging user experience to your website. By the end of this tutorial, you will learn how to implement stunning parallax animations that captivate visitors, improve your site's visual appeal, and boost overall engagement. Whether you're a beginner or an experienced web developer, mastering the parallax effect will take your website design skills to the next level.
What is Parallax Effect?
The parallax effect is a powerful visual technique where objects positioned closer to the viewer move faster than those positioned farther away, creating a stunning illusion of depth and dynamic 3D movement. This technique has become increasingly popular in modern web design for enhancing user experience and making websites more interactive and engaging.
In the context of web development, the parallax effect typically occurs when:
- The background image or graphic moves at a slower pace than the foreground content as users scroll down the page, creating a layered visual effect.
- This movement generates a sense of immersion, making the website feel more dynamic, visually appealing, and captivating for visitors.
By implementing the parallax scrolling effect, web designers can transform ordinary pages into vibrant, story-driven experiences that not only look professional but also keep users engaged longer.
In this tutorial, I will provide the complete HTML, CSS, and JavaScript code needed to create a simple yet visually appealing website featuring the Parallax Effect. In the source code, I have used two sample images to enhance the design. One of these images contains an isolated object extracted from the original image, which overlays both the background and the section content. This layering technique adds depth and realism to the parallax effect.
Beyond the parallax scrolling effect, I have also incorporated smooth animations to make the website more dynamic and visually engaging. By following this tutorial, you'll learn how to create an interactive scrolling experience that enhances user engagement and improves the overall aesthetics of your web pages.
Let's start the coding.
Step 1: Creating the HTML file
First, let's create a new HTML file and save it as index.html. This file will contain all the essential elements needed for building our sample website with a Parallax Effect. It will include the different sections and their respective content that structure the web page layout. Additionally, the CSS and JavaScript (JS) files will be linked within this HTML file to style the website and add interactive functionalities such as the parallax movement effect.
Here's the index.html code:
Step 2: Creating the CSS file
Next, let's create a new Cascading Style Sheets (CSS) file for the website and save it as style.css. This stylesheet is responsible for designing the visual appearance of the elements, structuring the layout, and enhancing the overall look and feel of the website. Within style.css, we will define styles for sections, images, text, and other components to create a cohesive and attractive design.
Additionally, the background images that will be displayed on the website are loaded through this CSS file. The styling script will also include the necessary code to achieve the Parallax Effect and add extra animations, making the website more dynamic, interactive, and visually appealing for users.
Here's the CSS script:
- @import url('https://fonts.googleapis.com/css2?family=Eagle+Lake&display=swap');
- * {
- box-sizing: border-box;
- font-family: "Eagle Lake", serif;
- font-style: normal;
- }
- html,
- body {
- margin: unset;
- padding: unset;
- width: 100%;
- max-width: 100%;
- min-height: 100%;
- height: 100%;
- overflow: auto;
- overflow-x: hidden;
- }
- /* Parallax Title */
- #app-title {
- font-size: 4rem;
- font-weight: bolder;
- text-align: center;
- color: #fff;
- text-shadow: 6px 6px 11px #000;
- animation: slideUp 1s linear infinite;
- animation-play-state: paused;
- animation-delay: calc(var(--scroll) * -1s);
- animation-iteration-count: 1;
- animation-fill-mode: both;
- }
- /* Content Sections */
- section{
- position: relative;
- width: 100%;
- height: 100%;
- display: flex;
- align-items: center;
- justify-content: center;
- }
- /* First Section */
- section:nth-child(1)::before {
- content: "";
- position: absolute;
- top: 0;
- left: 0;
- width: 100%;
- height: 100%;
- background-image: url(./imgs/nigh-savannah-landscape.jpg);
- background-attachment: fixed; /* Creates the Parallax Effect */
- background-size: 100% 100%;
- background-repeat: no-repeat;
- background-position: center center;
- }
- section:nth-child(1)::after {
- content: "";
- position: absolute;
- top: 0;
- left: 0;
- width: 100%;
- height: 100%;
- background-image: url(./imgs/nigh-savannah-landscape-2.png);
- background-size: 102% 100%;
- background-repeat: no-repeat;
- background-position: center center;
- transform: translateX(10px);
- }
- /* Additional Animation/Effect for the foreground image */
- section:nth-child(1)::after{
- animation: shrink 1s linear infinite;
- animation-play-state: paused;
- animation-delay: calc(var(--scroll) * -1s);
- animation-iteration-count: 1;
- animation-fill-mode: both;
- }
- /* Second Section */
- section:nth-child(2)::before {
- content: "";
- position: absolute;
- top: 0;
- left: 0;
- width: 100%;
- height: 100%;
- background-image: url(./imgs/night-landscape-mountain.jpg);
- background-attachment: fixed; /* Creates the Parallax Effect */
- background-size: 100% 100%;
- background-repeat: no-repeat;
- background-position: center center;
- }
- section:nth-child(2)::after {
- content: "";
- position: absolute;
- top: 0;
- left: 0;
- width: 100%;
- height: 100%;
- background-color: #ffffffd6;
- }
- /* Additional Animation/Effect for the foreground image */
- section:nth-child(2)::after{
- animation: reveal 1s linear infinite;
- animation-play-state: paused;
- animation-delay: calc(var(--scroll) * -1s);
- animation-iteration-count: 1;
- animation-fill-mode: both;
- }
- @keyframes slideUp {
- 30% {
- transform: translateY(-10px);
- }
- 100% {
- transform: translateY(1000px);
- }
- }
- @keyframes shrink {
- to {
- transform: scaleX(1.2);
- }
- }
- @keyframes reveal {
- to {
- opacity: 0;
- }
- }
Step 3: creating JS file
Lastly, let's create the JavaScript file for the website and save it as script.js. This file primarily handles the interactive behavior of the site during user scroll actions. Within script.js, we will add an event listener that tracks the user's scrolling activity. As the user scrolls, the event listener updates a custom property—referred to as the scroll—on the document body.
This dynamic scroll variable is crucial for triggering and controlling additional animations throughout the website, making the scrolling experience smoother, more responsive, and visually engaging. Although simple, this JavaScript file plays an important role in bringing the Parallax Effect and extra animations to life.
- document.body.addEventListener(
- "scroll",
- () => {
- // Update Scroll Variable for CSS
- document.body.style.setProperty(
- "--scroll",
- document.body.scrollTop / document.body.offsetHeight
- );
- },
- false
- );
There you have it! You can now try to browse the website using your preferred web browser. The result of the website must show the Parallax Effect and some of the animation while you scroll the page.
Snapshots
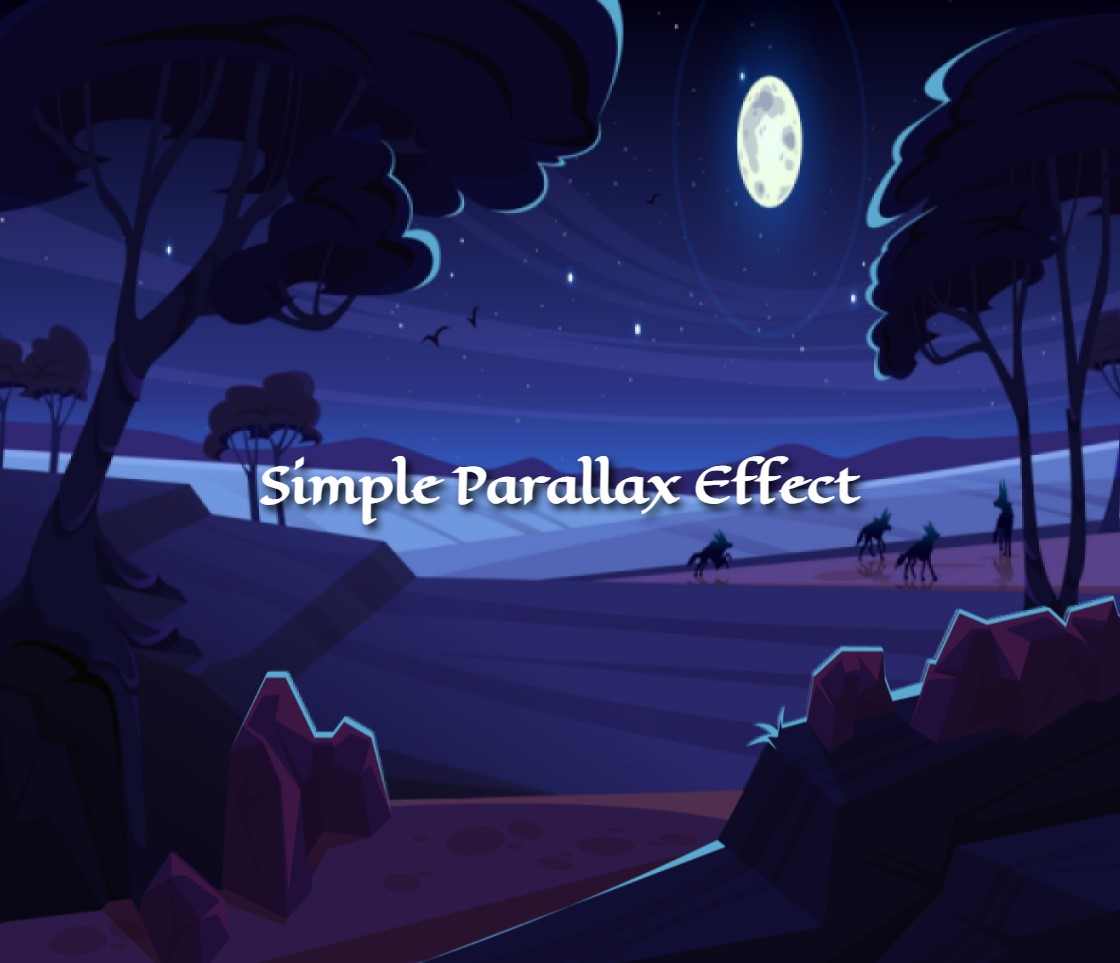
The image above shows how the website would looks like when it is loaded.

The image above illustrates the transition of the website from the first section to the second section.
I have also provided the complete source code of the sample website, including the sample images used in the project. The source code zip file is available for free download on this website. Feel free to download it and modify the code to further enhance your knowledge about creating a Parallax Effect. The download button is located below this article.
There you go! I hope that this Parallax Effect Tutorial using HTML, CSS, and JavaScript will help you with what you are looking for and useful for your current or future website development.
Explore more on this website for more Tutorials, Free Source Codes, and Articles covering various programming languages.