Python - A Simple Login Form With Django Build In Login Function
Submitted by razormist on Wednesday, August 2, 2017 - 18:32.
In this tutorial we will create a Simple Login Form With Django Built In Login Function. Django is a free and open source web application framework, written in Python. A web framework is a set of components that helps you to develop websites faster and easier. Django makes developers life convenient and productive framework to all. So let's now do the coding.
Getting started
First you will have to download & install the Python IDLE's, here's the link for the Integrated Development And Learning Environment for Python https://www.python.org/downloads/.
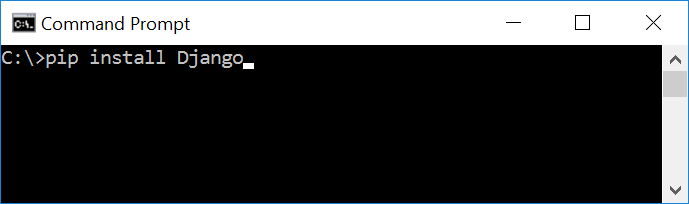
After Python IDLE's is installed, open the command prompt then type "pip install Django", and hit enter.
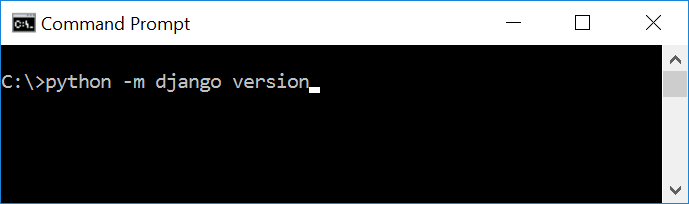
 Wait for the django to be downloaded and installed at the same time. Then After that type "python -m django version" and hit enter to check if django is installed and what version of django is.
 Creating the App
After setting django we will now create the web app for the web server. First create a new folder named "Python - A Simple Login Form With Django Built In Login Function", then cd to a newly created folder, then type "django-admin startproject webserver" and hit enter. A new folder will be created on the directory named 'webserver'.
Creating the App
After setting django we will now create the web app for the web server. First create a new folder named "Python - A Simple Login Form With Django Built In Login Function", then cd to a newly created folder, then type "django-admin startproject webserver" and hit enter. A new folder will be created on the directory named 'webserver'.
 Running The Server
After creating a project, cd to the newly created directory, then type "manage.py runserver" and hit enter to start the server running. The "manage.py" is a command of django-admin that utilize the administrative tasks of python web framework.
Here is the image of python web server:
Running The Server
After creating a project, cd to the newly created directory, then type "manage.py runserver" and hit enter to start the server running. The "manage.py" is a command of django-admin that utilize the administrative tasks of python web framework.
Here is the image of python web server:
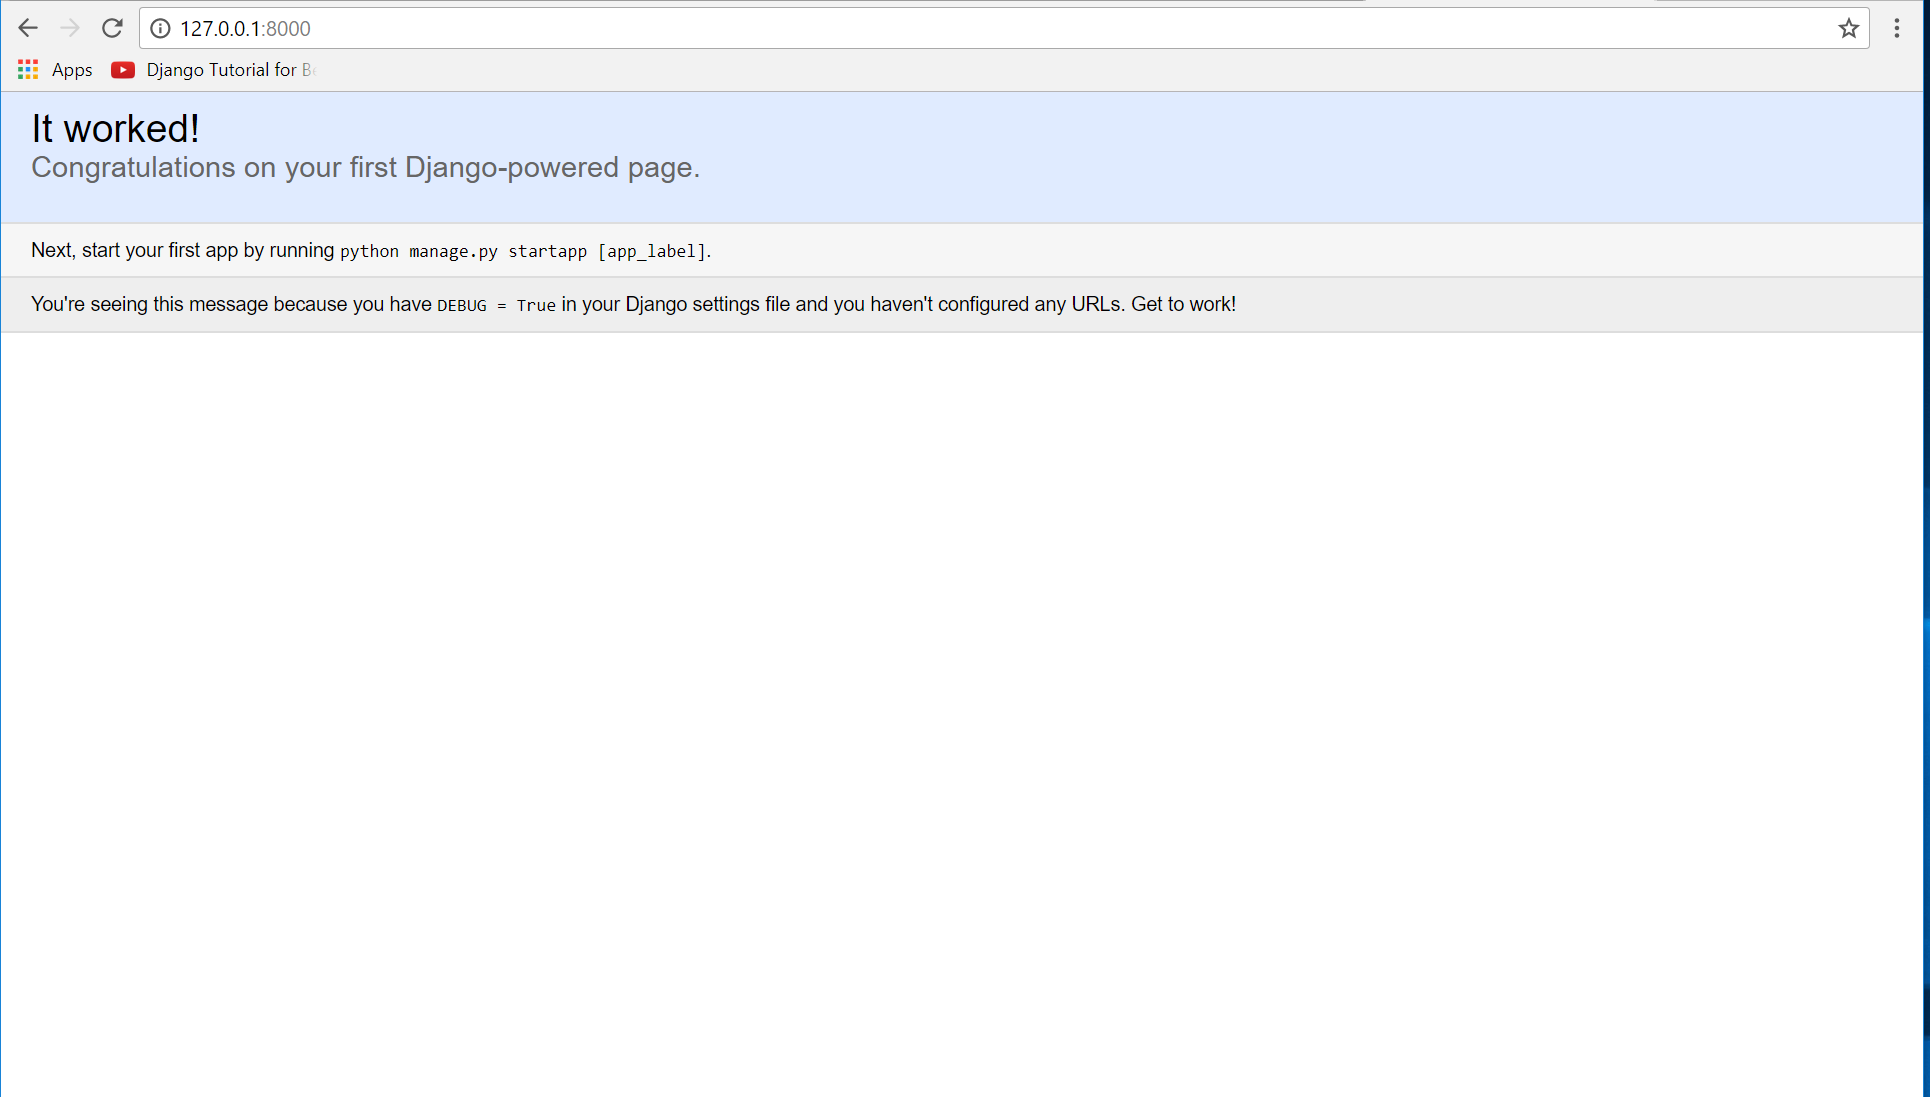 Note: Type '127.0.0.1:8000' in the url browser to view the server. When there is code changes in the server just (ctrl + C) to command prompt to stop the server from running, then start again to avoid errors.
Creating The Website
This time will now create the web app to display the web models. First locate the directory of the app via command prompt cd, then type "manage.py startapp login" and hit enter. A new directory will be create inside the app named "login".
Note: Type '127.0.0.1:8000' in the url browser to view the server. When there is code changes in the server just (ctrl + C) to command prompt to stop the server from running, then start again to avoid errors.
Creating The Website
This time will now create the web app to display the web models. First locate the directory of the app via command prompt cd, then type "manage.py startapp login" and hit enter. A new directory will be create inside the app named "login".
 Setting up The URL
This time will now create a url address to connect the app from the server. First Go to webserver directory, then open urls via Python IDLE's or any text editor. Then import "include" module beside the url module. After that copy/paste the code below inside the urlpatterns.
It will be look like this:
Creating The Path For The Pages
Now that we set the connect we will now create a path for the web pages. All you have to do first is to go to logindirectory, then copy/paste the code below and save it inside login directory namely 'urls.py' The file name must be urls.py or else there will be an error in the code.
Creating The Views
The views contains the interface of the website. This is where you assign the html code for rendering it to django framework. To do that first open the views.py, the copy/paste the code below.
Creating The Mark up Language
Now we will create the html interface for the django framework. First go to login directory, then create a directory called "templates" and create a sub directory on it called login.
base.html
Save it as "base.html" inside the login directory "sub directory of templates".
index.html
Save it as "index.html" inside the login directory "sub directory of templates".
home.html
Save it as "home.html" inside the login directory "sub directory of templates".
Registering The App To The Server
Now that we created the interface we will now then register the app to the server. To do that go to the sample directory, then open "settings.py" via Python IDLE's or any text editor. Then copy/paste this script inside the INSTALLED_APP variables 'login'.
It will be like this:
Registering The Login URL
This script will register the login url when the user successfully login. While the settings.py is still open copy the code below and just paste it below the STATIC_URL.
Migrating The App To The Server
Now that we done in setting up all the necessary needed, we will now then migrate the app to the server. To do that open the command prompt then cd to the "sample" directory, then type "manage.py migrate" and hit enter.
Setting up The URL
This time will now create a url address to connect the app from the server. First Go to webserver directory, then open urls via Python IDLE's or any text editor. Then import "include" module beside the url module. After that copy/paste the code below inside the urlpatterns.
It will be look like this:
Creating The Path For The Pages
Now that we set the connect we will now create a path for the web pages. All you have to do first is to go to logindirectory, then copy/paste the code below and save it inside login directory namely 'urls.py' The file name must be urls.py or else there will be an error in the code.
Creating The Views
The views contains the interface of the website. This is where you assign the html code for rendering it to django framework. To do that first open the views.py, the copy/paste the code below.
Creating The Mark up Language
Now we will create the html interface for the django framework. First go to login directory, then create a directory called "templates" and create a sub directory on it called login.
base.html
Save it as "base.html" inside the login directory "sub directory of templates".
index.html
Save it as "index.html" inside the login directory "sub directory of templates".
home.html
Save it as "home.html" inside the login directory "sub directory of templates".
Registering The App To The Server
Now that we created the interface we will now then register the app to the server. To do that go to the sample directory, then open "settings.py" via Python IDLE's or any text editor. Then copy/paste this script inside the INSTALLED_APP variables 'login'.
It will be like this:
Registering The Login URL
This script will register the login url when the user successfully login. While the settings.py is still open copy the code below and just paste it below the STATIC_URL.
Migrating The App To The Server
Now that we done in setting up all the necessary needed, we will now then migrate the app to the server. To do that open the command prompt then cd to the "sample" directory, then type "manage.py migrate" and hit enter.
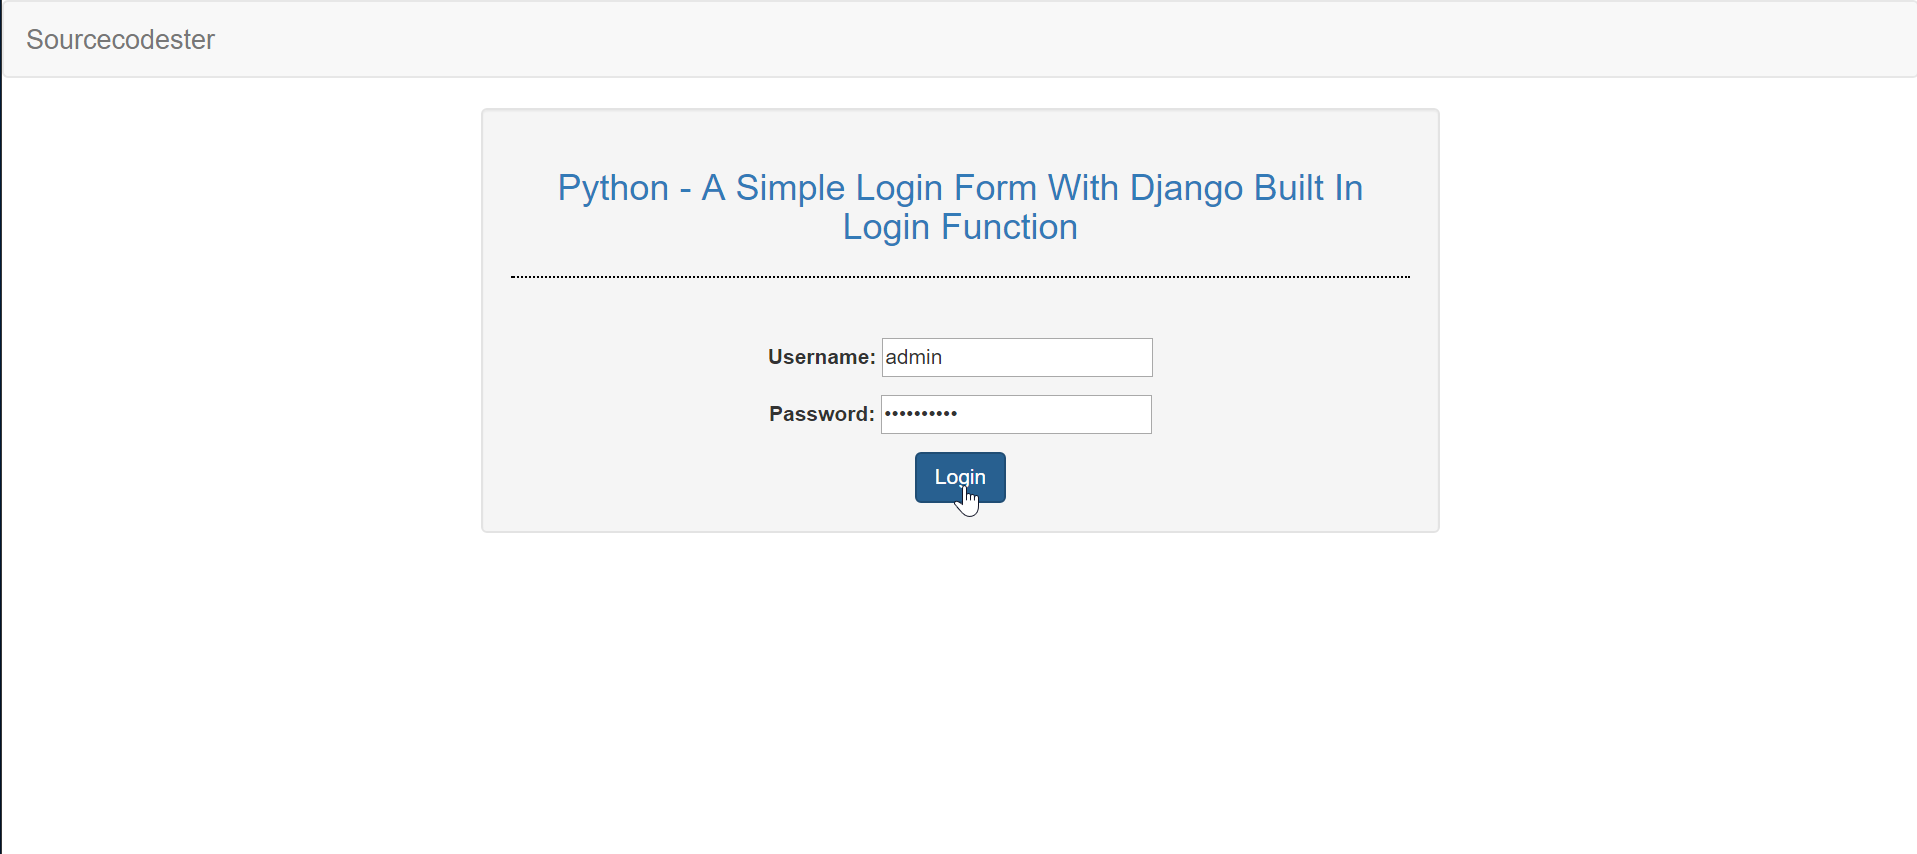
 Now try to run the server again, and see if all things are done.
There you have it we successfully created a Simple Login Form With Django Built In Login Function. I hope that this simple tutorial help you understand to handle django web framework. For more updates and tutorials just kindly visit this site. Enjoy Coding!!!
Now try to run the server again, and see if all things are done.
There you have it we successfully created a Simple Login Form With Django Built In Login Function. I hope that this simple tutorial help you understand to handle django web framework. For more updates and tutorials just kindly visit this site. Enjoy Coding!!!
Wait for the django to be downloaded and installed at the same time. Then After that type "python -m django version" and hit enter to check if django is installed and what version of django is.
Creating the App
After setting django we will now create the web app for the web server. First create a new folder named "Python - A Simple Login Form With Django Built In Login Function", then cd to a newly created folder, then type "django-admin startproject webserver" and hit enter. A new folder will be created on the directory named 'webserver'.
Running The Server
After creating a project, cd to the newly created directory, then type "manage.py runserver" and hit enter to start the server running. The "manage.py" is a command of django-admin that utilize the administrative tasks of python web framework.
Here is the image of python web server:
Note: Type '127.0.0.1:8000' in the url browser to view the server. When there is code changes in the server just (ctrl + C) to command prompt to stop the server from running, then start again to avoid errors.
Creating The Website
This time will now create the web app to display the web models. First locate the directory of the app via command prompt cd, then type "manage.py startapp login" and hit enter. A new directory will be create inside the app named "login".
Setting up The URL
This time will now create a url address to connect the app from the server. First Go to webserver directory, then open urls via Python IDLE's or any text editor. Then import "include" module beside the url module. After that copy/paste the code below inside the urlpatterns.
- url(r'^login/', include('login.urls')),
- from django.conf.urls import include, url
- from django.contrib import admin
- urlpatterns = [
- url(r'^admin/', admin.site.urls),
- url(r'^login/', include('login.urls')),
- ]
- from django.conf.urls import url
- from . import views
- from django.contrib.auth.views import login
- app_name = 'login'
- urlpatterns = [
- url(r'^$', login, {'template_name': 'login/index.html'}),
- url(r'^home/$', views.home, name="home"),
- url(r'^$', views.logout, name="logout")
- ]
- from django.shortcuts import render
- from django.contrib.auth import logout
- # Create your views here.
- def home(request):
- return render(request, 'login/home.html')
- def logout(request):
- logout(request)
- <!DOCTYPE html>
- <html lang = "en">
- <head>
- <title>Django Login</title>
- <meta charset = "utf-8" name = "viewport" content = "width=device-width, initial-scale=1" />
- {% load static %}
- <link rel = "stylesheet" type = "text/css" href = "{% static 'login/css/bootstrap.css' %}" />
- </head>
- <body>
- <nav class = "navbar navbar-default">
- <div class = "container-fluid">
- <a class = "navbar-brand" href = "https://sourcecodester.com">Sourcecodester</a>
- </div>
- </nav>
- <body>
- {% block body %}
- {% endblock %}
- </body>
- </body>
- </html>
- {% extends 'login/base.html' %}
- {% block body %}
- <div class = "col-md-3"></div>
- <div class = "col-md-6 well">
- <h3 class = "text-primary" style = "text-align:center;">Python - A Simple Login Form With Django Built In Login Function</h3>
- <hr style = "border-top:1px dotted #000;"/>
- <br />
- <form method = "POST">
- {% csrf_token %}
- <center>{{ form.as_p }}</center>
- <center><button class = "btn btn-primary" type = "submit" name = "submit">Login</button></center>
- </form>
- </div>
- {% endblock %}
- {% extends 'login/base.html'%}
- {% block body %}
- <div class = "col-md-3"></div>
- <div class = "col-md-6 well">
- <h3 class = "text-primary" style = "text-align:center;">Python - A Simple Login Form With Django Built In Login Function</h3>
- <hr style = "border-top:1px dotted #000;"/>
- <br />
- <h1 style = "text-align:center;">Welcome</h1>
- <a href = "{% url 'login:logout'%}">Logout</a>
- </div>
- {% endblock %}
- INSTALLED_APPS = [
- 'login',
- 'django.contrib.admin',
- 'django.contrib.auth',
- 'django.contrib.contenttypes',
- 'django.contrib.sessions',
- 'django.contrib.messages',
- 'django.contrib.staticfiles',
- ]
- LOGIN_REDIRECT_URL = '/login/home'
Now try to run the server again, and see if all things are done.
There you have it we successfully created a Simple Login Form With Django Built In Login Function. I hope that this simple tutorial help you understand to handle django web framework. For more updates and tutorials just kindly visit this site. Enjoy Coding!!!