jQuery Upload Multiple Images In PHP
Submitted by rinvizle on Wednesday, August 31, 2016 - 11:36.
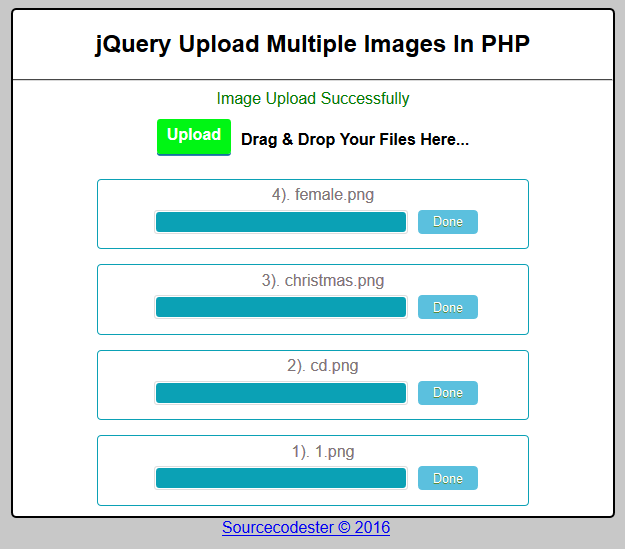
This tutorial is written in PHP and jQuery. We create this project and named as jQuery Upload Multiple Images In PHP. Every file contains post upload process and move the files in uploads directory. First check directory and error after that check if single file coming then process separate if multiple files handle in loop. You will see all the files that you uploaded in the directory folder. This simple application will bring to you a very big help to your projects and add it to your features to make it more attractive and responsive to every users. See the example code below.
 Upload.php - This file is for the process of uploading the images or files and push it through the directory folder.
Hope that you learn in my tutorial. Don't forget to LIKE & SHARE this website. Enjoy Coding.
Upload.php - This file is for the process of uploading the images or files and push it through the directory folder.
Hope that you learn in my tutorial. Don't forget to LIKE & SHARE this website. Enjoy Coding.
Sample Code
Index.html - This file contains jQuery library and CSS script to handle the requests.- <!DOCTYPE html>
- <html>
- <head>
- <link href="css/uploadfilemulti.css" rel="stylesheet">
- </head>
- <body>
- <div class="content">
- <script>
- $(document).ready(function()
- {
- var settings = {
- url: "upload.php",
- method: "POST",
- allowedTypes:"jpg,png,gif,doc,pdf,zip",
- fileName: "myfile",
- multiple: true,
- onSuccess:function(files,data,xhr)
- {
- },
- afterUploadAll:function()
- {
- alert("Image's Uploaded");
- },
- onError: function(files,status,errMsg)
- {
- }
- }
- $("#mulitplefileuploader").uploadFile(settings);
- });
- </script>
- </div>
- <div>
- <footer><a href="http://www.sourcecodester.com">Sourcecodester © 2016</a></footer>
- </div>
- </body>
- </html>
Upload.php - This file is for the process of uploading the images or files and push it through the directory folder.
- <?php
- $output_dir = "uploads/";
- {
- $error =$_FILES["myfile"]["error"];
- {
- {
- $ImageType = $_FILES['myfile']['type'];
- $NewImageName = $ImageName.'-'.$RandomNum.'.'.$ImageExt;
- $ret[$fileName]= $output_dir.$NewImageName;
- }
- else
- {
- for($i=0; $i < $fileCount; $i++)
- {
- $ImageType = $_FILES['myfile']['type'][$i];
- $NewImageName = $ImageName.'-'.$RandomNum.'.'.$ImageExt;
- $ret[$NewImageName]= $output_dir.$NewImageName;
- }
- }
- }
- }
- ?>