Android - Simple Splash Screen
Submitted by razormist on Tuesday, January 16, 2018 - 19:17.
In this tutorial we will try to create a Simple Splash Screen Using Android. Android is most commonly comes installed on a variety of smartphones and tablets, and even in TV. Android is an open source so that developer find it easy to develop and expand new features. So let's do the coding...
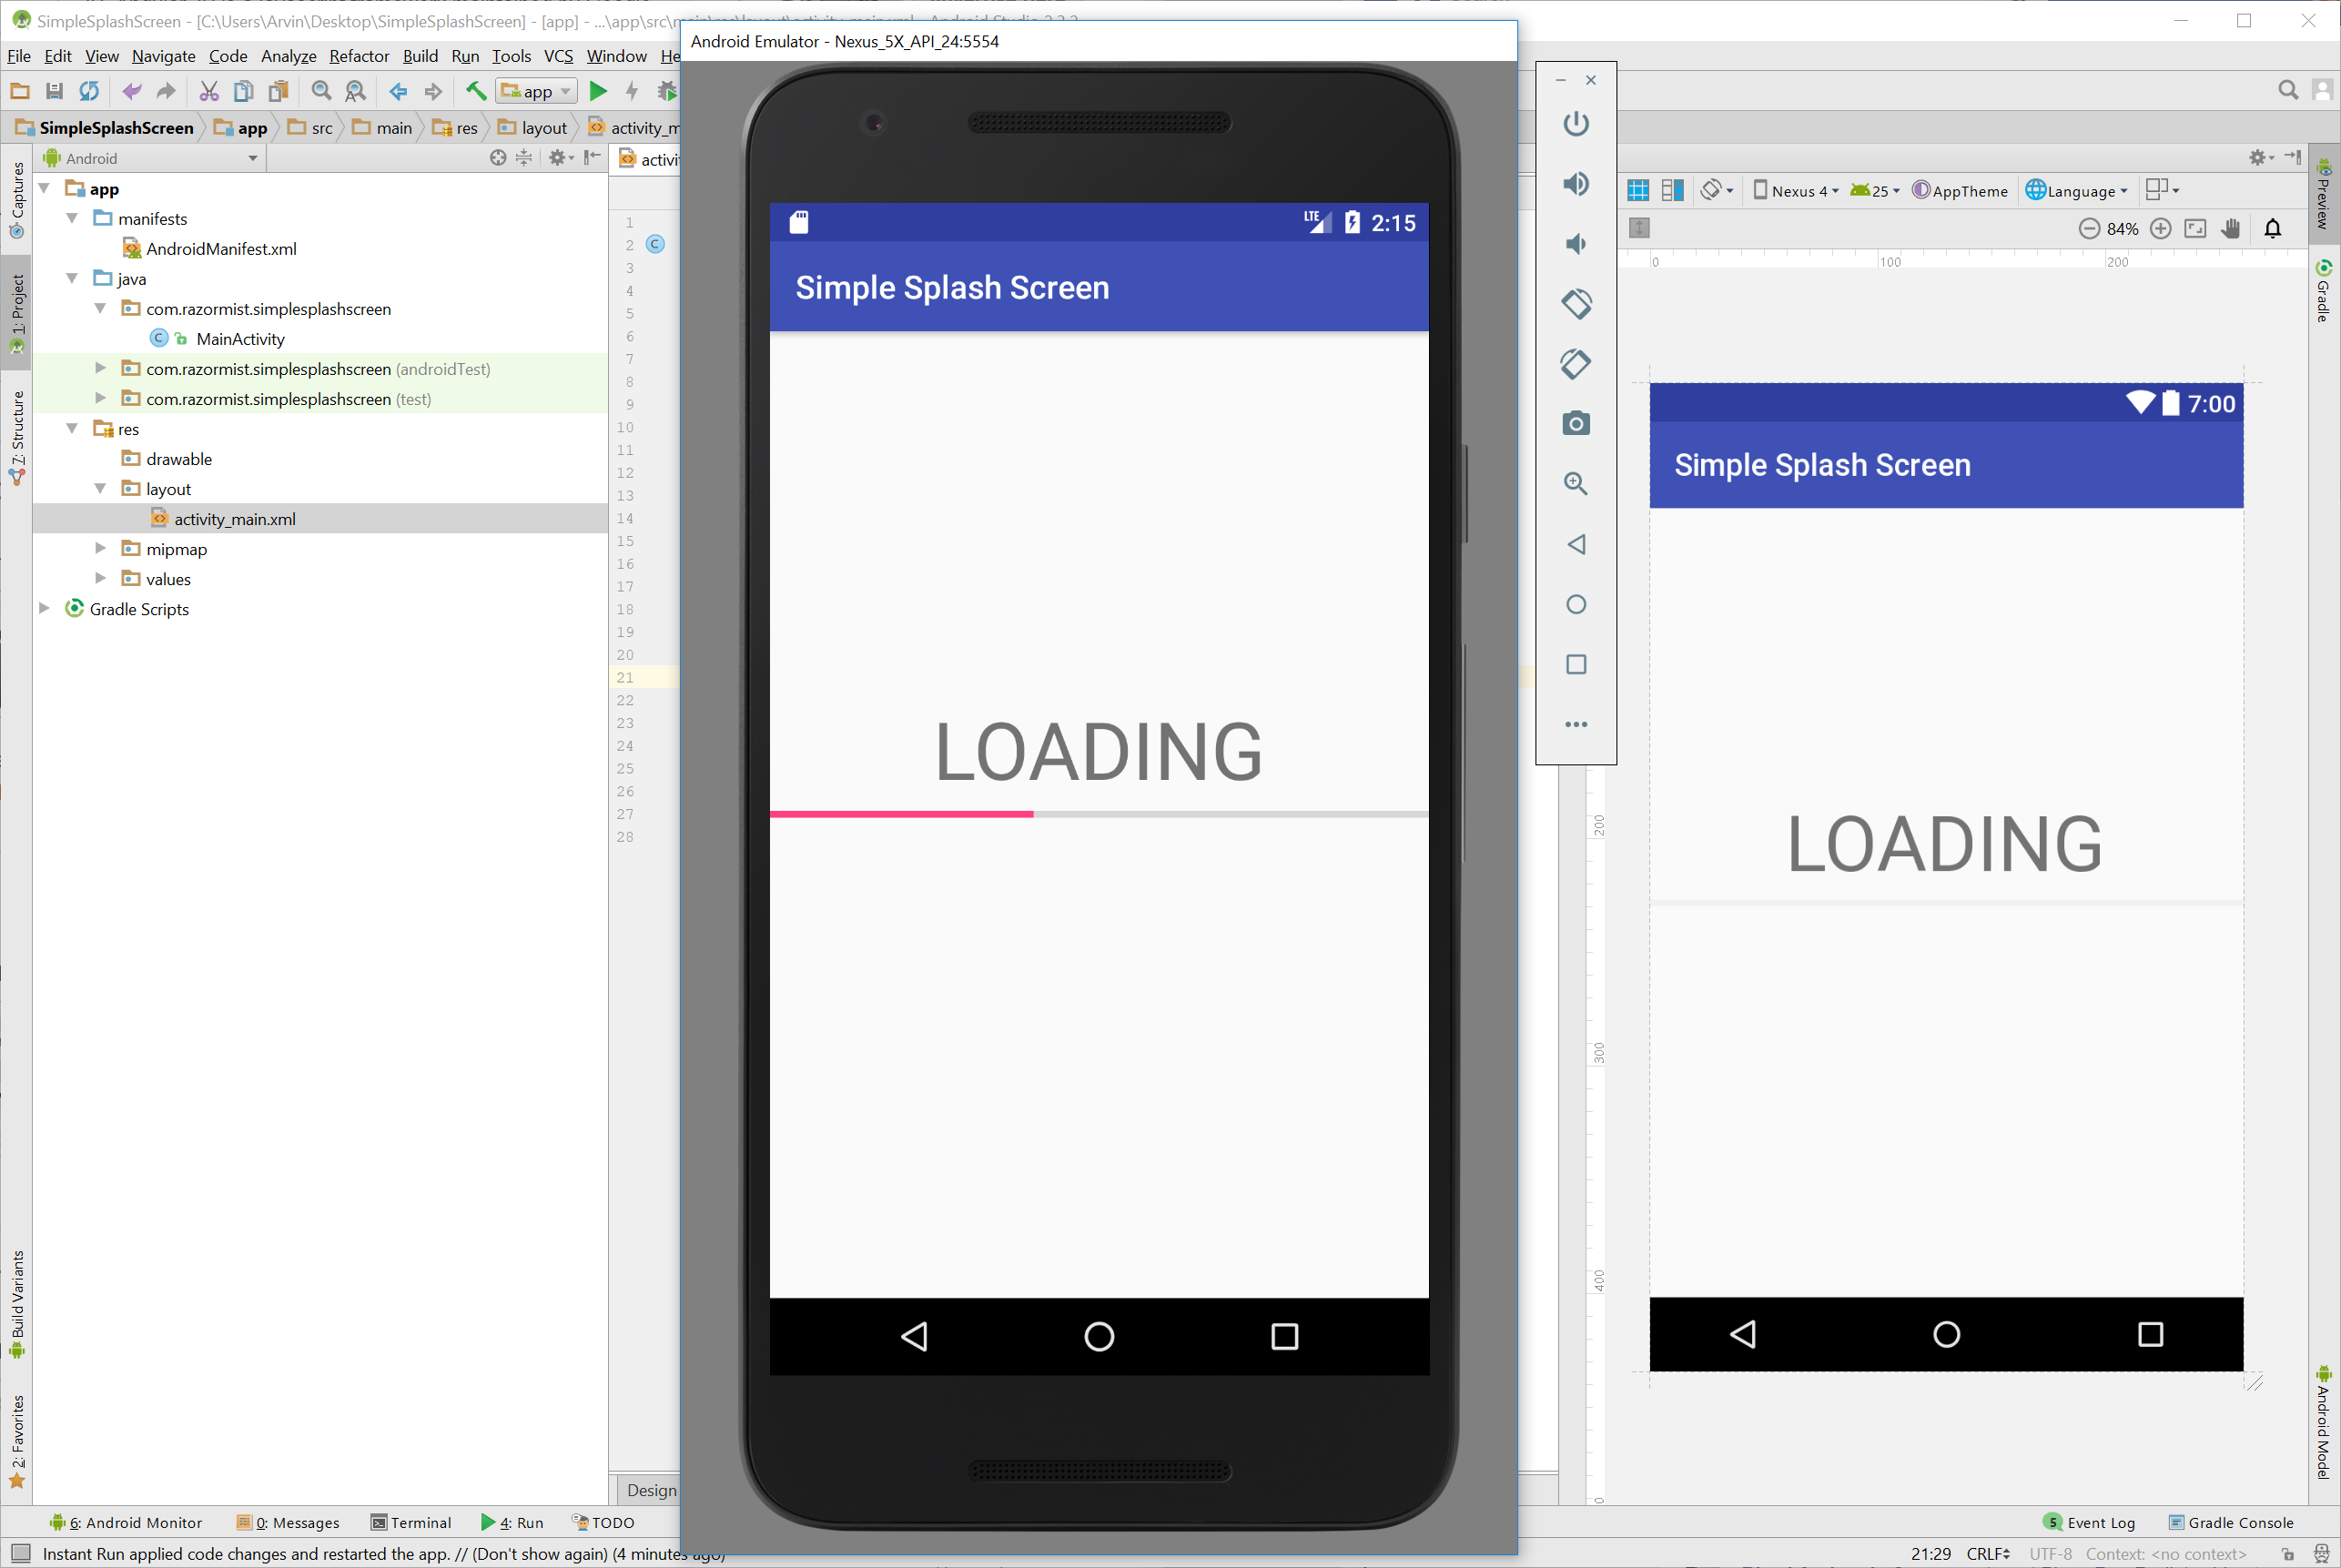
Try to run the app and see if it worked.
There you have it we create a Simple Splash Screen using Android. I hope that this tutorial help you to what you are looking for. For more updates and tutorials just kindly visit this site. Enjoy Coding!!!
Getting Started:
First you will have to download & install the Android Development IDE (Android Studio or Eclipse). Android Studio is an open source development feel free to develop your things. Here's the link for the Android Studio https://developer.android.com/studio/index.html.Layout Design
We will now create the design for the application, first locate the activity_main.xml and click text to view the script. Then copy and paste the code below.- <?xml version="1.0" encoding="utf-8"?>
- <RelativeLayout xmlns:android="http://schemas.android.com/apk/res/android"
- xmlns:app="http://schemas.android.com/apk/res-auto"
- xmlns:tools="http://schemas.android.com/tools"
- android:layout_width="match_parent"
- android:layout_height="match_parent"
- tools:context="com.razormist.simplesplashscreen.MainActivity">
- <TextView
- android:id="@+id/tv_loading"
- android:layout_height="wrap_content"
- android:layout_width="wrap_content"
- android:text="LOADING"
- android:layout_centerInParent="true"
- android:layout_above="@+id/progressBar"
- android:textSize="50sp"/>
- <ProgressBar
- android:id="@+id/progressBar"
- style="@android:style/Widget.DeviceDefault.Light.ProgressBar.Horizontal"
- android:layout_width="match_parent"
- android:layout_height="wrap_content"
- android:progress="0"
- android:layout_centerVertical="true"
- android:layout_alignParentLeft="true"
- android:layout_alignParentStart="true" />
- </RelativeLayout>
Android Manifest File
The Android Manifest file provides essential information about your app to the Android system in which the system must required before running the code.- <?xml version="1.0" encoding="utf-8"?>
- <manifest xmlns:android="http://schemas.android.com/apk/res/android"
- package="com.razormist.simplesplashscreen">
- <application
- android:allowBackup="true"
- android:icon="@mipmap/ic_launcher"
- android:label="@string/app_name"
- android:roundIcon="@mipmap/ic_launcher_round"
- android:supportsRtl="true"
- android:theme="@style/AppTheme">
- <activity android:name=".MainActivity"
- android:configChanges="orientation"
- android:screenOrientation="portrait">
- <intent-filter>
- <action android:name="android.intent.action.MAIN" />
- <category android:name="android.intent.category.LAUNCHER" />
- </intent-filter>
- </activity>
- </application>
- </manifest>
The Main Function
This code contains the main function of the application. This code will start running the progress bar to it target point and will load the new page at the same time. To create first locate your java file and open it, then write these block of codes.- package com.razormist.simplesplashscreen;
- import android.os.Handler;
- import android.support.v7.app.AppCompatActivity;
- import android.os.Bundle;
- import android.widget.ProgressBar;
- import android.widget.TextView;
- public class MainActivity extends AppCompatActivity {
- ProgressBar progressBar;
- TextView loading;
- int progress = 0;
- Handler h = new Handler();
- @Override
- protected void onCreate(Bundle savedInstanceState) {
- super.onCreate(savedInstanceState);
- setContentView(R.layout.activity_main);
- progressBar = (ProgressBar)findViewById(R.id.progressBar);
- loading = (TextView)findViewById(R.id.tv_loading);
- @Override
- public void run() {
- for(int i = 0; i < 5; i++){
- progress += 20;
- @Override
- public void run() {
- progressBar.setProgress(progress);
- if(progress == progressBar.getMax()){
- progressBar.setVisibility(4);
- loading.setText("WELCOME");
- }
- }
- });
- try{
- }
- }
- }
- }).start();
- }
- }
Note: Due to the size or complexity of this submission, the author has submitted it as a .zip file to shorten your download time. After downloading it, you will need a program like Winzip to decompress it.
Virus note: All files are scanned once-a-day by SourceCodester.com for viruses, but new viruses come out every day, so no prevention program can catch 100% of them.
FOR YOUR OWN SAFETY, PLEASE:
1. Re-scan downloaded files using your personal virus checker before using it.
2. NEVER, EVER run compiled files (.exe's, .ocx's, .dll's etc.)--only run source code.