Adding an Image into the Resources in VB.Net
Submitted by janobe on Wednesday, August 29, 2018 - 11:38.
In this Tutorial I will teach you how to add an image into the resources in VB.Net. Using this method you can access an image anytime you want for your application. It can be easily used for changing an image in a PictureBox, MenuStrip, ToolStip and etc.
Follow the steps below for your guide:
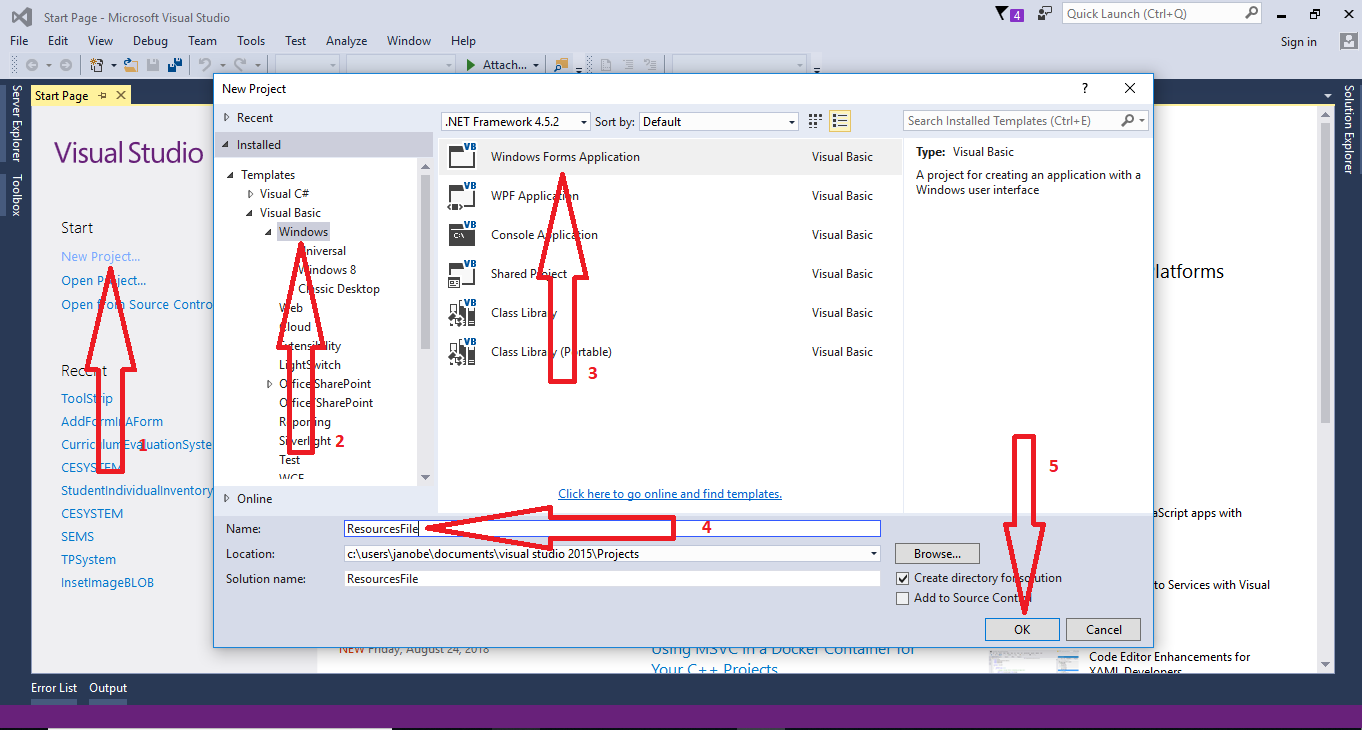
Open Microsoft Visual Basic 2015 and create a new windows form application.
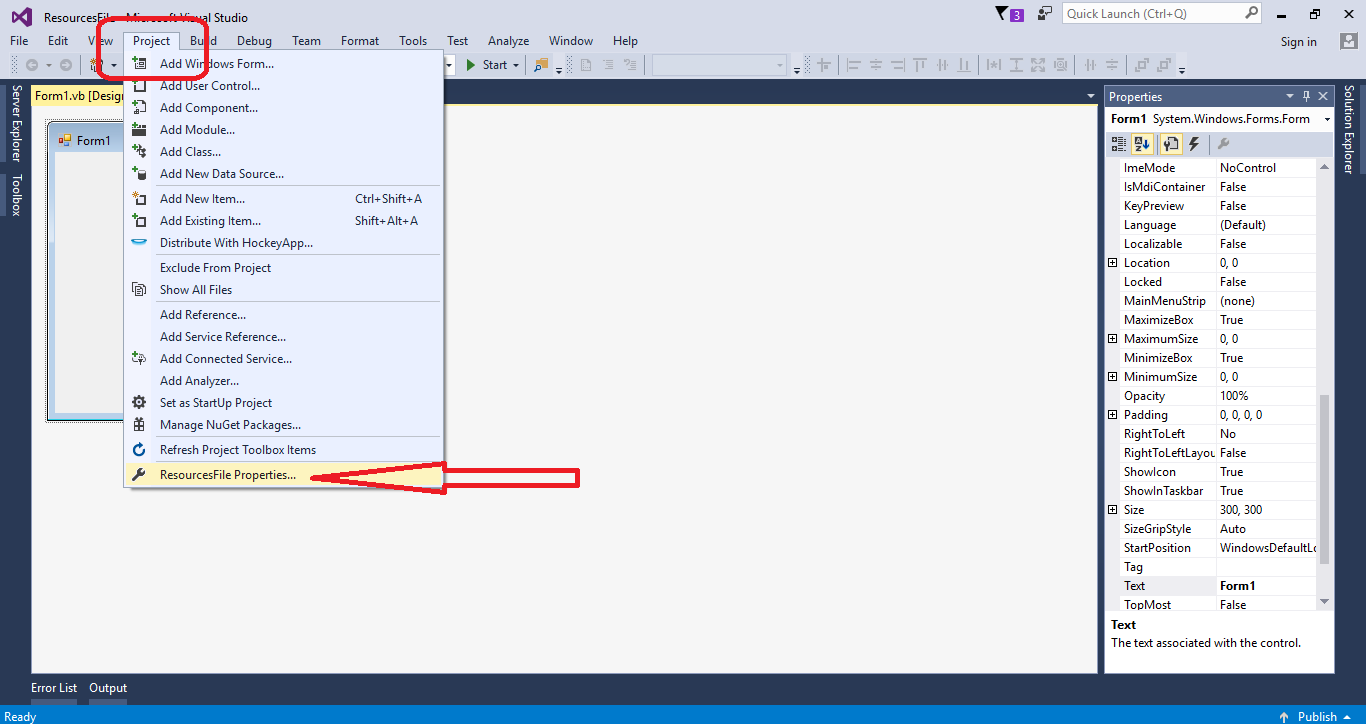
 After that, select a Project in the menu and go to project properties.
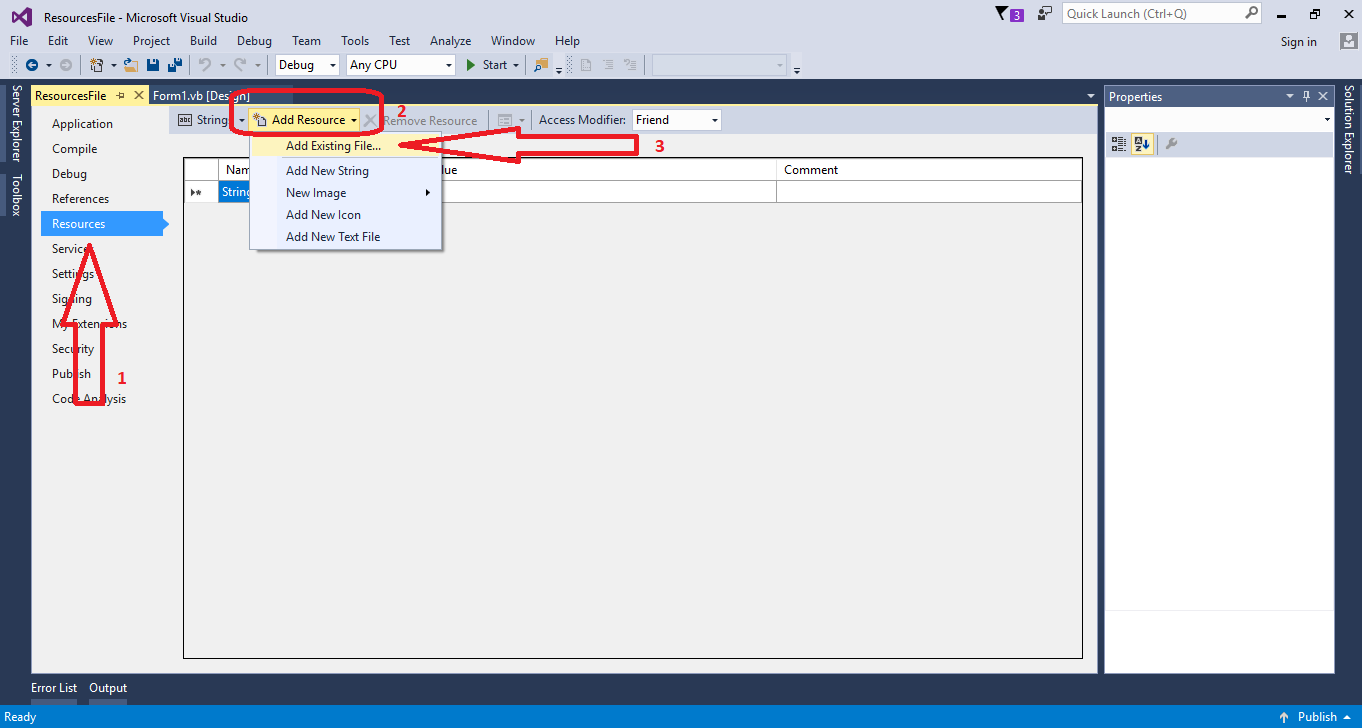
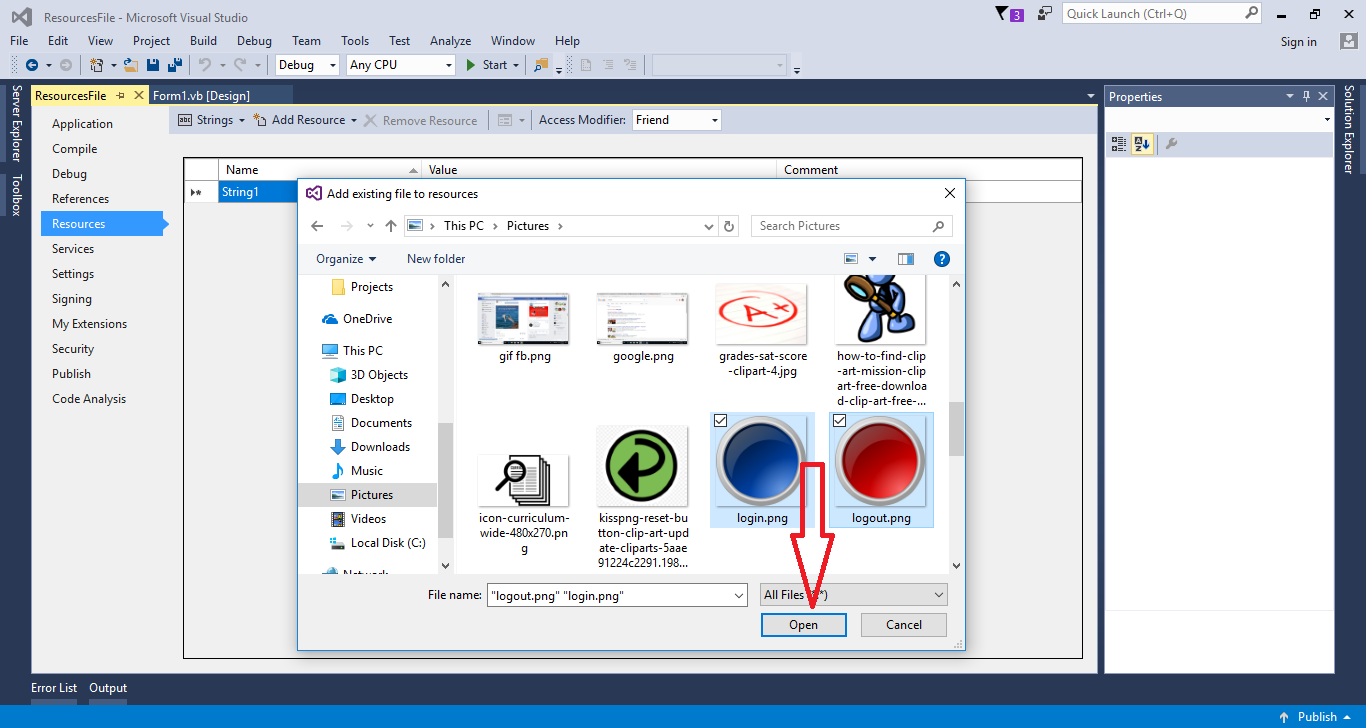
 In the project properties, go to add resources and select add existing file.
.
In the project properties, go to add resources and select add existing file.
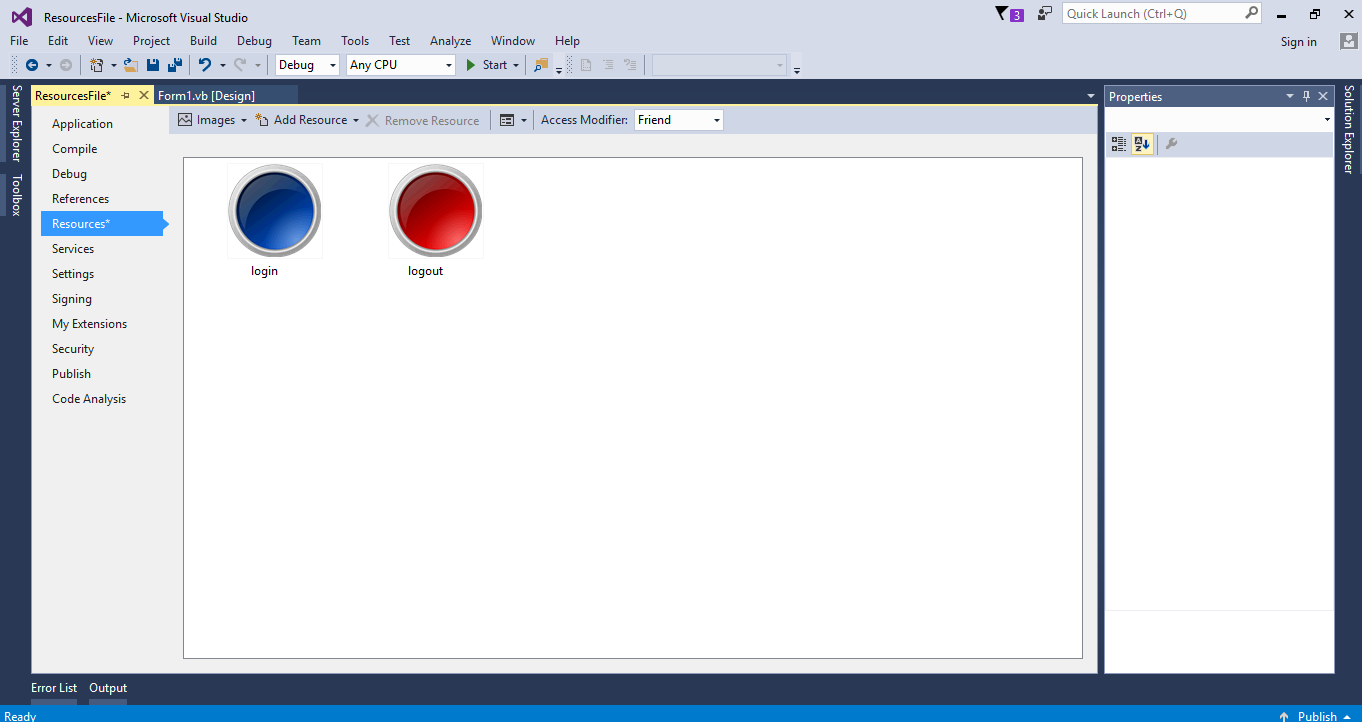
. Choose the file you want and add it into the resources
 Output

After that, select a Project in the menu and go to project properties.
In the project properties, go to add resources and select add existing file.
.
Choose the file you want and add it into the resources
Output