Crafting a Simple Inline Content Editor with HTML, CSS, and JS

This tutorial delves into the techniques of crafting an Inline Content Editor utilizing HTML, CSS, and JS. Geared towards students and self-learners, this tutorial serves as a valuable reference, offering step-by-step instructions and source code with concise explanations. The goal is to facilitate the development of a straightforward web application featuring an Inline Content Editor functionality, allowing users to enhance their understanding and programming skills.

What is Inline Content Editor?

In this tutorial, the term Inline Content Editor refers to a straightforward editable HTML element. Rather than relying on input or textarea fields, this feature empowers users to directly edit the content of specific HTML elements, including headings, paragraphs, and div elements.

The implementation of the Inline Content Editor feature is commonly found in a Content Management System using PHP. In such systems, authors can effortlessly and dynamically create article content by leveraging this feature.

How to Create a Simple Inline Content Editor?

Now, let's develop a basic web application incorporating Inline Content Editor features. The application we'll create will include three distinct editable elements. When these elements are clicked, they become editable, enabling users to update the content. Subsequently, we will utilize the localStorage to store the modified content of each element.

Prior to starting, ensure you have downloaded and installed a Code Editor of your choice for developing the web application. Options include popular editors like Notepad++, Sublime Text 3, and VS Code.

Let's Get Started...

Step 1: Creating the Custom CSS

Initial step involves creating the custom CSS for the page interface. Open your preferred code editor and create a new `HTML` file named `style.css`. This file will be utilized in the Page UI script to apply custom styles to various elements.

  1. @import url('https://fonts.googleapis.com/css2?family=Ubuntu:ital,wght@0,300;0,400;0,500;0,700;1,300;1,400;1,500;1,700&display=swap');
  2. * {
  3. font-family: 'Ubuntu', sans-serif;
  4. }
  5. html, body{
  6. height:100%;
  7. width:100%;
  8. }
  9. #content-wrapper{
  10. width: 100%;
  11. min-height: 400px;
  12. }
  13. #content-title, #content-short-description, #content-paragraph{
  14. letter-spacing: .9px;
  15. padding: 5px;
  16. }

Step 2: Creating the Interface

Now, let's craft the page interface for the web application. The page incorporates a straightforward design utilizing the Bootstrap Framework. In your preferred code editor, create a new `HTML` file named `index.html`. Below is the code for this file:

  1. <!DOCTYPE html>
  2. <html lang="en">
  3. <meta charset="UTF-8">
  4. <meta name="viewport" content="width=device-width, initial-scale=1.0">
  5. <title>Sample Website</title>
  6. <!-- Bootstrap 5.3 CSS-->
  7. <link rel="stylesheet" href="https://cdn.jsdelivr.net/npm/[email protected]/dist/css/bootstrap.min.css">
  8. <!-- Custom Styles -->
  9. <link rel="stylesheet" href="style.css">
  10. <!-- jQuery -->
  11. <script src="https://cdnjs.cloudflare.com/ajax/libs/jquery/3.7.1/jquery.min.js"></script>
  12. <!-- Bootstrap 5.3 JS-->
  13. <script src=" https://cdn.jsdelivr.net/npm/[email protected]/dist/js/bootstrap.bundle.min.js"></script>
  14. </head>
  15. <body class="bg-dark-subtle text-light">
  16. <nav class="navbar navbar-expand-lg bg-gradient bg-primary">
  17. <div class="container-fluid">
  18. <a class="navbar-brand text-light" href="#">Sample Website</a>
  19. <button class="navbar-toggler" type="button" data-bs-toggle="collapse" data-bs-target="#navbarNav" aria-controls="navbarNav" aria-expanded="false" aria-label="Toggle navigation">
  20. <span class="navbar-toggler-icon"></span>
  21. </button>
  22. <div class="collapse navbar-collapse" id="navbarNav">
  23. <ul class="navbar-nav">
  24. <li class="nav-item">
  25. <a class="nav-link text-light">Home</a>
  26. </li>
  27. </ul>
  28. </div>
  29. </div>
  30. </nav>
  31. <div class="container-md py-4">
  32. <div class="row justify-content-center">
  33. <div class="col-lg-8 col-md-10 col-sm-12 col-12">
  34. <div class="container-fluid">
  35. <div id="content-wrapper" class="bg-light shadow px-4 py-3">
  36. <!-- Content Editable Element #1 -->
  37. <h2 id="content-title" class="fw-bold text-body-emphasis text-center editableContent">Heading</h2>
  38. <!-- End of Content Editable Element #1 -->
  39. <div class="text-center text-light-emphasis text-center fst-italic">
  40. <!-- Content Editable Element #2 -->
  41. <span id="content-short-description" class="editableContent">Sub-Heading</span>
  42. <!-- End of Content Editable Element #2 -->
  43. </div>
  44. <!-- Content Editable Element #3 -->
  45. <p class="text-body-emphasis mt-4 editableContent" id="content-paragraph">Content</p>
  46. <!-- End Content Editable Element #3 -->
  47. </div>
  48. </div>
  49. </div>
  50. </div>
  51. </div>
  52. <script src="script.js"></script>
  53. </body>
  54. </html>

Step 3: Creating the JS Script

Finally, let's generate the JavaScript file containing the script that enables users to edit the content of selected elements by adding the `contenteditable` attribute. The `contenteditable` is a global attribute in HTML, indicating whether the element should be editable by the user.

Additionally, this file contains an event listener for removing the added attribute on an element when it loses focus and loads the stored content of each element. The script achieves this by storing and retrieving element content from the browser storage using `localStorage`.

Create a new JavaScript file and save it as `script.js`.

  1. /**
  2. * Editable Contents
  3. */
  4.  
  5. var editables = document.querySelectorAll(".editableContent")
  6. var contents = localStorage.getItem('contents') || '{}';
  7. contents = JSON.parse(contents)
  8.  
  9. editables.forEach(el => {
  10. /**
  11.   * Make Content Element Editable when clicked
  12.   */
  13. el.addEventListener('click', function(e){
  14. e.preventDefault()
  15. if(!this.hasAttribute("contentEditable")){
  16. this.setAttribute("contentEditable",true);
  17. }
  18. this.focus()
  19. })
  20.  
  21. /**
  22.   * Removing Content Editable Attribute when Element focused out
  23.   */
  24. el.addEventListener('focusout', function(e){
  25. e.preventDefault()
  26. if(this.hasAttribute("contentEditable"))
  27. this.removeAttribute("contentEditable");
  28. save_content(el)
  29. })
  30. })
  31.  
  32. function save_content($el){
  33. // getting the element ID
  34. var field = $el.getAttribute('id')
  35. // getting the element updated content
  36. var value = $el.innerHTML
  37. field = field.replace(/\-/gi, '_')
  38. // update content value
  39. contents[field] = value
  40. // update stored contents
  41. localStorage.setItem('contents', JSON.stringify(contents))
  42. }
  43.  
  44. function load_content(){
  45. Object.keys(contents).map(k => {
  46. // Getting the Element ID
  47. var field = k.replace(/\_/gi, '-')
  48. // Getting the Element ID
  49. var el = document.querySelector(`#${field}`)
  50. if(el != null){
  51. // Display content from stored contents
  52. el.innerHTML = contents[k]
  53. }
  54. })
  55. }
  56.  
  57. window.onload = function(){
  58. load_content();
  59. }

Here are some snippets as the result of provided script above:

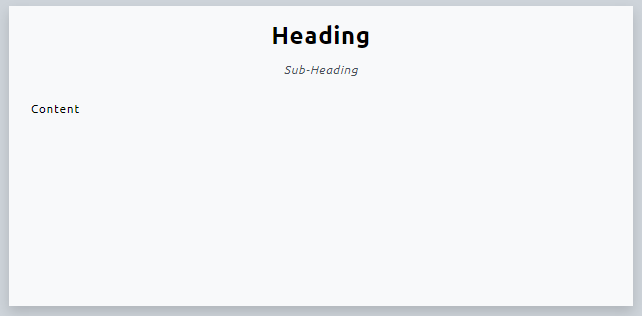
Editable Elements w/ the Default Content

Inline Code Editor using HTML, CSS, and JS - UI

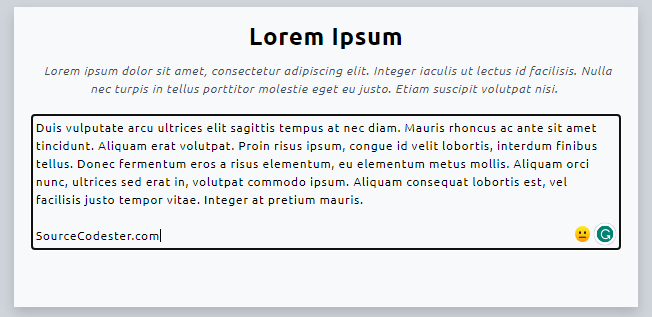
Editing the Element's Content
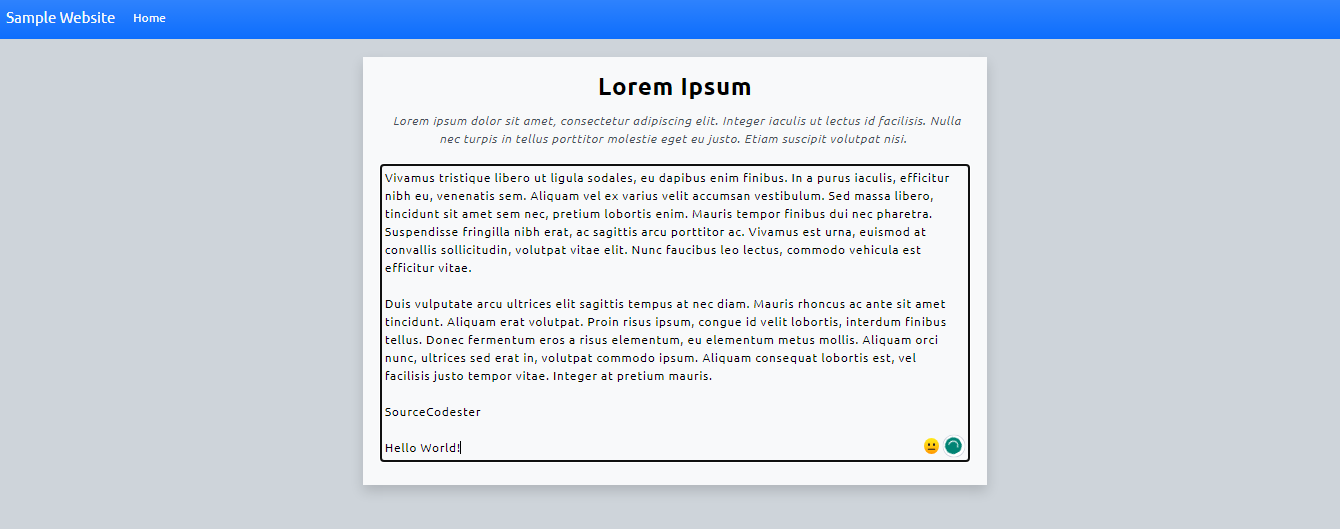
Inline Code Editor using HTML, CSS, and JS - UI

Whole Page UI

Inline Code Editor using HTML, CSS, and JS - UI

I've also included the compressed complete source code file of the sample web application on this website. You can download it by clicking the Download button located below this tutorial article.

Conclusion

In summary, Inline Content Editing stands as a valuable feature, particularly in Content Management System applications. This functionality empowers users to dynamically update element content on the front-end, achieved through the use of the HTML `contenteditable` attribute. Leveraging JavaScript, we can seamlessly add the attribute to selected elements, triggering the editing capability when users click on the element.

And that wraps it up! I hope this Inline Content Editor with HTML, CSS, and JS Tutorial proves helpful for your needs and will be a valuable resource for your upcoming web application projects. Delve deeper into this website for additional Free Source Codes, Tutorials, and Articles spanning various programming languages.

Happy Coding =)

Add new comment