Filling the Twitter Bootstrap-Select Dynamically From MySQL Data Using PHP
Submitted by GeePee on Saturday, April 11, 2015 - 23:21.

In this lesson is a continuation of our previous tutorial called Creating and Populating table with MySQL Data using Twitter Bootstrap framework.
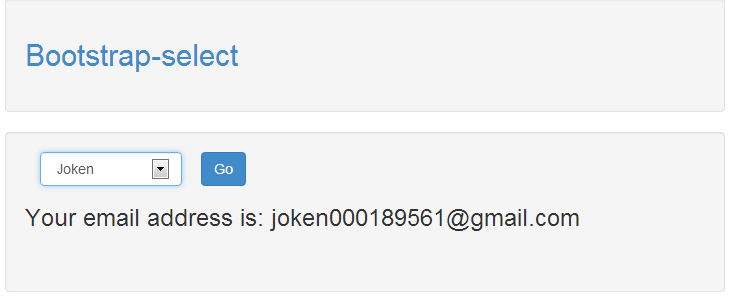
At this time, we’re going to use the same framework. But we will focus on how to populate the Twitter Bootstrap-Select dynamically from MySQL Data using PHP and display the corresponding value in a label form. And it looks like as shown below.
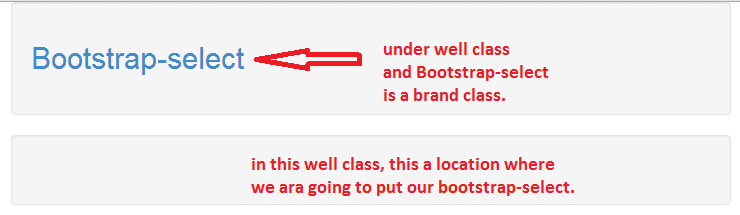
 Then let’s create a new file and name it as “selectbox.php”. And the following code:
The output of this code looks like as shown below.
Then let’s create a new file and name it as “selectbox.php”. And the following code:
The output of this code looks like as shown below.
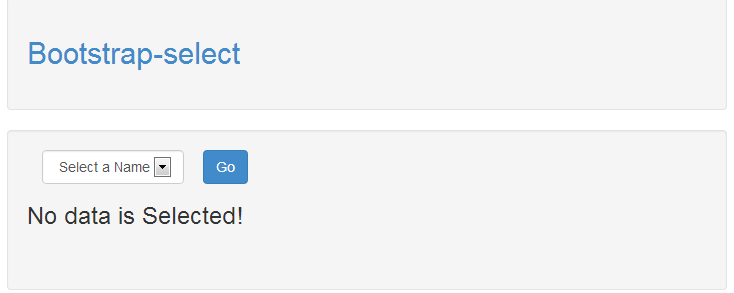
 This time, we're going to edit our "selectbox.php" file. Then insert the following code inside the second "
In testing the application, the output should looks like as shown below.
This time, we're going to edit our "selectbox.php" file. Then insert the following code inside the second "
In testing the application, the output should looks like as shown below.
 Make sure the file structure should look like as shown below:
Then let’s create a new file and name it as “selectbox.php”. And the following code:
- <!DOCTYPE html>
- <html lang="en">
- <head>
- <meta charset="utf-8">
- <meta content="width=device-width, initial-scale=1.0" name="viewport">
- <meta content="" name="description">
- <meta content="" name="author">
- </head>
- <body>
- <div class="container">
- <div class="well">
- <a class="brand" href="#">
- <h2>Bootstrap-select</h2></a>
- </div>
- <div class="well">
- <!--This is the area where we are going to put our HTML form and PHP codes-->
- <p> </p>
- </div>
- </div><!-- /container -->
- </body>
- </html>
This time, we're going to edit our "selectbox.php" file. Then insert the following code inside the second "....".
- <form action="selectbox.php" class="form-inline pull-left" method="post">
- <div class="form-group col-lg-4">
- <?php
- //set up mysql connection
- //select database
- // Retrieve all the data from the "tblstudent" table
- // store the record of the "tblstudent" table into $row
- ?>
- <select class="form-control" name="fname">
- <option>
- Select a Name
- </option>
- <?php
- //it fills the selectbox from mysql data
- //this the value that corrspond to the selected item of the user
- echo ' <option value="' . $row['email'] . '"> ';
- //this line will be visible to the user
- echo $row['firstname'] . ' </option> ';
- }
- ?>
- </select>
- </div><button class="btn btn-primary" name="submit" type=
- "submit">Go</button>
- <!--it check here fi the submit button is set then -->
- <?php
- $fname = $_POST['fname'];
- //it display the value based on user selected item
- echo '<h3>' . "Your email address is: " . $fname . '</h3>';
- } else {
- //if submit button is not set then,
- //it notify the user that theres no data has been selected
- echo '<h3>' . "No data is Selected!" . '</h3>';
- }
- ?>
- </form>
Make sure the file structure should look like as shown below:
       bootstraptable
	     css
	     fonts
	     list.php
	     selectbox.php