Simple Drawing Application Using jQuery
Submitted by razormist on Tuesday, March 14, 2017 - 17:25.
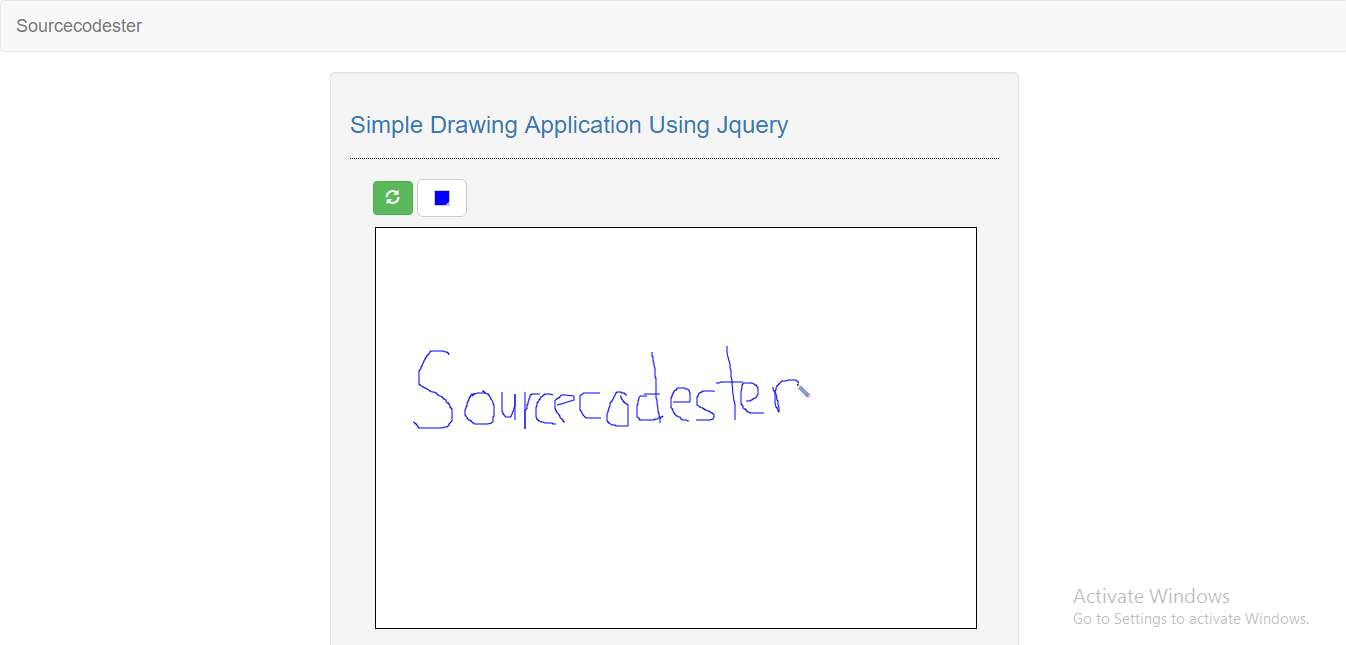
In this tutorial we will create a simple drawing application using jQuery. This tutorial will teach you on how to deal with HTML 5 canvas. Canvas is a HTML element which can be used to draw graphics using javascript scripting. This can be used to draw graphs, make photo composition or simple animations. This time we will try to apply jQuery library to this application. Let's start coding!
Creating A Mark
This will display the canvas work space to draw something. To do that copy/paste the code below then name it 'index.html'
Adding Some Style
We will add some css style for the canvas. Copy/paste the given code below and save it inside the css folder name 'style.css'
Creating The jQuery Script
This will handle the drawing function of the cursor, when the user pressing and holding the mouse within the canvas area. To create the function just copy/paste the code below then save it inside the js folder name 'script.js'
There you have it we created a simple drawing application by using jQuery. I hope that this tutorial help you to your projects. For more update and tutorials just visit this site. Enjoy Coding!!
- <!DOCTYPE html>
- <html lang = "en">
- <head>
- <link rel = "stylesheet" type = "text/css" href = "css/bootstrap.css" />
- <link rel = "stylesheet" type = "text/css" href = "css/font-awesome.css" />
- <link rel = "stylesheet" type = "text/css" href = "css/colorPicker.css" />
- <link rel = "stylesheet" type = "text/css" href = "css/style.css" />
- <meta charset = "UTF-8" name = "viewport" content = "width=device-width, initial-scale=1" />
- </head>
- <body>
- <nav class = "navbar navbar-default">
- <div class = "container-fluid">
- </div>
- </nav>
- <div class = "row">
- <div class = "col-md-6 well ">
- <hr style = "border-top:1px dotted #000;"/>
- <div id = "drawing">
- <ul class = "pull-left">
- </ul>
- <canvas width = "600px" height = "400px" id = "canvas"></canvas>
- </div>
- </div>
- </div>
- </body>
- </html>
- ul{
- left:-42px;
- position:relative;
- list-style-type:none;
- }
- ul li{
- display:inline;
- }
- #drawing{
- width:600px;
- height:520px;
- margin:auto;
- }
- #canvas{
- border:1px solid #000;
- background-color:#fff;
- }
- #canvas:hover{
- cursor: url('../cursor/cursor.cur'), auto;
- }
- $(document).ready(function(){
- $canvas = $('#canvas');
- $context = $canvas[0].getContext('2d');
- $('#color').colorPicker();
- $color = "#000000";
- $('#color').change(function(){
- $color = $('#color').val();
- });
- $('#clear').on('click', function(){
- $context.fillStyle = "#ffffff";
- $context.fillRect(0, 0, canvas.width, canvas.height);
- });
- $lastEvent = "";
- $mouseDown = false;
- $canvas.mousedown(function(e){
- $lastEvent = e;
- $mouseDown = true;
- }).mousemove(function(e){
- if($mouseDown) {
- $context.beginPath();
- $context.moveTo($lastEvent.offsetX, $lastEvent.offsetY);
- $context.lineTo(e.offsetX, e.offsetY);
- $context.strokeStyle = $color;
- $context.stroke();
- $lastEvent = e;
- }
- }).mouseup(function(){
- $mouseDown = false;
- }).mouseleave(function(){
- $canvas.mouseup();
- });
- });