Simple Table Generator Using jQuery
Submitted by razormist on Thursday, March 9, 2017 - 17:13.
In this tutorial we will try to create a simple table generator by using jquery. jQuery is a cross-platform javaScript library design to simplified the modern HTML client side scripting. jQuery syntax was made to make it easier to navigate a document, like select DOM elements, develop Ajax applications and etc. Throughout the tutorial you will learn how to apply an array inside a nested loop. So let's start coding
Creating The Mark Up
To start with the form, open any kind of text editor that your computer have(notepad, notepad++, etc). Then copy/paste the provided code below and name it 'index.html'.
Creating The jQuery Function
To make this simple application worked, we will need to add a client-side scripting language, To do that just copy/paste the provided code below then name it 'script.js'
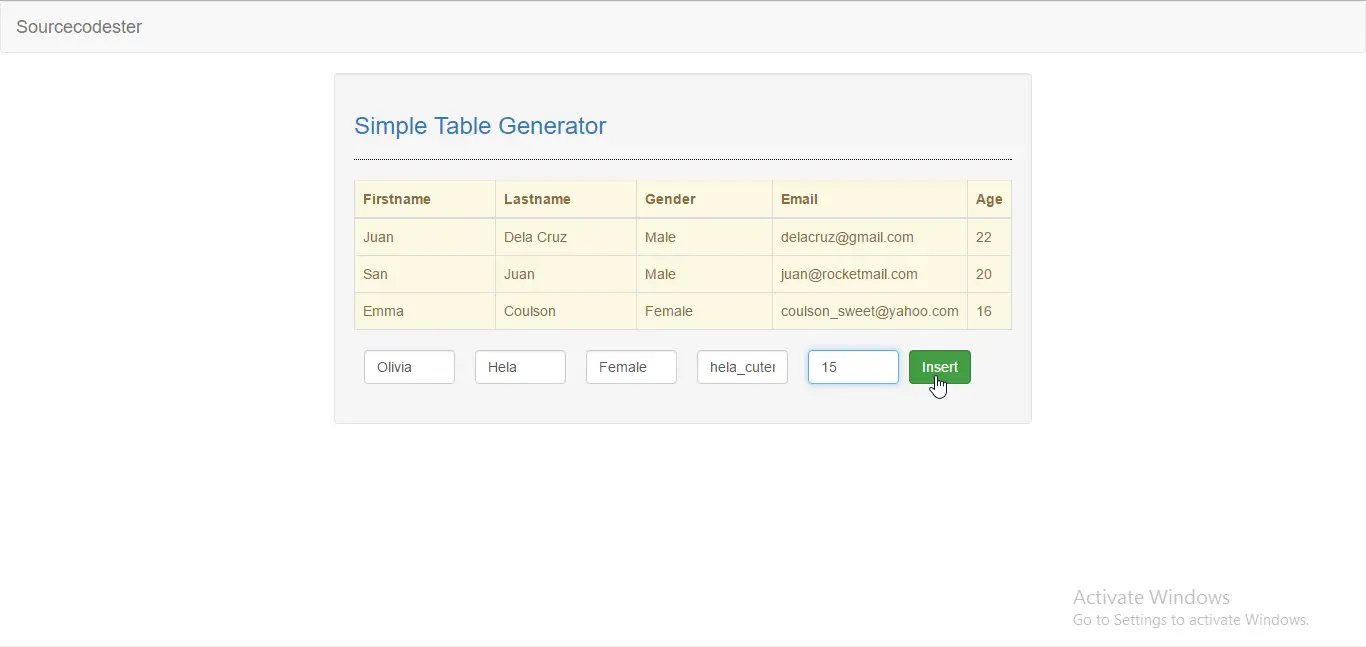
This code will generate the table that you will created. The first step is you have to provide a value on how many column will display a table. After giving the value it will generate an input textbox that you will need to provide for your title header for your table. Then you can now insert the data via the input textbox below the table.
There you have it we created a simple table generator using jQuery. I hope that this tutorial help you to your on working projects. For more updates and tutorials just kindly visit this site. Enjoy Coding!!
- <!DOCTYPE html>
- <html lang = "en">
- <head>
- <link rel = "stylesheet" type = "text/css" href = "css/bootstrap.css"/>
- <meta charset = "UTF-8" name = "viewport" content = "width=device-width"/>
- </head>
- <body>
- <nav class="navbar navbar-default">
- <div class="container-fluid">
- <div class="navbar-header">
- </div>
- </div>
- </nav>
- <div class = "row">
- <div class = "col-md-6 well">
- <hr style = "border-top:1px dotted #000;"/>
- <div id = "tbl_data">
- <div class = "form-inline">
- <input type = "number" min ="0" max = "5" id = "h_cols" class = "form-control"/>
- </div>
- </div>
- <br />
- <div id = "table table-responsive">
- </div>
- </div>
- </div>
- </body>
- </html>
- $(document).ready(function(){
- $(document).on('click', '#btn_tblhead', function(){
- if( $('#h_cols').val() == ""){
- alert("Please enter something!");
- }else{
- if($('#h_cols').val() > 5){
- alert("Must not exceed 5");
- }else{
- if($('#h_cols').val() == 0){
- alert("Please enter a valid number");
- }else{
- $h_cols = $('#h_cols').val();
- $('#tbl_data').empty();
- $loader = $('<center>Generating <img src = "images/default.gif" height = "50"></center>');
- $loader.appendTo('#tbl_data');
- setTimeout(function(){
- $loader.remove();
- $('#tbl_data').attr('class', 'form-inline');
- $('<h4 class = "text-primary">Header Title</h4><br />').appendTo('#tbl_data');
- $col = [];
- for($a = 1; $a <= $h_cols; $a++){
- $col.push($a);
- }
- $.each($col, function(idx, va){
- $('<input type = "text" class = "form-control th_data" name = "th_data[]" placeholder = "Column' + va + '" size = "5" style = "margin:0px 10px 0px 10px;"/>').appendTo('#tbl_data');
- });
- $('<button id = "btn_hdata" class = "btn btn-success form-control"><span class = "glyphicon glyphicon-plus"></span></button>').appendTo('#tbl_data');
- }, 3000);
- }
- }
- }
- });
- $(document).on('click', '#btn_hdata', function(){
- if($('.th_data').val() == ""){
- alert("Please enter something");
- }else{
- $th_data = [];
- $('.th_data').each(function(){
- $th_data.push($(this).val());
- });
- $('#tbl_data').empty();
- $loader = $('<center>Creating table <img src = "images/default.gif" height = "50"></center>');
- $loader.appendTo('#tbl_data');
- setTimeout(function(){
- $loader.remove();
- $newTable = $('<table></table>').attr('class', 'table table-bordered alert-warning');
- $thead = $('<thead></thead>').appendTo($newTable);
- $h_rows = $('<tr></tr>').appendTo($thead);
- $.each($th_data, function(index, value){
- $('<th style = "width:25%;">' + value + '</th>').appendTo($h_rows);
- });
- $tbody = $('<tbody id = "t_body"></tbody>').appendTo($newTable);
- $newTable.appendTo('#tbl_data');
- $.each($th_data, function(i, val){
- $('<input type = "text" class = "form-control tb_data" placeholder = "' + val + '" name = "tb_data[]" size = "5" style = "margin:0px 10px 0px 10px;"/>').appendTo('#tbl_data');
- });
- $('<button id = "btn_bdata" class = "btn btn-success form-control">Insert</button>').appendTo('#tbl_data');
- }, 3000);
- }
- });
- $(document).on('click', '#btn_bdata', function(){
- $tb_tr = $('<tr></tr>');
- $('.tb_data').each(function(){
- $('<td>' + $(this).val() + '</td>').appendTo($tb_tr);
- });
- $tb_tr.appendTo('#t_body');
- $('.tb_data').val('');
- })
- });