Ajax File Uploader
Submitted by razormist on Monday, February 27, 2017 - 18:02.
In this tutorial we will create a Ajax File Uploader. Ajax is a new technique for creating better, faster, and more interactive web applications. Ajax is pre-request callback function that can be used to modify the jqXHR (in jQuery 1.4.x, XMLHTTPRequest). It is widely used by other well known websites like facebook. Let's take a look and start coding.
Creating A HTML Form
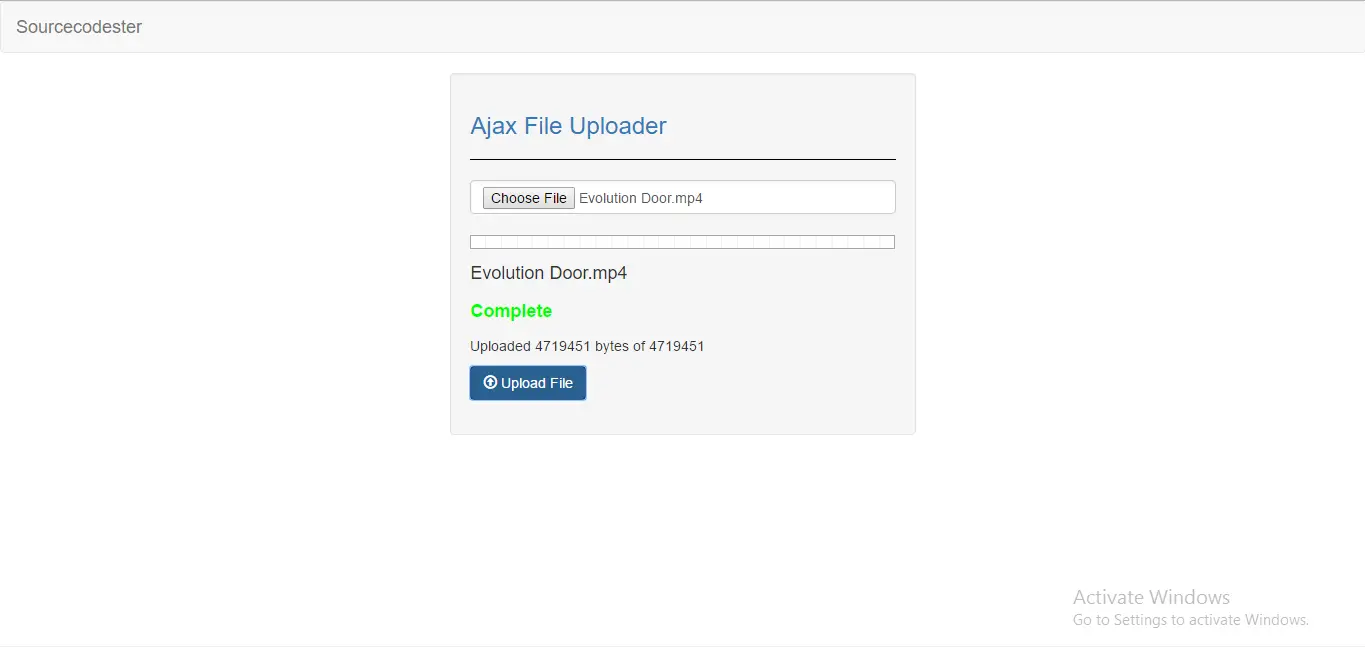
This will be the interface of the application. To create this copy/paste the code below then name it 'index.php';
Creating Asynchronous Script
This is where the Ajax function will be called. To do that copy/paste the code below then name it 'ajax.js'
The code above will processed the value of the input file type. The uploadFile() function will store the file then store into a javascript variable when the button is clicked. The progress function will start to fill up the gauge when the button is clicked simultaneously.
Creating A PHP Script
This is where the file is processed by PHP script. To make this copy/paste the code below and name it 'upload.php'
The code above will get the file from the asynchronous request then store it into a php variable. Then it will move the uploaded file to a specific folder location simultaneously.
There you have it we created a ajax file uploader. I hope that this tutorial is the one you are looking for. For more updates and tutorials just kindly visit this site. Enjoy Coding!!
- <!DOCTYPE html>
- <html lang = "en">
- <head>
- <meta charset = "UTF-8" name = "viewport" content = "width=device-width, initial-scale=1"/>
- </head>
- <body>
- <nav class = "navbar navbar-default">
- <div class = "container-fluid">
- <a class = "navbar-brand" href = "https://sourcecodester.com">Sourcecodester</a>
- </div>
- </nav>
- <div class = "row">
- <div class = "col-md-4"></div>
- <div class = "col-md-4 well" style = "word-wrap:break-word;">
- <hr style = "border-top:1px solid #000;"/>
- <form id = "upload_form" enctype = "multipart/form-data" method = "POST">
- <div class = "form-group">
- <input type = "file" class = "form-control" name = "file1" id = "file1"/>
- <br />
- <br />
- <h4 id = "status"></h4>
- <p id = "total_load"></p>
- <button type = "button" class = "btn btn-primary" onclick = "uploadFile()"><span class = "glyphicon glyphicon-upload"></span> Upload File</button>
- </div>
- </form>
- </div>
- </div>
- </body>
- <script src = "js/ajax.js"></script>
- </html>
- function uploadFile(){
- var file = document.getElementById("file1").files[0];
- var formdata = new FormData();
- formdata.append("file1", file);
- var xmlhttp = new XMLHttpRequest();
- xmlhttp.upload.addEventListener("progress", progress, false);
- xmlhttp.addEventListener("load", complete, false);
- xmlhttp.addEventListener("error", error, false);
- xmlhttp.addEventListener("abort", abort, false);
- xmlhttp.open("POST", "upload.php");
- xmlhttp.send(formdata);
- }
- function progress(event){
- document.getElementById("total_load").innerHTML = "Uploaded "+event.loaded+" bytes of "+event.total;
- var percent = (event.loaded / event.total) * 100;
- document.getElementById("progressBar").value = Math.round(percent);
- document.getElementById("status").innerHTML = Math.round(percent)+"% Uploading..." ;
- }
- function complete(event){
- document.getElementById("status").innerHTML = event.target.responseText;
- document.getElementById("progressBar").value = 0;
- }
- function error(event){
- document.getElementById("status").innerHTML = "Upload Failed";
- }
- function abort(event){
- document.getElementById("status").innerHTML = "Upload Abort";
- }
- <?php
- $name = $_FILES['file1']['name'];
- $temp = $_FILES['file1']['tmp_name'];
- $type = $_FILES['file1']['type'];
- $size = $_FILES['file1']['size'];
- $error = $_FILES['file1']['error'];
- if(!$temp){
- echo "<label style = 'color:#ff0000;'>Fatal Error</label>";
- }
- echo "$name <br /><br /><label style = 'color:#00ff00;'>Complete</label>";
- }else{
- echo "Error file upload";
- }
- ?>