Creating A Registration And Login Using AngularJS - Part 1
Submitted by razormist on Wednesday, February 8, 2017 - 18:46.
In this tutorial we will create a registration form using AngularJS. The AngularJS is a structural framework for dynamic webpage nowadays. It is a kind of template that extends HTML ,and it use a directives to trigger the syntax that is in a structural form. This time we will try to collaborate angularjs with PHP script to make a registration form. By the way this tutorial is divided into two parts registration and login form, the one that we will try to work on is a registration form. Let's start coding...
Creating A Form
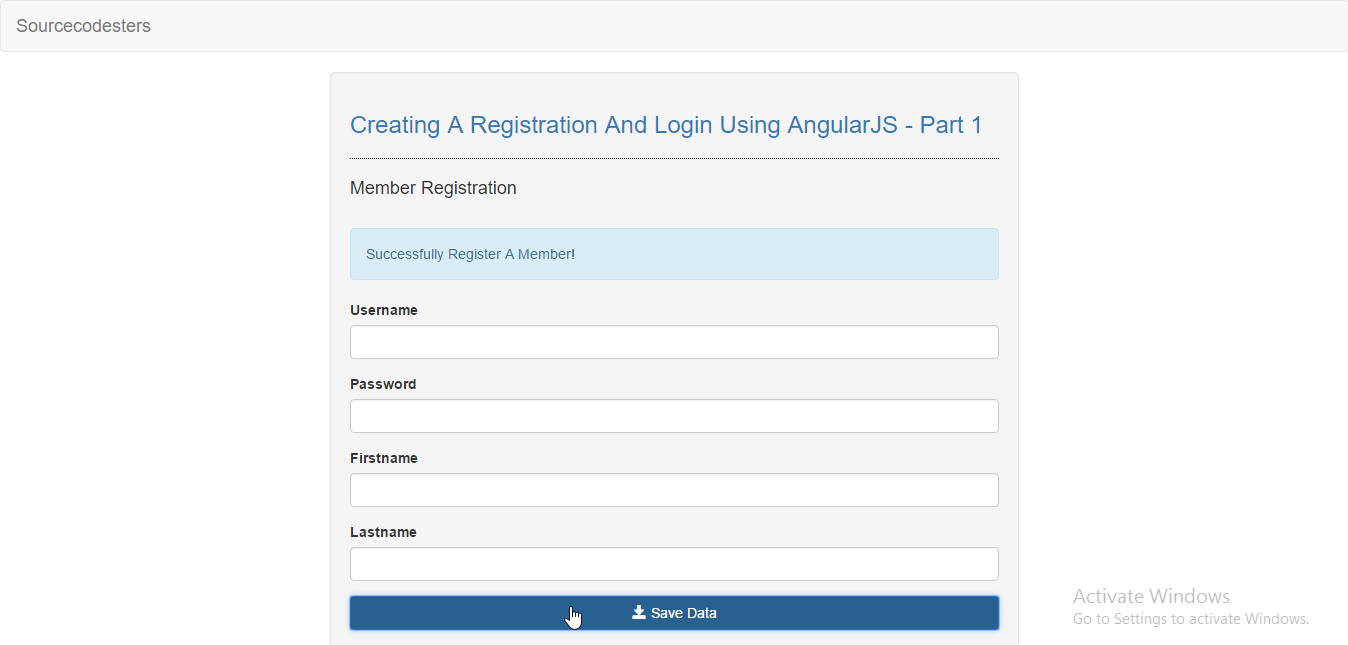
This is where the user will input their respected personal information. To do that open any kind of text editor that your computer have(notepad++, etc). Copy/paste the code below and name it "index.php"
The code above will try to submit the value of an input, and later submitted it via php script. The ng-required will prevent the submission of the data when the input field is null. The ng-submit will try to store all the data and sent it through a angularjs directives.
Creating a Script for AngularJs Directives
This is where the angularjs will be declared, and processed the request of the HTML form. To to make it worked, copy/paste the code below and name it "app.js"
The code above will processed the following function, and will try to send the request to php script. Then it will store all the gathered data into the php web sever.
Sending The Request To PHP Script
This where the data will be stored and later on send to the web server. To do that, copy/paste the code below then name it "save_query.php"
The code above will receive the request from the angularjs directives. The file_get_contents will read all the stored data into a string type. The json_decode will accept the string data and convert it into a readable php script, then the php script will take care of it for storing the data in the web server.
There you have it we created a registration form using angularjs. I hope that this tutorial help you to your projects. For the next tutorial we will try to do the login form based on the code that we used here. For more updates and tutorials, just kindly visit this site. Enjoy Coding!!
- <!DOCTYPE html>
- <html lang = "en">
- <head>
- <meta charset = "UTF-8" name = "viewport" content = "width=device-width, initial-scale=1" />
- <script src = "js/angular.js"></script>
- <script src = "js/app.js"></script>
- </head>
- <body ng-app = "myModule" ng-controller = "myController">
- <nav class = "navbar navbar-default">
- <div class = "container-fluid">
- <a class = "navbar-brand" href = "https://www.sourcecodester.com">Sourcecodesters</a>
- </div>
- </nav>
- <div class = "row">
- <div class = "col-md-3"></div>
- <div class = "col-md-6 well">
- <h3 class = "text-primary">Creating A Registration And Login Using AngularJS - Part 1</h3>
- <hr style = "border-top:1px dotted #000;"/>
- <h4>Member Registration</h4>
- <br />
- <div ng-model="message" ng-show="showMessage" class="alert alert-info">{{message}}</div>
- <form ng-submit = "submitForm()">
- <div class = "form-group">
- <label>Username</label>
- <input type = "text" maxlength= "25" class = "form-control" ng-model = "members.username" ng-required = "true"/>
- </div>
- <div class ="form-group">
- <label>Password</label>
- <input type = "password" maxlength = "12" class = "form-control" ng-model = "members.password" ng-required = "true" />
- </div>
- <div class = "form-group">
- <label>Firstname</label>
- <input type = "text" maxlength = "30" class = "form-control" ng-model = "members.firstname" ng-required = "true"/>
- </div>
- <div class = "form-group">
- <label>Lastname</label>
- <input type = "text" maxlength = "30" class = "form-control" ng-model = "members.lastname" ng-required = "true"/>
- </div>
- <div class = "form-group">
- <button class = "btn btn-primary form-control"><span class = "glyphicon glyphicon-save"></span> Save Data</button>
- </div>
- </form>
- </div>
- </div>
- </body>
- </html>
- var app = angular.module("myModule", [])
- .controller("myController", function($scope, $http, $timeout){
- $scope.members = {}
- $scope.submitForm = function(){
- var request = $http({
- method : "POST",
- url : "save_query.php",
- data : {
- 'username': $scope.members.username,
- 'password': $scope.members.password,
- 'firstname': $scope.members.firstname,
- 'lastname': $scope.members.lastname
- },
- headers : { 'Content-Type': 'application/x-www-form-urlencoded' }
- })
- request.then(function(response){
- $scope.members.username = "";
- $scope.members.password = "";
- $scope.members.firstname = "";
- $scope.members.lastname = "";
- $scope.message = "Successfully Register A Member!";
- $scope.showMessage = true;
- $timeout(function(){
- $timeout(function(){
- $scope.showMessage = false;
- }, 3000);
- }, 2000);
- });
- };
- });
- <?php
- $username = $request->username;
- $password = $request->password;
- $firstname = $request->firstname;
- $lastname = $request->lastname;
- $conn->query("INSERT INTO `member` (username, `password`, firstname, lastname) VALUES('$username', '$password', '$firstname', '$lastname')") or die(mysqli_error());
- ?>